How to Secure API Keys in Your NextNative App
Updated: October 23, 2025

When it comes to securing an API key in a NextNative app, there's one golden rule you can't ever break: never, ever expose your secret key to the client-side code. The only truly safe way to handle it is by creating a server-side proxy with a Next.js API route. This route becomes the secure middleman, holding onto the key in an environment variable and making requests to the third-party service on your app's behalf.
Why Securing API Keys Is Critical for Your App#

Let's be honest, managing API keys in a hybrid app built with Next.js and Capacitor can feel like a pain. It's tempting to take shortcuts, maybe by embedding a key directly into your client-side code just to get things working. But that convenience comes with a massive security hangover that can lead to data breaches, service abuse, and some truly eye-watering bills.
In any NextNative project, your code lives in two completely different worlds: the secure server-side (your Next.js API routes and getServerSideProps) and the public client-side (the React components that actually render on the device). Any key you place in that client-side bundle is fundamentally unsafe. Attackers can decompile your app or just sniff the network traffic to pull those credentials right out.
The Real Dangers of Exposed Keys#
An exposed API key is like leaving the front door to your house wide open with a sign that says "help yourself." Malicious actors are constantly scanning for these credentials to exploit them in a few nasty ways:
- Data Breaches: Gaining unauthorized access to your users' sensitive information.
- Service Abuse: Using your key to rack up enormous bills on paid services like AWS or Google Maps.
- Reputation Damage: Hijacking your service to blast out spam or malicious content under your name.
This isn't just a theoretical threat. API security incidents are on the rise, with some reports showing over 40,000 incidents in the first half of 2025 alone. You can find more details about this trend and why APIs have become a primary target in recent security analyses. This reality makes it clear that a proactive approach isn't just a "nice-to-have"—it's essential for protecting your app and your users.
The core takeaway is simple: Treat every API key like a sensitive password. If it's not meant for public eyes, it has no business being on the client. Our entire strategy will revolve around this one principle, building a secure proxy that keeps your secrets locked down on the server.
This guide will walk you through a clear, practical strategy to lock down your API keys the right way. Keep in mind that protecting your digital assets is just one part of a much bigger security picture. For a broader perspective, be sure to check out our guide on mobile app security best practices.
Before we jump into the code, here’s a quick look at the security layers we’re about to build.
API Key Security Layers in NextNative#
This table gives you a quick overview of the core security layers we'll build in this guide, from initial setup to production-ready protection.
| Security Layer | Purpose | Where It's Implemented |
|---|---|---|
| Environment Variables | Store keys securely without hardcoding them into the source code. | .env.local file & hosting provider settings |
| Next.js API Route Proxy | Create a server-side endpoint to act as a secure intermediary. | /pages/api/ directory in your Next.js project |
| Client-Side Fetching | Make requests from the app to your own secure API route, not the third party. | React components in your NextNative app |
| Server-Side Validation | Add checks within the API route to prevent unauthorized or malicious requests. | The logic inside your Next.js API route |
By the end, you'll have a multi-layered defense that keeps your keys safe and your app secure.
Using Environment Variables for Server-Side Safety#
The absolute first line of defense for any API key is to get it out of your source code. Hardcoding secrets is just asking for trouble, since they can easily end up in a public Git repository for the whole world to see. The standard—and correct—way to handle this in Next.js is with environment variables.
These variables live in a special file, usually .env.local, which is ignored by Git from the start. This simple separation keeps your credentials on your local machine and your production server, completely separate from the codebase you push to GitHub. It’s a basic but powerful practice that forms the bedrock of a secure setup.
The Critical NEXT_PUBLIC_ Distinction#
In Next.js, not all environment variables are created equal. This is where a lot of developers trip up and accidentally create a massive security hole. The difference comes down to one simple prefix: NEXT_PUBLIC_.
Server-Side Variables (e.g.,
MY_API_KEY): This is the default. These variables are only accessible on the server—inside your API routes,getServerSideProps, orgetStaticProps. This is exactly where a secure API key belongs. It never gets sent to the user's browser or device.Client-Side Variables (e.g.,
NEXT_PUBLIC_ANALYTICS_ID): Any variable you prefix withNEXT_PUBLIC_gets intentionally bundled into the client-side JavaScript. That means it’s readable by anyone who inspects your app's code. You should never, ever store a secret API key in aNEXT_PUBLIC_variable.
Here's my rule of thumb: If revealing the variable to the public would cause a security issue or cost you money, it must not have the
NEXT_PUBLIC_prefix. Treat it as if you were printing it on a public billboard.
Setting Up Your Local Environment#
Getting this set up is straightforward. In the root of your Next.js project, just create a file named .env.local. This is where you'll stash all your secret keys for local development.
First, double-check that your .gitignore file includes a line for .env.local to prevent it from ever being committed. It's usually there by default, but it never hurts to be sure.
.gitignore#
.env.local
Now, inside your .env.local file, you can define your secret key. The naming convention is typically all uppercase, using underscores to separate words.
.env.local#
This key is only available on the server#
STRIPE_SECRET_KEY=sk_test_123abc...
This key will be exposed to the client (unsafe for secrets!)#
NEXT_PUBLIC_GOOGLE_MAPS_KEY=AIzaSy...
So, how do you actually use this server-side key? You can access it directly through process.env within any of your server-side code. For example, in a Next.js API route, you can safely grab it to make a secure call to an external service. If you need a refresher, our docs provide more detail on building a Next.js API for your NextNative app.
This setup makes sure your key is loaded into the server's environment when the app runs, keeping it completely hidden from prying eyes on the client side. With this foundation in place, we can move on to building a secure proxy to interact with it.
Building a Server-Side Proxy to Protect Your Keys#
So, you’ve got your secret key safely tucked away in server-side environment variables. Great. But how does your mobile app actually use it without ever seeing it?
The answer is the cornerstone of any solid API key strategy: a server-side proxy. We're going to build a dedicated Next.js API route that acts as a secure middleman. It sits between your Capacitor app and whatever third-party service you’re calling.
Your app will never talk directly to the external service. Instead, it sends a request to your own API endpoint. That endpoint, running securely on your server, grabs the key from process.env and forwards the request. This simple architecture guarantees your secret API key is never bundled, transmitted, or exposed on the client-side.
This diagram shows the simple but powerful flow of how a server-side proxy keeps your credentials safe.
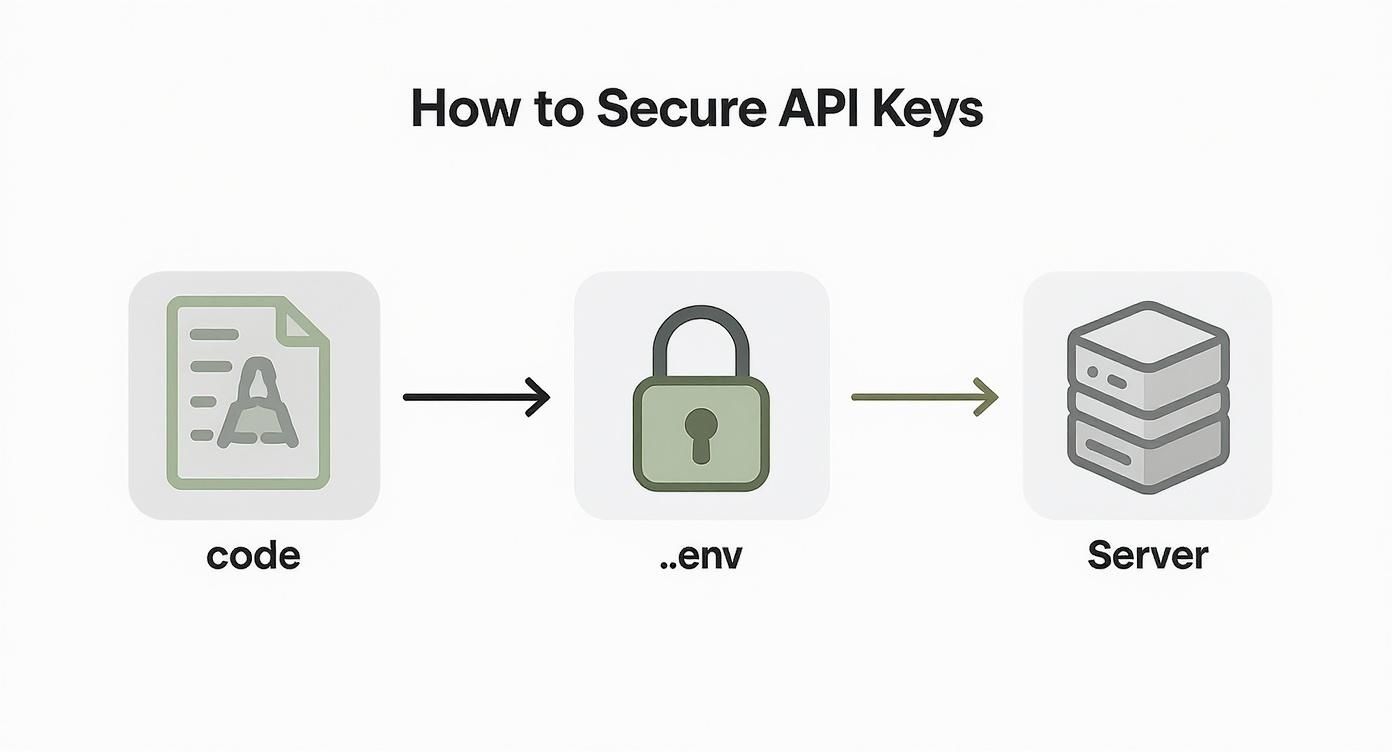
The key insight here is that the sensitive .env file—and the API key inside it—is only ever touched by the server. This creates a clean, impenetrable boundary between your public app and your private secrets.
Crafting the Proxy API Route#
Let's get our hands dirty and build the proxy. In your Next.js project, head over to the /pages/api/ directory and create a new file. We'll call it proxy-service.ts for this example.
This file will export a default handler function. Its job is to process incoming requests from your app, attach the secret key, and then forward everything to the real API.
Here’s what that handler might look like in a real-world scenario. Imagine we're proxying requests to a weather API.
// pages/api/proxy-service.ts
import type { NextApiRequest, NextApiResponse } from 'next';
export default async function handler(
req: NextApiRequest,
res: NextApiResponse
) {
// Retrieve the secret key safely from server-side environment variables
const apiKey = process.env.WEATHER_API_KEY;
if (!apiKey) {
// Fail loudly on the server if the key is missing
console.error('WEATHER_API_KEY is not configured.');
return res.status(500).json({ error: 'API key not configured' });
}
// Extract query parameters from the client's request
const { city } = req.query;
const externalApiUrl = https://api.weatherprovider.com/v1/current?city=${city}&key=${apiKey};
try {
const response = await fetch(externalApiUrl);
const data = await response.json();
if (!response.ok) {
  // Forward the error status from the external API
  return res.status(response.status).json(data);
}

// Send the successful response back to the Capacitor app
res.status(200).json(data);
} catch (error) {
console.error('Failed to fetch from external service:', error);
res.status(500).json({ error: 'Failed to fetch data from external service' });
}
}
See how that works? The client app calls /api/proxy-service?city=London. Our server-side function intercepts it, tacks on the secret WEATHER_API_KEY it has stashed away, and makes the real API call. The client only ever communicates with our domain.
Protecting Your Proxy from Abuse#
Just creating the proxy isn't the final step. An open proxy is a welcome mat for bad actors, which can lead to the same billing nightmares you were trying to prevent in the first place.
This is especially true as automated threats get smarter. For instance, with the rise of AI agents, 51% of developers are now worried about unauthorized or excessive API calls from these systems. These bots can hammer an endpoint thousands of times a second, far beyond human limits. Recent API security reports dig into this emerging threat if you want to learn more.
To lock down your proxy, you absolutely should implement these measures:
- Rate Limiting: Stop a single user or IP address from spamming your endpoint with too many requests.
- Authentication: Make sure only authenticated users of your app can even access the proxy.
- Input Validation: Sanitize any parameters passed from the client to block injection attacks.
My Personal Tip: I always add a basic authentication layer to my proxies, even on small projects. It could be as simple as a session cookie check or JWT verification. This one step filters out a massive amount of automated bot traffic and ensures only legitimate app users can trigger calls that cost you money.
This proxy approach creates a robust and secure bridge between your app and external services. For those looking to build out a more complex backend, our guide on creating a serverless backend for mobile apps explores these concepts in much greater detail.
Handling Sensitive Data with Capacitor Secure Storage#

Sometimes, your app needs to hold onto sensitive data right on the user's device. The most common case? An authentication or refresh token that keeps the user logged in between sessions.
Just dropping this kind of data into localStorage is a huge security hole. While Capacitor's standard Preferences API is great for user settings, it's just a wrapper around localStorage on the web—meaning it’s completely unencrypted and accessible to simple scripts. That's a deal-breaker for anything secret.
This is exactly why the Capacitor Secure Storage plugin exists. It’s built specifically to handle sensitive data by tapping into the native, hardware-backed security features of the device's operating system.
Leveraging Native Security Features#
The real power of this plugin is that it doesn't try to reinvent the wheel. It acts as a simple bridge to the most secure storage mechanisms available on each platform:
- On iOS: It uses the Keychain, a highly secure, encrypted database built for storing passwords, keys, and other secrets.
- On Android: It uses the Android Keystore system, which provides hardware-backed protection for cryptographic keys and sensitive information.
This approach means your data isn't just encrypted; it's also stored in a sandboxed environment, totally isolated from other applications on the device.
The core benefit here is offloading the heavy lifting of encryption and secure storage to the operating system itself. You get battle-tested security without having to manage complex cryptographic libraries on your own.
Implementing Secure Storage in Your App#
Getting this set up is surprisingly straightforward. You just need to install the plugin and sync your Capacitor project. Once it’s in, the API is refreshingly simple, with clear methods to set, get, and remove data.
Here's a quick look at how you might save a session token after a user logs in:
// Import the plugin
import { SecureStorage } from '@capacitor-community/secure-storage';
// Store the session token securely
const saveSessionToken = async (token: string) => {
await SecureStorage.set({
key: 'session_token',
value: token,
});
};
When the user reopens the app, you can retrieve the token to authenticate them automatically. When they log out, you simply remove it. It’s clean, effective, and a must-have for any serious application handling user data.
For a complete walkthrough of getting a project started, you can explore our full guide on how to build a Capacitor app from scratch: https://nextnative.dev/blog/how-to-build-capacitor. And remember, beyond the technical side, it's crucial to understand and adhere to general privacy policies when you're handling any kind of sensitive information.
Advanced Security Tactics You Should Implement#
With your keys safely stored and proxied, you've already built a solid defensive wall. But we're not done yet. Let's harden that wall with a few advanced tactics that can turn a good setup into a fortress.
These aren't just nice-to-haves; they're proactive steps you need to take to fend off the kind of sophisticated threats that target modern apps.
Simply having a proxy isn't enough—you have to protect the proxy itself. One of the most effective ways to do this is by implementing rate limiting on your Next.js API route. This stops a single user or bot from hammering your service with thousands of requests, which can crash your app or run up a massive bill with the third-party API you're using.
Implement API Key Rotation#
A static, unchanging API key is a ticking time bomb. The longer it exists, the higher the chances it gets compromised. That's why a regular API key rotation schedule is a non-negotiable best practice for any serious production application.
Key rotation is just what it sounds like: periodically deactivating an old key and swapping in a new one. This simple habit drastically shrinks the window of opportunity for an attacker to exploit a leaked key.
- Set a Schedule: Depending on how sensitive the service is, rotate your keys every 90, 180, or 365 days.
- Automate the Process: For bigger systems, use scripts or infrastructure-as-code tools to automate the creation and deployment of new keys.
- Overlap Gracefully: During the rotation, make sure you briefly support both the old and new keys. This prevents downtime while your new environment variables propagate across your system.
My advice is to treat key rotation like you treat password changes for your most critical accounts. Don't wait for a security incident to force your hand. A proactive, scheduled rotation process gives you continuous peace of mind and keeps your security posture strong.
Add Request Validation and CORS#
Your server-side proxy should be skeptical of every single request it receives. Before forwarding anything to the external service, always perform request validation.
This means checking that the incoming data is in the format you expect. For example, if your proxy is waiting for a numeric user ID, your code should verify that the value is actually a number and not a snippet of malicious code.
On top of that, you absolutely need to configure Cross-Origin Resource Sharing (CORS) on your Next.js API routes. By setting a strict CORS policy, you can ensure that only your designated app domain can make requests to your proxy. This effectively blocks unauthorized web clients from ever reaching it.
These layers of defense are more critical than you might think. A startling number of organizations struggle with API security; just 21% report being able to effectively detect attacks at the API layer, and a mere 13% can prevent over half of them. This is a huge security gap, and it’s why proactive measures are so essential.
While we're focused on API keys, a foundational piece of security involves understanding credential strength, which applies to more than just passwords. And for even more advanced mobile-specific techniques, you might want to check out our deep dive on what SSL pinning is and why you need it.
Even after you’ve locked down your API keys, some common questions always seem to pop up. Let's run through a few of the ones I hear most often from developers working in a Next.js and Capacitor environment. Getting these answers straight can save you a lot of headaches down the road.
Is It Ever Safe to Use NEXT_PUBLIC_ for an API Key?#
I’ll make this one easy: absolutely not.
Any environment variable you prefix with NEXT_PUBLIC_ is deliberately baked right into the client-side JavaScript bundle. That means it’s not just accessible; it’s sitting in plain sight for anyone who knows how to open their browser's developer tools.
Think of these variables as being for truly public, non-sensitive information, like a Google Maps ID that's designed to be visible. A secret key should never, under any circumstances, have this prefix.
Can I Just Restrict My Key by Domain or Bundle ID?#
Restricting your key by referrer (for websites) or your app's bundle ID (for mobile) is a great security layer, but it should never be your only defense. These restrictions are a solid first step, but a determined attacker can sometimes find ways to spoof these values and bypass the check.
Think of it as a good lock on your door—it helps, but you still need an alarm system. A server-side proxy is that robust alarm system, providing the most reliable protection for a truly secure API key.
For a deeper dive into this layered approach, you can read more in our comprehensive guide on securing API keys in NextNative.
Does Using a Proxy Slow Down My Application?#
This is a fair concern, but the impact is almost always negligible. Yes, adding a server-side proxy introduces a tiny bit of latency to your network requests, but we're usually talking about a handful of milliseconds.
When you look at the big picture of your app's performance, that minor delay is a tiny price to pay for the huge security win. Keeping your secret key completely off the client device and preventing potential abuse is a trade-off that’s well worth the minimal performance hit in nearly every single use case.
Ready to build secure, high-performance mobile apps without the native hassle? NextNative provides the production-ready toolkit you need to launch on iOS and Android using the web technologies you already love. Check out our templates and get started today at https://nextnative.dev.