Your Guide to Capacitor Push Notifications
Updated: July 24, 2025
When you're building a mobile app with Next.js and Capacitor, one of the most powerful tools in your arsenal is the push notification. Think of it as your direct line to your users, a simple yet incredibly effective way to keep them engaged and coming back for more.
What makes this so great in the NextNative world is the unified API. You get to write your notification logic once, and it just works—for both iOS and Android. That's a huge win.
Why Bother with Capacitor Push Notifications?#
Push notifications are so much more than just little pop-up alerts. They're a strategic way to build a real connection with the people using your app. When you blend the web-dev speed of Next.js with the native muscle of Capacitor, you've got a seriously powerful hybrid app. But without a direct way to reach your users, it can all feel a bit distant.
That's precisely the gap Capacitor push notifications fill. They're the bridge from your app straight into your user's pocket, letting you do things like:
- Bring back inactive users with a gentle nudge or a personalized offer.
- Announce cool new features or content and see an immediate spike in traffic.
- Build trust by confirming actions, like a completed purchase or a file upload.
- Boost conversions by letting users know about a flash sale or a special deal.
The Beauty of the Tech Behind It#
The real magic is how elegantly this all comes together. The official Capacitor Push Notifications plugin smartly uses Firebase Cloud Messaging (FCM) to handle the heavy lifting of delivering messages across platforms. This isn't an accident; it's a very efficient choice.
Ever since its release in 2020, the plugin has given developers fine-grained control over how notifications behave when the app is open—letting you tweak presentation options like sounds and alerts. This means you can make your notifications impactful without being annoying. If you want to dig deeper into the nuts and bolts, the official GitHub repository is a great resource.
Here's the bottom line: A single API for both iOS and Android cuts your development time and complexity way down. You're managing one set of notification code, which means a more consistent experience for everyone, everywhere.
Before we dive into the code, it's so important to get this part. Understanding why you're adding push notifications gives you a clear vision for what you're building. It's not just a feature; it's a core piece of a successful mobile app.
A Quick Reality Check on Opt-In Rates#
Before you start planning your grand engagement strategy, it’s a good idea to set some realistic expectations. User behavior around push notification permissions varies wildly between iOS and Android.
Platform Opt-In Rate Comparison#
Understanding user opt-in behavior on iOS and Android is crucial for setting realistic engagement goals with your Capacitor push notifications.
| Platform | Median Opt-In Rate | Key Consideration |
|---|---|---|
| iOS | 51% | Users are prompted explicitly and must actively agree. The timing of this prompt is critical. |
| Android | 81% | Users are opted in by default on older versions; newer versions are moving closer to iOS's model. |
As you can see, you'll likely have a much easier time reaching Android users out of the gate. For iOS, you have to earn that permission, which means thinking carefully about when and why you ask for it. A well-timed prompt after a positive user experience can make all the difference.
Alright, let's get your Firebase project set up. Before your app can even think about receiving push notifications, you need a backend service to actually send them. We'll be using Google's Firebase platform for this.
Think of Firebase as the command center for your notifications. It’s free to start, incredibly powerful, and it's what the official Capacitor plugin is designed to work with. Honestly, it's the industry standard for a reason.
Take your time with these next steps. A tiny mistake here can cause a massive headache later when you're trying to figure out why your push notifications are getting lost in the ether. Let's build a solid foundation.
Creating the Project and Adding Your Apps#
First things first, head over to the Firebase Console and click "Add project." The setup wizard is pretty straightforward, so just pick a name that makes sense for your app and follow the prompts.
Once your project is created, you’ll land on the main dashboard. You’ll see icons to add an app—and you need to add both an iOS and an Android app to this single Firebase project. This is a critical step because each platform needs its own special configuration file to talk to Firebase.
- For Android: Firebase will ask for your app's package name. You can grab this directly from your
capacitor.config.tsfile—it's the value of theappIdkey. - For iOS: You'll need your app's bundle ID. Good news, it's the exact same
appIdfrom yourcapacitor.config.tsfile.
As you go through the setup for each platform, Firebase will give you a configuration file to download. For Android, you'll get a google-services.json file. For iOS, it's a GoogleService-Info.plist file. Download both and keep them handy.
These config files are basically the secret handshake between your app and Firebase. They contain all the project-specific IDs and API keys that allow your app to securely connect to the Firebase backend.
Getting Your Configuration Files in the Right Place#
Now that you have your two config files, you need to drop them into the correct spots inside your Capacitor project. The native build tools for both Android and iOS are looking for these files in very specific locations.
google-services.json: This one goes into theandroid/appdirectory.GoogleService-Info.plist: This one needs to be placed inside theios/App/Appdirectory.
I can't stress this enough: get these locations exactly right. It's one of the most common spots where things go wrong, so it’s worth a double-check. Sticking to these conventions is just good practice, something we cover more in our guide on mobile development best practices.
Don't Forget to Enable the Cloud Messaging API#
Okay, one last thing that's super easy to miss. You have to explicitly enable the API that handles the messaging.
Back in the Firebase Console, click the little gear icon to go to your Project Settings, then select the "Cloud Messaging" tab.
You'll probably see that the Firebase Cloud Messaging API (V1) is disabled. You need to turn this on. Just click the three-dot menu next to it and select "Manage API in Google Cloud Console." This will take you to a new page where you can click a big blue "Enable" button.
That's it! This simple click gives your project permission to actually send and receive messages. With that done, your Firebase project is perfectly configured and ready to go.
Installing and Configuring the Plugin#
Okay, with your Firebase project ready to go, it's time to pull that functionality into your NextNative app. This is where we’ll get our hands dirty installing the official Capacitor Push Notifications plugin and telling our app what to do when a message arrives.
Getting these next few steps right is often what makes the difference between a smooth setup and a headache-inducing debugging session.
First things first, you need to add the plugin to your project. Pop open your terminal at the root of your Next.js project and run this command:
npm install @capacitor/push-notifications
Once that's finished, you have to sync your project. This is a crucial step that tells the native iOS and Android projects about the new plugin. Don't skip it!
npx capacitor sync
This command updates all the native dependencies, baking the push notification code right into your mobile builds. It’s a simple but vital part of the process. If you want a more detailed look at how Capacitor builds work, we've got a great guide on building a Capacitor app that dives deeper.
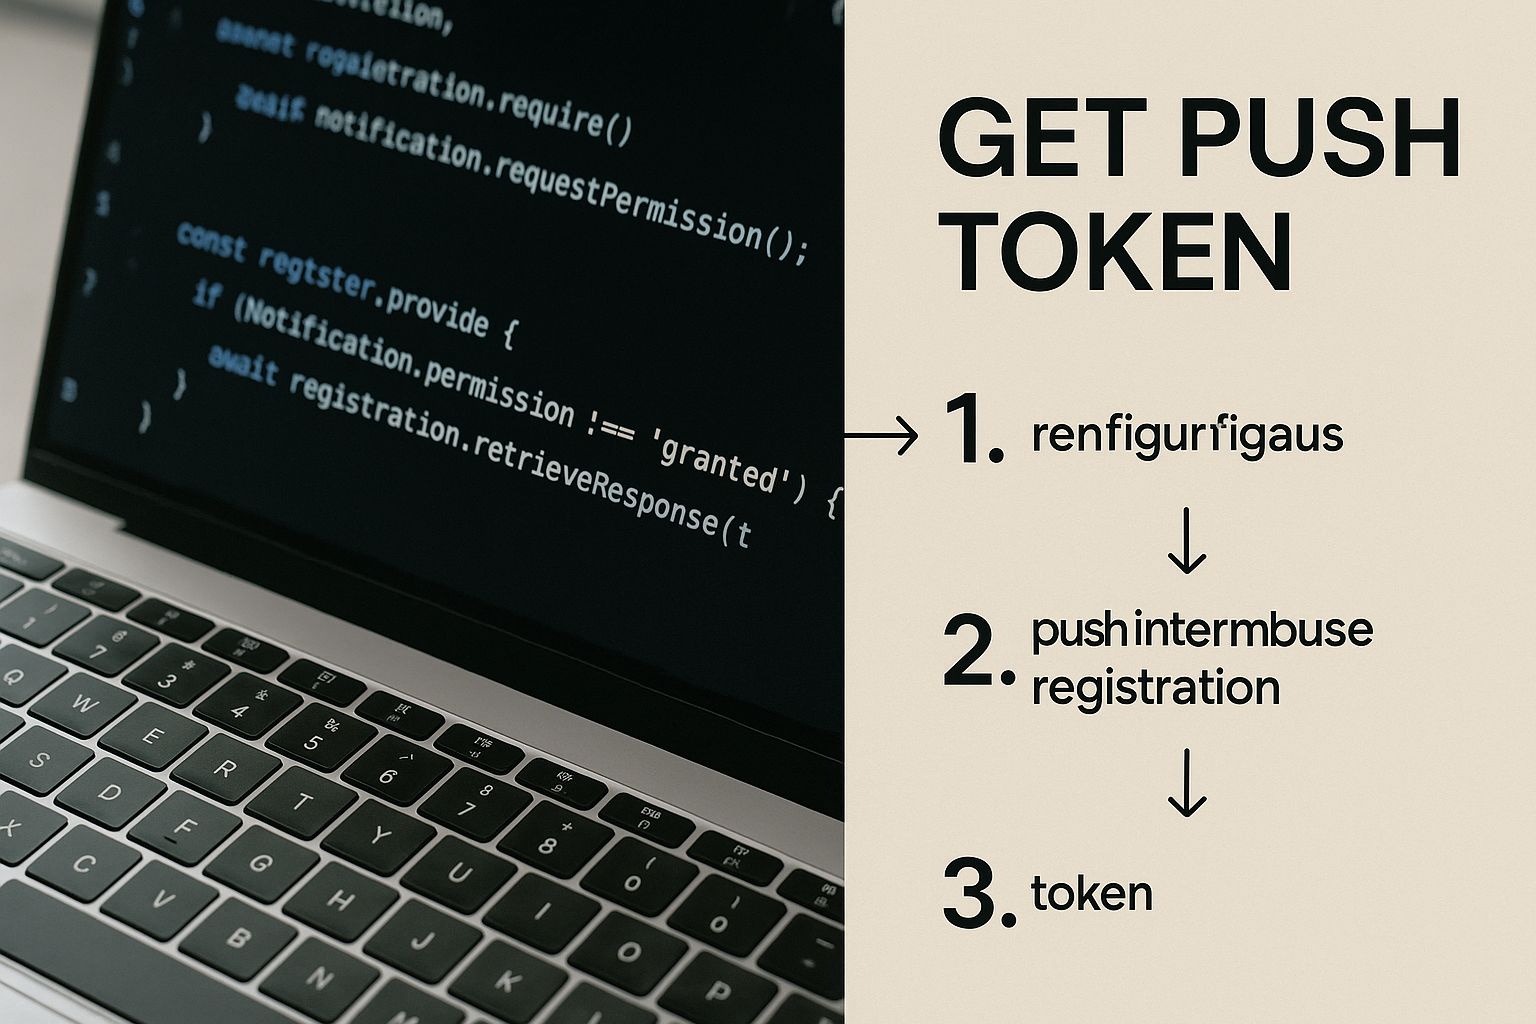
Initializing the Plugin and Handling Permissions#
Now for the fun part—the code. I usually put all my notification logic in a central place, like a shared service or right inside _app.tsx. The goal is to make sure it runs as soon as the app loads, so your listeners are always ready.
From my experience, the whole process boils down to three key actions:
- Ask for Permission: You can't just start blasting users with notifications. You have to ask politely first. This is non-negotiable, especially on iOS.
- Register the Device: As soon as the user says "yes," your app can register itself with Firebase Cloud Messaging (FCM) to get a unique push token.
- Set Up Listeners: Finally, you need to tell your app how to react when a notification is received or tapped on.
Key Takeaway: User permission is the key that unlocks everything. If a user denies permission, your app won't get a push token for that device, and you'll have no way to reach them with notifications.
A Practical Code Example#
Let's put this into practice. Here’s a code snippet that wraps these core functions into a tidy initialization method.
import { PushNotifications } from '@capacitor/push-notifications';
const addListeners = async () => { await PushNotifications.addListener('registration', token => { console.info('Registration token:', token.value); });
await PushNotifications.addListener('registrationError', err => { console.error('Registration error:', err.error); });
await PushNotifications.addListener('pushNotificationReceived', notification => { console.log('Push notification received:', notification); });
await PushNotifications.addListener('pushNotificationActionPerformed', notification => { console.log('Push notification action performed', notification.actionId, notification.inputValue); }); }
const registerNotifications = async () => { let permStatus = await PushNotifications.checkPermissions();
if (permStatus.receive === 'prompt') { permStatus = await PushNotifications.requestPermissions(); }
if (permStatus.receive !== 'granted') { throw new Error('User denied permissions!'); }
await PushNotifications.register(); }
// Call this when your app initializes export const initializePushNotifications = async () => { await addListeners(); await registerNotifications(); }; This flow is absolutely essential for getting the device token, which is the unique address you'll use to send notifications.
As you can see in the code, it’s a clear sequence: check permissions, register the device, and listen for that token. Once you get the token.value, the next step is usually to send it to your backend server. There, you'll store it with the user's account so you can target them with specific, relevant notifications later on.
Sending Your First Test Notification#
Alright, with all the configuration out of the way, it's time for the moment of truth. Seeing that first push notification pop up on your device is more than just a cool milestone—it’s the ultimate sanity check. It confirms that everything, from your Firebase setup to the code in your app, is talking to each other correctly.
The best part? You don't even need a full-blown backend server to do this. We can send a test message directly from the Firebase console, which is perfect for isolating and confirming your client-side setup is solid before moving on.
Finding Your Device Registration Token#
First things first, you need to find the unique "address" for your test device. Remember that registration listener we added earlier? This is where it comes into play.
Go ahead and run your app on a physical device or an emulator with your development console open (in Android Studio or Xcode). As the app initializes, you should see a line pop up in the logs that looks something like Registration token: followed by a very, very long string of characters. That's your golden ticket.
A Quick Word on Security: That token is sensitive. While it can't be used to access user data directly, it's the key to sending notifications to that specific device. It's always a good idea to handle these tokens securely, a topic we dive into in our guide on mobile app security best practices.
Grab that token and copy it. We're about to use it.
Crafting the Message in Firebase#
Now, let's jump back over to your Firebase project dashboard. On the left-hand menu, look under the "Engage" section and click on "Messaging." From there, hit the "Create your first campaign" button.
You'll be prompted to choose a message type. Select "Firebase Notification messages" and start putting together your test.
- Notification title: Keep it simple. Something like "Hello World!" works perfectly.
- Notification text: Add a short message, maybe "My first Capacitor push notification works!"
- Notification image (Optional): If you're feeling fancy, you can even drop in an image URL to see how rich notifications look on the device.
Once you've filled that out, click the "Send test message" button. A dialog will appear asking for an FCM registration token. This is where you'll paste the token you just copied from your console. Click the little plus (+) sign to add it to the list, and then smash that "Test" button.
If all went well, you should see the notification appear on your device within seconds. That's it! This simple test confirms your entire client-side push notification pipeline is working.
Understanding Notification Payloads#
What you just sent is a standard notification payload. When your app is in the background or closed, the phone's operating system takes care of displaying these messages automatically. But there's a more powerful type of message you'll eventually want to use: the data payload.
| Payload Type | Primary Use Case | Handled By |
|---|---|---|
| Notification | Simple, visible alerts (title, body) | The mobile operating system |
| Data | Custom data for in-app logic | Your app's own code |
A data payload is sent silently to your app, allowing you to run custom code in the background. Think of it as a secret message that can trigger things like updating content, navigating the user to a specific screen, or refreshing a feed. This is how you create truly contextual messages that feel deeply integrated into the app experience.
Getting this right has a huge impact. Contextual notifications have been shown to have an average open rate of 14.4%, which blows the 4.19% average for generic campaigns out of the water. You can dig into more of these push notification benchmarks to see just how powerful relevance can be.
Taking Your Push Notifications to the Next Level#
Alright, so you've got basic alerts working. That's a huge first step, but the real magic of Capacitor push notifications is what you do next. This is where you can elevate your app from simply sending alerts to creating genuinely seamless and helpful user experiences. When done right, your notifications stop feeling like interruptions and become a natural extension of your app.
A great example of this is the data-only notification. Think of it as a silent push. It doesn't pop up on the user's screen or make a sound. Instead, it quietly wakes your app in the background to get something done, like syncing fresh content or pre-loading a user's feed. It's a fantastic way to make sure the app feels zippy and up-to-date the second someone opens it.
Create a Seamless User Journey with Deep Linking#
Let's get practical. Imagine a user gets a notification about a new message. If they tap it and land on your app's home screen, that's a dead end. They have to go find the message themselves. That's where deep linking comes in—it’s absolutely vital for good UX. Tapping the notification should take them directly to that specific conversation.
So, how do you pull this off? It's all about adding custom data to your notification payload. When the user taps the notification, the pushNotificationActionPerformed event fires, and you can grab that data to direct traffic inside your app.
Here's a quick look at how it works:
- In Your Payload: You'd include something like a
routeorpageIdin your notification's data object. For instance:{ "route": "/messages/123" }. - In Your App Logic: Your event listener then simply reads this
routeand uses your Next.js Router to navigate the user straight to that screen.
This one simple change transforms a generic alert into a direct, helpful pathway. It makes your app feel smarter and more intuitive, which is a huge win for engagement.
Give Users Control with Notification Channels#
If you're building for Android, you have another powerful tool at your disposal: Notification Channels. This feature lets you categorize your notifications—think "Promotions," "Account Alerts," or "New Messages." More importantly, it gives users granular control to opt in or out of specific categories instead of just turning everything off.
Setting this up requires using the createChannel method from the Capacitor plugin. Yes, it's a little extra work, but the payoff in user trust is massive. People are far less likely to hit the "disable all" button when they feel in control.
While this is an Android-specific feature, the underlying principle is universal. Thinking about how you can give users more control is a great habit, especially when you start looking at the differences in developing for multiple platforms. If you're curious about those nuances, we've actually put together a detailed comparison of https://nextnative.dev/blog/capacitor-vs-react-native.
The key is to see notifications as a dialogue, not a monologue. Giving users control over what they receive builds trust and ensures your messages remain welcome.
Respecting User Privacy and Avoiding Fatigue#
Finally, let's talk about the human side of things. Notification permission is a privilege, not a right. The numbers back this up: 2025 projections show Android with a median opt-in rate of 81%, but iOS sits way lower at 51%. That gap tells a story—you have to earn that permission, especially on iOS.
Of course, a well-crafted message can work wonders. Personalizing notifications can boost engagement by 59%, and using rich media can increase click-throughs by 25%, according to a report on push notification marketing. But there's a fine line. Go overboard, and you'll just annoy people into uninstalling your app.
Always ask yourself: does this notification provide real, immediate value? If the answer isn't a clear "yes," it's probably better to hold off.
Common Questions About Capacitor Notifications#
Even with the best guide, real-world development loves to throw curveballs. You're bound to run into some head-scratchers, especially when dealing with the tricky logic of notifications when your app isn't front and center. Let's walk through some of the most common questions and issues that pop up with Capacitor push notifications.
Getting these edge cases right is what really elevates an app's experience. Something as simple as what happens when a user taps a notification while the app is closed can make all the difference between a clunky interaction and a seamless one.
How Do I Handle Notifications When My App Is Closed?#
This is the big one, the question I hear most often. When your app is in the background or completely terminated, the phone's operating system (iOS or Android) handles showing the notification banner. Your responsibility kicks in the moment the user taps on it.
This specific scenario is exactly what the pushNotificationActionPerformed event listener was made for. The key is to set this listener up right as your app boots up. It's designed to fire only when the app is launched directly from a user tapping a notification.
The event's payload will carry any custom data you attached, like a specific URL or a product ID. You can then grab that data and route the user to the correct screen, creating that deep-linking experience users have come to expect.
Pro Tip: Make sure you register your
pushNotificationActionPerformedlistener at the highest level of your app's startup process, like your main_app.tsxfile. If it's buried too deep, it might not be ready in time to catch the event when your app launches from a cold start, and you'll miss it.
Can I Use a Push Provider Other Than Firebase?#
Technically, yes, but it's a question of practicality. The official @capacitor/push-notifications plugin is built from the ground up to work with Firebase Cloud Messaging (FCM). It’s the most direct, well-supported path and integrates smoothly into the Capacitor ecosystem.
While you aren't completely locked in, moving away from the official plugin means adding complexity. If you absolutely must use another provider like OneSignal, your first step should be to look for a third-party Capacitor plugin built specifically for that service. Just be sure to vet it carefully—check its maintenance history and compatibility with your version of Capacitor.
The other option is to build your own native plugin, but that's a serious commitment requiring deep knowledge of native iOS and Android code. For 99% of projects, sticking with the official FCM plugin is simply the most reliable and efficient way to go.
Why Are My Notifications Not Arriving on iOS?#
Ah, the classic iOS mystery. If your notifications hit Android devices perfectly but vanish into thin air on iOS, it's almost always a configuration problem. Here's my go-to troubleshooting checklist:
- APNs Key: Go back to your Apple Developer account and double-check that you've created an Apple Push Notification service (APNs) key. Then, confirm you uploaded that exact key to your Firebase project's Cloud Messaging settings.
- Xcode Capabilities: Pop open your project in Xcode. Navigate to
Signing & Capabilitiesand ensure thePush Notificationscapability has been added to your app target. It's an easy step to miss. - Bundle ID Match: This is a big one. The Bundle ID in your Xcode project must be an exact match—character for character—with the iOS bundle ID you registered in your Firebase project. Even a single typo will sever the connection.
- Test on a Real Device: This trips up so many developers. Push notifications do not work on the iOS simulator. You absolutely have to test on a physical iPhone or iPad to see them in action.
Working through configuration issues like these can sometimes have knock-on effects on your app's startup time. For more on that, check out our guide on how to improve mobile app performance for some great tips on keeping things running fast.
Ready to build production-ready mobile apps with the tools you already love? NextNative gives you the complete toolkit to go from Next.js developer to native app creator, without the headaches. Check out the templates and boilerplates at https://nextnative.dev and launch your app in weeks, not months.