Quick Setup Guide for oauth client id google
Updated: October 22, 2025
An oauth client id google is your app's public identifier within Google's ecosystem—think of it as a digital passport. When your app needs to access a user's Google data, like their calendar or contacts, this ID is what tells Google, "Hey, this is my app making the request." It’s the first step in proving your app is a known and registered entity.
What a Google OAuth Client ID Actually Is#

Before we jump into the setup, let's get clear on what this ID really does. It's the public face of your application in Google's authentication system. You can think of it as your app's username; it’s perfectly safe to expose in your frontend code or application binary.
But the Client ID rarely works alone. It's almost always paired with a Client Secret. The secret is your app's password, and you must keep it confidential and locked down on your server. Together, these two pieces form a credential that authenticates your application to Google—not the user.
The Core Authentication Flow#
This credential pair is the cornerstone of the OAuth 2.0 flow, a protocol that lets a user grant your app access to their information stored with Google, all without ever sharing their actual password. It's a system trusted by millions of developers. While the number of client IDs created daily isn't public, Google reported in 2023 that over 5 million apps were using Google Sign-In, which gives you a sense of the massive scale.
This flow allows your application to securely request specific permissions, known as "scopes," from the user. For example, you might ask for read-only access to their Google Drive files. The user is then shown a consent screen that clearly details what your app wants to do. Only after they click "Approve" does Google issue a temporary access token to your app.
Key Takeaway: The Client ID identifies your app, while the Client Secret proves it's who it says it is. This separation is crucial for securing the communication channel between your app and Google, effectively shutting the door on unauthorized access.
To see how this fits into the bigger picture of modern security, it’s helpful to understand related protocols like password-less authentication with OpenID Connect. For a deeper dive into the mechanics, you can also explore our detailed guide on the Google OAuth 2.0 process.
https://nextnative.dev/blog/google-oauth-2
Setting Up Your First Google Cloud Project#
Your journey to get an oauth client id google starts in the Google Cloud Console. This is the central hub where all your app's credentials, APIs, and settings will live. If you've never used it before, the console can look a little intimidating, but spinning up a new project is actually pretty simple.
Think of a Google Cloud Project as a dedicated container for a single application. It neatly isolates your app's resources, billing, and permissions from everything else you're working on. This isn't just about staying organized; it's a critical security practice.
Creating and Organizing Your Project#
One of the most common mistakes I see is developers using a single, massive project for everything. A much better approach is to create separate projects for your different environments—at the very least, you should have one for development and another for production.
- Development Project: This is your sandbox for testing, experimenting with new APIs, and daily coding. Credentials here are less sensitive.
- Production Project: This one is for your live application. Access needs to be locked down, and credentials must be treated like gold.
This separation keeps your testing activities from ever accidentally impacting live users and makes managing credentials way less of a headache.
Below is a look at what the project creation screen looks like inside the Google Cloud Console.
All you need to do here is give it a unique Project Name, and Google will automatically assign a globally unique Project ID.
Pro-Tip from Experience: Always give your projects clear, descriptive names like "MyApp-Prod" or "WebApp-Dev" right from the start. It seems like a small detail, but this habit will save you from some serious confusion down the road as your list of projects grows.
Nailing this foundational step sets you up for a much smoother configuration process. Once your project is created, you're ready to start enabling the right APIs and setting up the consent screen, which we cover in detail throughout our guide on the https://nextnative.dev/blog/oauth-google-api.
How to Configure a Trustworthy OAuth Consent Screen#
The OAuth consent screen is that make-or-break moment when a user decides if they trust your app with their data. It's the very first handshake. A polished, professional screen builds immediate confidence, while a sloppy one is a surefire way to scare people off before they even get started.
Getting this right is about more than just slapping your logo on it. Your first big decision is choosing the User Type.
- Internal: This is strictly for users inside your own Google Workspace organization. It’s perfect for company-only tools and doesn’t need Google’s lengthy verification process.
- External: Pick this if your app is for the general public. These apps start in a "testing" mode and will eventually have to go through Google's verification to be fully accessible to everyone.
For most public-facing apps, you'll be choosing External.
Defining Your App's Identity#
Once you've picked your user type, you’ll land on the app information page. This is your chance to look legit. Fill out the app name, add your support email, and be sure to upload a high-quality logo. These small details show there's a real, accountable team behind the app.
You’ll also need to provide links for your app's homepage, terms of service, and a privacy policy. That privacy policy link is non-negotiable for public apps. Explaining how you handle user data isn't just a legal requirement; it's a massive trust signal. If you're not sure where to begin, our guide on crafting privacy policies for apps can walk you through the essentials.
Crucial Takeaway: Don't treat this screen like a bureaucratic hoop to jump through. Every field you complete builds a user's perception of your app's legitimacy and influences their decision to grant you access.
Next up is defining your scopes—the specific permissions your app is asking for. This is arguably the most important part. The "principle of least privilege" should be your guiding star here. Only ask for the permissions you absolutely need for your app to do its job.
Requesting access to a user's entire Google Drive when you only need to read a single spreadsheet is a huge red flag. Respecting user privacy by minimizing data access from the start can dramatically boost your app's adoption rate.
Generating Your OAuth Client ID and Secret#
Alright, with your project set up and the consent screen looking good, it's time for the main event: creating the actual oauth client id google credentials. This is where you tell Google precisely what kind of application will be asking for user data.
When you land on this page in the Google Cloud Console, you'll see a few different application types. Picking the right one isn't just a formality—it’s the most important decision you'll make at this stage because it defines the entire security model for your app.
Choosing Your Application Type#
The options you see—like Web application, Android, iOS, or Chrome App—are each designed for a specific environment. If you're building a standard website where authentication happens on your server, Web application is the obvious choice. Simple.
For mobile developers, especially those using frameworks like NextNative, things get a bit more specific.
- Android: Google will ask for your package name and a SHA-1 signing-certificate fingerprint. This is a security check to ensure requests are only coming from your authentic, signed app.
- iOS: Here, you'll need your app's Bundle ID, which is the unique identifier you register with Apple.
This infographic breaks down the general flow of how this choice leads to your final credentials.
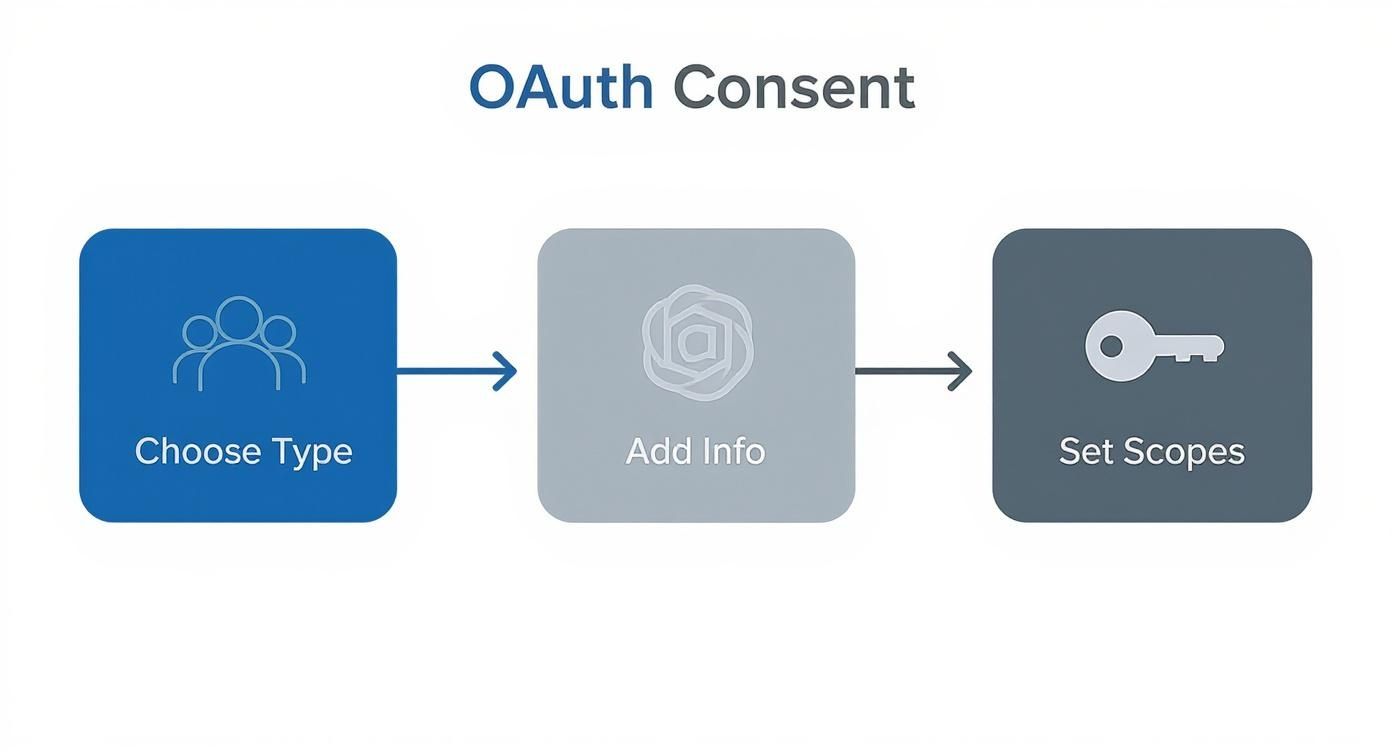
As the visual shows, selecting the app type is just the first step. You have to provide the right identifying details before Google will hand over the keys. I can't stress this enough: choosing the wrong type can lead to maddening authentication failures that are a real pain to debug. Double-check that your choice lines up perfectly with your app's architecture.
To make this crystal clear, here’s a quick breakdown to help you pick the right option for your project.
Choosing Your OAuth Application Type#
Selecting the correct application type is crucial for security and proper function. Use this table to find the best fit for your project.
| Application Type | Best For | Key Configuration Detail |
|---|---|---|
| Web application | Server-side web apps (e.g., Next.js, Node.js) that can securely store a client secret. | Requires Authorized redirect URIs where users are sent after logging in. |
| Android | Native Android apps, including those built with Capacitor or React Native. | Needs the Package name and SHA-1 certificate fingerprint of your app. |
| iOS | Native iOS apps, including those built with Capacitor or React Native. | Needs the Bundle ID from your Xcode project. |
| Chrome App | Legacy Chrome applications that run in the browser. | Requires the Application ID of your Chrome app. |
| Desktop app | Applications that run locally on a user's machine (macOS, Windows, Linux). | Often uses a loopback IP address for the redirect URI. |
Ultimately, your choice tells Google how to handle the OAuth flow and what security measures to enforce. Make sure it matches what you're actually building.
Configuring Authorized Redirect URIs#
No matter which application type you pick, you will have to configure Authorized redirect URIs. This is, without a doubt, the most critical security setting in this entire process.
Think of it like a bouncer at a club with a very strict guest list. A redirect URI is an endpoint you've pre-approved, telling Google, "After a user logs in, it's safe to send them back to this exact address." If a hacker tries to intercept the login flow and redirect the user's authorization code to their own server, Google will stop it cold because that server isn't on your list.
Crucial Security Tip: Be as specific as possible with your redirect URIs. Avoid using wildcards unless you have a very, very good reason. A tightly configured URI is your number one defense against common OAuth attacks like authorization code interception.
For a local development setup, you’ll probably use something like http://localhost:3000/api/auth/callback/google. For a production Next.js app, it'll be your real domain, like https://yourapp.com/api/auth/callback/google. If you're a NextNative developer, you'll need to add the specific URI your native shell uses to catch the callback from the OS.
Once you’ve set the application type and your redirect URIs, hit "Create." A pop-up will instantly appear with your shiny new Client ID and Client Secret. Copy them immediately and store them somewhere safe. Pay extra attention to the Client Secret—Google will only show it to you this one time.
Best Practices for Managing Your Credentials#
Getting your oauth client id google and secret is just the first step. The real work begins now: managing these credentials securely for the long haul. If you treat this as a one-time setup, you're leaving a door wide open for security breaches that can expose your app and your users' data.
Let's start with the single most important rule. Never, ever commit your Client Secret to a public Git repository. Think of it like leaving the keys to your entire infrastructure under the doormat. Malicious bots are constantly scanning sites like GitHub for exactly this kind of mistake, and a leaked secret can be found and exploited in minutes.
Secure Credential Storage#
So, if you can't hardcode your secrets, what's the right way to handle them? This isn't just a suggestion; it's a fundamental security practice for any serious application.
- Environment Variables: At a minimum, store your Client ID and Secret as environment variables on your server. This keeps them completely separate from your codebase and makes it easy to manage different credentials for your development, staging, and production environments.
- Secret Management Tools: For any app heading to production, you should use a dedicated service like AWS Secrets Manager, Google Secret Manager, or HashiCorp Vault. These tools are built for this exact purpose, offering encrypted storage, strict access control policies, and detailed audit logs.
Properly handling your OAuth credentials is a key part of the much bigger picture of securing web applications. For a deeper dive into this topic, be sure to check out our guide on securing API keys and other sensitive credentials.
Key Takeaway: Treat your Client Secret with the same caution you would a root password to your most critical systems. If it's ever exposed, even for a moment, consider it compromised and revoke it immediately.
Credential Rotation and Auditing#
Finally, you need to practice good credential hygiene. This means regularly rotating your secrets and auditing all the active client IDs in your project. Don't let old, forgotten credentials pile up in your Google Cloud project—each one is an unnecessary attack surface waiting to be exploited.
Google is also pushing developers in this direction. As of June 2025, Google started automatically deleting OAuth clients that have been inactive for six months to cut down on potential misuse. This policy underscores just how critical active lifecycle management is.
You can find more developer discussion around this automated cleanup policy on the Google Dev forums. Get ahead of this by periodically reviewing your project and deleting any client IDs that are no longer in use. It's a simple step that keeps your application much more secure.
Common Questions About Google OAuth Client IDs#
Once you start working with a Google OAuth Client ID, you'll run into a few tricky situations and common questions. Let's walk through some of the things that stump developers most often. These are the details you won't always find in the official docs but are critical for getting things right in the real world.
One of the first "gotchas" people hit, especially during testing, is token limits. It's important to know that each oauth client id google can only generate a maximum of 100 refresh tokens for a single Google Account. The 101st time a user authorizes your app, Google silently kills the oldest token.
For a normal user, this is a non-issue. But for a developer testing an integration over and over? You can hit that limit surprisingly fast. You can find more on this and other OAuth 2.0 protocol limits on Google's developer site.
Can I Use the Same Client ID for Different Environments?#
While you technically can, you absolutely should not. Reusing the same Client ID for your development, staging, and production environments is a huge security risk and a recipe for an organizational mess. A compromised key in your less-secure dev environment could be used to access live production data.
Always create separate client IDs for each environment. This isn't just best practice; it's a sanity-saver.
- Isolation: Your testing activities will never accidentally impact live users.
- Security: If a development key leaks, your production environment stays locked down.
- Clarity: It makes debugging way easier because you know exactly which environment an API call is coming from.
What Happens If My Client Secret Is Exposed?#
If you even suspect your Client Secret has been exposed, treat it as compromised. Don't wait. Go straight to your Google Cloud Console, find the credential in question, and hit the "Reset Secret" button to generate a new one.
Crucial Security Action: Revoking the old secret and deploying the new one should be your top priority. Any delay gives an attacker a window to misuse your credentials, potentially accessing sensitive user data through your app.
Once you reset it, you'll need to update your application's server-side configuration with the new secret. For a deeper dive into the whole setup and how these credentials fit into the bigger picture, check out our guide on the OAuth 2.0 flow with Google's API. It'll give you a solid foundation for managing these critical pieces securely.
Ready to build native iOS and Android apps using the web skills you already have? With NextNative, you can skip the complex native toolchains and launch your mobile app faster. Check out our production-ready templates and toolkits at https://nextnative.dev.