Build a Mobile App with React JS From Scratch
Updated: August 10, 2025

For web developers, building a mobile app with React JS is the most natural way to jump into the mobile world. It means you can take all your hard-earned knowledge of components, hooks, and state management and apply it directly to creating apps for both iOS and Android. Forget about learning two new native languages from scratch.
This guide will walk you through a seriously powerful, modern stack: using Next.js for your app's structure and Capacitor to wrap it all up into a native mobile package.
Why Even Use React JS for Mobile App Development?#
If you're already building with React, you're sitting on a goldmine of skills that translate directly to mobile. The leap from crafting slick websites to shipping a polished mobile app is much smaller than most people think. You don't have to ditch your favorite tools or start over. It's all about extending what you already do best.
The concept is refreshingly straightforward. You build a web app with the tech you know and love—like Next.js—and then use a tool like Capacitor to package it as a native mobile application. This isn't just a clever workaround; it comes with some huge advantages.
One Codebase to Rule Them All: Write your app once. Deploy it everywhere—web, iOS, and Android. This is a massive time-saver for development and a lifesaver for long-term maintenance.
Move Faster: Sticking with your React expertise means you can build, test, and ship features much more quickly than if you were trying to get up to speed with Swift or Kotlin.
Keep Costs Down: A single codebase and faster development cycles mean lower costs. For startups, solo devs, and small agencies, this is a game-changer. We've seen this approach cut development expenses by up to 40% compared to going the traditional native route.
To get a clearer picture, let's break down how this modern approach stacks up against the old way of doing things.
Comparing Native vs React JS + Capacitor Development#
Here’s a quick look at the key differences between traditional native development and the modern React JS approach for mobile apps.
Feature | Traditional Native (Swift/Kotlin) | React JS + Capacitor |
|---|---|---|
Codebase | Separate codebases for iOS and Android. | A single, unified codebase for web, iOS, and Android. |
Developer Skills | Requires specialized Swift and Kotlin developers. | Leverages existing React and web development skills. |
Development Speed | Slower; features must be built and maintained twice. | Much faster; build once, deploy everywhere. |
Maintenance | Higher overhead; bugs and updates need double the work. | Simpler; fix a bug once, and it's fixed everywhere. |
Team Size | Often requires larger, specialized teams. | Can be handled by a smaller, more agile web team. |
Cost | Significantly higher due to double the work and specialized talent. | More cost-effective, with savings up to 40%. |
As you can see, the benefits of using your web skills for mobile development are pretty compelling, especially when it comes to speed and your budget.
The Power of the React Ecosystem#
One of the biggest—and often overlooked—advantages of building a mobile app with React JS is the massive, vibrant community behind it. You're tapping into an ecosystem supported by millions of developers and thousands of companies, from scrappy startups to giants like Meta and Microsoft.
This isn't just about feeling like you're part of something big. It has very real, practical benefits.
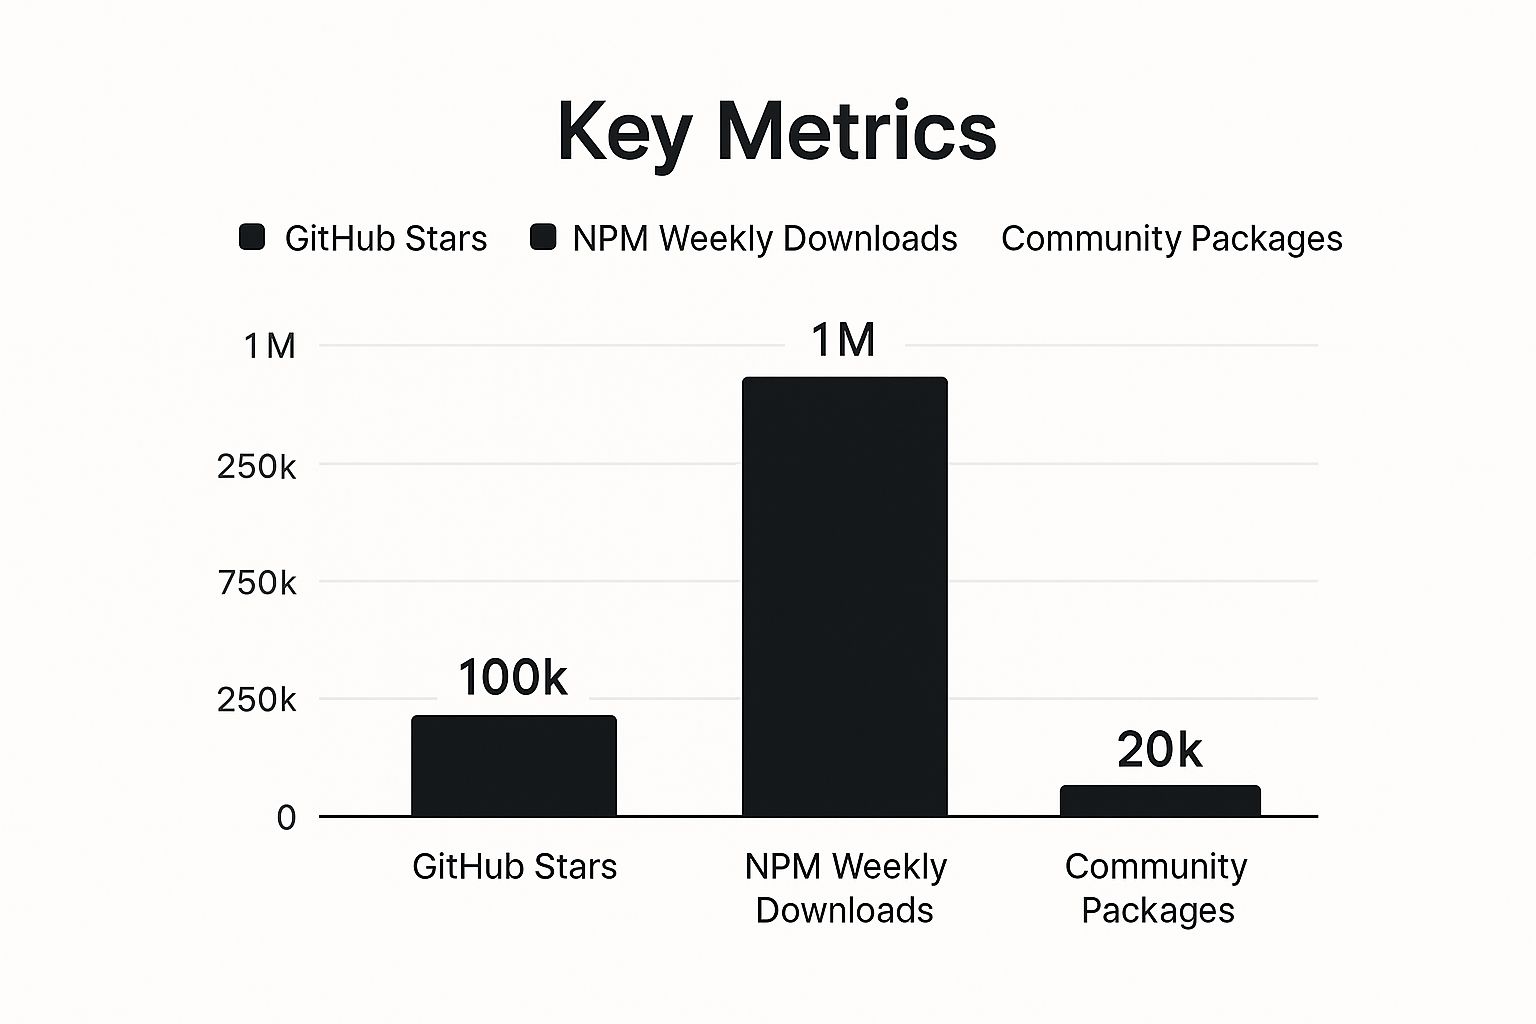
Just look at those numbers. We're talking about a healthy, thriving ecosystem you can count on for packages, tutorials, and long-term stability. When you hit a roadblock, chances are someone else has already solved it. You’re not just choosing a library; you’re joining a global community that’s constantly building and innovating.
To dive deeper, check out our full guide on the benefits of using React JS for mobile development.
Alright, let's get our hands dirty and set up the development environment. Before we can even think about building our app, we need to lay the proper groundwork. This involves spinning up a new Next.js project and then weaving in Capacitor—the secret sauce that’ll transform our web app into a native one.
First up, let's create a fresh Next.js application. We'll stick to the standard create-next-app command, which I'm sure you've run a thousand times. It gives us that familiar, clean React project structure to start from.
npx create-next-app@latest my-mobile-app
Once that's done, it's time to bring Capacitor into the picture. We'll need to install the Capacitor CLI and its core dependencies. The CLI is basically your command center for all things native in your app.
Integrating Capacitor into Next.js#
Now, for Capacitor to play nicely with Next.js, we have to make a small but critical adjustment. We need to tell Capacitor where to find our app's production-ready files. By default, Next.js builds to a .next directory, but Capacitor is looking for a static out folder.
To bridge this gap, we'll pop open our next.config.js file and add one line. This little tweak is what allows Capacitor to correctly bundle your web code into the native app shell.
/** @type {import('next').NextConfig} */
const nextConfig = {
  output: 'export',
};

module.exports = nextConfig;
This tiny configuration change tells Next.js, "Hey, when you build, give me a static HTML export of the app." That static output is exactly what Capacitor needs to wrap inside a native WebView.
A Quick Heads-Up: Setting
output: 'export'in yournext.config.jsis absolutely essential. It’s the linchpin that makes sure your Next.js app is packaged in a format Capacitor can understand, creating that crucial bridge between your web code and the native mobile world.
With that configuration in place, we can now initialize Capacitor right inside our project. Just run the init command. It'll ask you for your app's name and a unique bundle ID (something like com.myawesomeapp.mobile).
npx cap init
This command conveniently generates a capacitor.config.ts file for you, which is your new home for managing all the native settings for your app.
Capacitor essentially acts as a powerful bridge, giving your web app access to native device APIs through a consistent JavaScript layer. As the visual from their official site shows, it doesn't matter if you're on iOS or Android; your JS code talks to the same Capacitor API.
This architecture is what lets you write once and tap into native features everywhere.
Adding the Native Platforms#
We're in the home stretch of the setup. The final piece is adding the native platforms you want to build for. In our case, that’s iOS and Android. It’s as straightforward as running a couple of quick commands.
For iOS:
npx cap add ios
For Android:
npx cap add android
When you run these, Capacitor will create ios and android folders at the root of your project. These aren't just any old folders—they are complete, standalone native projects. You can literally open the ios directory in Xcode or the android directory in Android Studio.
And just like that, you're all set! You now have a fully configured development environment. Your Next.js project has been successfully turned into a mobile app with React JS, ready for you to work on.
Tapping into Native Device Features with Capacitor#
Alright, this is where things get really interesting. So far, we've essentially wrapped our Next.js app in a native shell. But let's be honest, a real mobile app is so much more than just a website in a container. People expect it to use their phone's hardware—to snap a photo, find their location, or give that subtle haptic buzz.
This is exactly where Capacitor's API bridge comes into play, and it's a game-changer. It lets you call native device functions directly from your React components without ever touching a line of Swift or Kotlin. Think of it as the ultimate translator between your web code and the phone's inner workings.
How Capacitor Plugins Work#
The whole concept is refreshingly simple. You find the Capacitor plugin for the feature you need, install it, and then call its methods just like you would with any other JavaScript library.
Let's walk through a real-world example: accessing the phone's GPS.
First, we need to grab the official Capacitor Geolocation plugin. A quick npm command will do the trick:
npm install @capacitor/geolocation
With that one package, you have everything you need to request location permissions and get the device's current coordinates. You can drop this functionality right into any React component.
Here’s what that looks like in practice. We'll build a small component that fetches and displays the user's current latitude and longitude.
import React, { useState, useEffect } from 'react';
import { Geolocation } from '@capacitor/geolocation';

const LocationDisplay = () => {
const [coords, setCoords] = useState(null);
const [error, setError] = useState(null);

useEffect(() => {
const getCurrentPosition = async () => {
try {
// First, we ask for permission and then get the current position.
const coordinates = await Geolocation.getCurrentPosition();
setCoords(coordinates.coords);
} catch (e) {
// If the user denies permission or something goes wrong, we'll know.
setError("Oops! Couldn't get your location.");
}
};

getCurrentPosition();
}, []);

if (error) {
return <>{error}</>;
}

return (
<>
{coords ? (<>Latitude: {coords.latitude}, Longitude: {coords.longitude}</>) : (<>Finding your location...</>)}
</>
);
};

export default LocationDisplay;
If you're a React developer, this should feel incredibly familiar. We're just using standard async/await and React Hooks (useState, useEffect) to manage the state. No funky business, no complicated native configuration. For a deeper dive, check out our full guide on how to build with Capacitor and Next.js.
The best part? This code works everywhere. On the web, it gracefully falls back to the browser's Geolocation API. On mobile, Capacitor intelligently routes the call to the native GPS for higher accuracy. It just works.
Keeping Your Native and Web Code in Sync#
Whenever you add a new Capacitor plugin that has a native component (like our Geolocation plugin), you need to tell your iOS and Android projects about it. This is where one simple command becomes your best friend: sync.
npx cap sync
Run this command anytime you install a new plugin or tweak your capacitor.config.ts file. It's the magic wand that updates your native projects, copies over your latest web code, and makes sure all your dependencies are correctly linked. Think of it as a crucial housekeeping step.
This seamless process is at the heart of why building a mobile app with React JS and Capacitor is so powerful. React has always been about bridging worlds, and here it lets developers reuse a massive chunk of their code—often up to 90%—across both iOS and Android. This means faster development, easier maintenance, and a more consistent experience for your users.
Crafting a Mobile-First UI with Tailwind CSS#

Let's be honest, nothing screams "this is just a website" louder than an app that feels clumsy on a phone. The secret to avoiding that pitfall is adopting a mobile-first design mindset from the very start. And for our Next.js project, Tailwind CSS is the perfect companion for this job.
Instead of building for a big desktop screen and then trying to shrink everything down, we're going to flip that script. We'll start with the smallest screen and build our way up. This simple shift in perspective forces you to prioritize what's truly essential, ensuring a rock-solid user experience on mobile.
Building Core Mobile UI Components#
To make our web tech feel genuinely "appy," we need to start with the building blocks that users expect. I'm talking about a custom header and a persistent bottom tab bar. These two elements are staples of native mobile design for a reason—they provide consistent navigation and context.
Creating a fixed bottom tab bar with Tailwind is a breeze. A simple div styled with classes like fixed bottom-0 w-full gets it locked in place. Then, toss in some flexbox utilities (flex, justify-around, items-center) to beautifully space out your navigation icons. Users know exactly what to do with this pattern.
The header is just as straightforward. We'll build a component that sits at the top, typically containing a title and maybe a back arrow or a settings icon. Again, it's all about creating that familiar, intuitive feel of a native application.
Handling Mobile-Specific UI Challenges#
When you're building a mobile app with React JS, you’ll run into some unique UI quirks that you just don't see on the web. The most notorious of these is the "safe area." This is the screen real estate that isn't blocked by things like the iPhone's notch, the dynamic island, or the home indicator bar at the bottom.
If you ignore the safe area, your beautiful UI can get awkwardly tucked behind these hardware features, which immediately looks amateur. Luckily, CSS gives us a way to detect these areas, and Tailwind lets us use them easily.
My Go-To Tip: I always use Tailwind’s arbitrary value support to respect the device's safe areas. By adding classes like
pt-[env(safe-area-inset-top)]andpb-[env(safe-area-inset-bottom)]to your main layout container, you automatically get the right amount of padding. It's a small detail that makes a world of difference in perceived quality.
Another classic challenge is getting lists to scroll smoothly. Just letting a div overflow is a bit clunky. For that buttery, native-like feel, you'll want to use overflow-y-scroll and, for iOS devices, add -webkit-overflow-scrolling: touch to get that nice momentum-based scrolling effect.
Here’s a quick cheat sheet for laying out your core app shell:
Custom Header: Use
sticky top-0 z-10to keep it visible as the user scrolls.Bottom Tab Bar: Apply
fixed bottom-0 z-10so it’s always on screen and accessible.Scrollable Content: Your main content area should live between the header and tab bar. Wrap it in a container with
overflow-y-autoto enable scrolling in just that section.
Nailing these fundamentals is key to building an interface that feels polished and professional. If you want to dive even deeper, we've put together a comprehensive guide on mobile app UI design best practices. By focusing on these mobile-centric details from the beginning, your app will not only work well but will be genuinely enjoyable to use.
Deploying Your App to the App Stores#

Alright, you've built and tested your app. Now for the most exciting part: getting it into the hands of real users. I know that navigating the Apple App Store and Google Play can feel like a huge hurdle, but trust me, with a clear plan, it's completely doable.
The journey from localhost to a live app really starts with the little things that create that crucial first impression. I'm talking about your app icons and splash screens—the very first visuals someone will see. You'll need to create these in a bunch of different sizes to make sure they look sharp on everything from a small phone to a big tablet.
Generating a Production Build#
First things first, you can't just ship your development code. We need a production-ready build. Since you're already familiar with Next.js, this step will be a piece of cake. Just run the standard build command to create a static, optimized version of your app.
npm run build
Once that's finished, you’ll find all your shiny, new web assets in the out directory. The next critical move is to push these assets into your native projects. Running the sync command makes sure your native iOS and Android wrappers are updated with your latest and greatest code.
npx cap sync
This step is at the heart of our mobile app with React JS workflow. It’s the magic that bridges your web environment with the native mobile platforms, and it’s what makes this whole cross-platform thing so darn effective.
Preparing for iOS Submission#
With your web code all synced up, it’s time to jump into the native side of things, starting with iOS. Capacitor makes this easy. Just run this command to open your project directly in Xcode:
npx cap open ios
Inside Xcode, you'll focus on two main tasks: setting up your app's identity and handling signing certificates. This does require an Apple Developer account, which is a paid subscription. You'll need to set a unique Bundle Identifier for your app and manage its version number here.
Then comes code signing. This is how Apple verifies that your app is legit and hasn't been messed with.
Certificates: You'll create a development certificate for testing on your own devices and a distribution certificate for the final App Store submission.
Archiving: Once everything is configured, you’ll use Xcode’s "Archive" feature. This packages up your app into the final build that you'll upload to App Store Connect.
The first time you tackle certificates and provisioning profiles in Xcode can be a bit of a headache. My personal advice? Just let Xcode's automatic signing management do the heavy lifting. It smooths out the process and helps you dodge a lot of common errors.
Navigating the Android Release#
For Android, the process is pretty similar. We’ll start by opening the native project in Android Studio.
npx cap open android
Just like with iOS, you need to generate a special signing key to prove you're the developer. You’ll use a command-line tool called keytool for this. I cannot stress this enough: back up this key and store it somewhere incredibly safe. If you lose it, you can never update your app again. Seriously.
After you've signed your app, you’ll use Android Studio to generate a signed Android App Bundle (.aab file). This is the format Google Play requires for all new apps. Our guide on the complete mobile app development process dives even deeper into these store-specific steps.
By choosing to build a mobile app with React JS, you're making a smart move. The incredible growth of cross-platform frameworks shows a clear industry shift toward building things faster and more efficiently, which ultimately saves time and money.
Common Questions About Building with React JS#
Even with a detailed guide, jumping into a new way of building apps can bring up some last-minute questions. It’s totally normal. Let's walk through some of the most common things developers ask when they start building a mobile app with React JS and Capacitor. I want to make sure you feel confident before you dive in.
Is This Really a Native App?#
That's one of the first things everyone asks. Technically, what we're building is a hybrid app. Your React code is rendered inside a super-fast WebView—think of it as a chromeless browser window—that’s wrapped up inside a native application shell.
But here’s the magic: Capacitor acts as a bridge, giving your web code deep access to native device features. Want to use the camera? GPS? File system? Push notifications? You get it all. Honestly, for the vast majority of apps out there, the performance is so good that your users will never know it wasn't built with Swift or Kotlin.
How Is This Different From React Native?#
This is a fantastic question because it gets right to the core of the development experience. The biggest difference is how you build your user interface.
With our Next.js and Capacitor approach, you use the standard web technologies you’re already an expert in. You’ll be writing <div> and <h1> tags and styling them with CSS, just like you would for any website. Simple.
React Native, on the other hand, makes you learn a different set of UI components. Instead of standard HTML tags, you have to use special components like <View> and <Text>. While it compiles your JavaScript to native UI widgets (which can be a tad faster for extremely heavy animations), it forces you to learn a new component library.
Our method gives you unparalleled flexibility and the potential for 100% code reuse if you're already running a Next.js web app.
The real trade-off comes down to this: with Next.js and Capacitor, you build one standard web app that is expertly adapted for mobile. With React Native, you build a mobile-specific app using React, but with a whole different set of UI rules.
What About State Management?#
This is the easy part. You can use the exact same state management libraries you already love in the React ecosystem.
Whether your go-to is Zustand, Redux Toolkit, Jotai, or just sticking with React’s built-in Context API, they all work flawlessly.
Because the heart of your app is just a Next.js application, your state management strategy doesn't need to change at all. This is a massive win, saving you from the headache of learning new, mobile-specific ways to handle your app's data. If you want a more comprehensive look at the entire journey, our guide on mobile app development for beginners is a great place to start.
Ready to build your own mobile app without the usual headaches? NextNative offers production-ready templates designed to help you launch your Next.js mobile app in days, not months. Check out our toolkit and get started today at https://nextnative.dev.