Your Guide to the Mobile App Development Process
Updated: June 28, 2025
Bringing a mobile app to life isn't a linear sprint; it's more like an expedition. It’s a journey that starts with a spark of an idea and, with the right map, ends with a polished product in your users' hands. A structured approach is that map—it helps you navigate the common traps like blown budgets and missed deadlines, ensuring a much smoother trip from start to finish.
Your Blueprint for a Successful App Launch#
So, you're ready to build an app that people will actually use and love. This guide is your starting point, designed to demystify the entire mobile app development process. We'll walk through the essential phases—strategy, design, development, testing, and deployment—and I'll explain why skipping any of them is a risk you don't want to take.
Understanding this lifecycle is more critical than ever. The mobile app market is booming, with revenues projected to hit around $613 billion in 2025. This explosive growth comes from all sorts of places, like subscriptions and in-app purchases, which just goes to show how massive the mobile economy has become. If you're curious to see more on these trends, check out this detailed report on app development statistics.
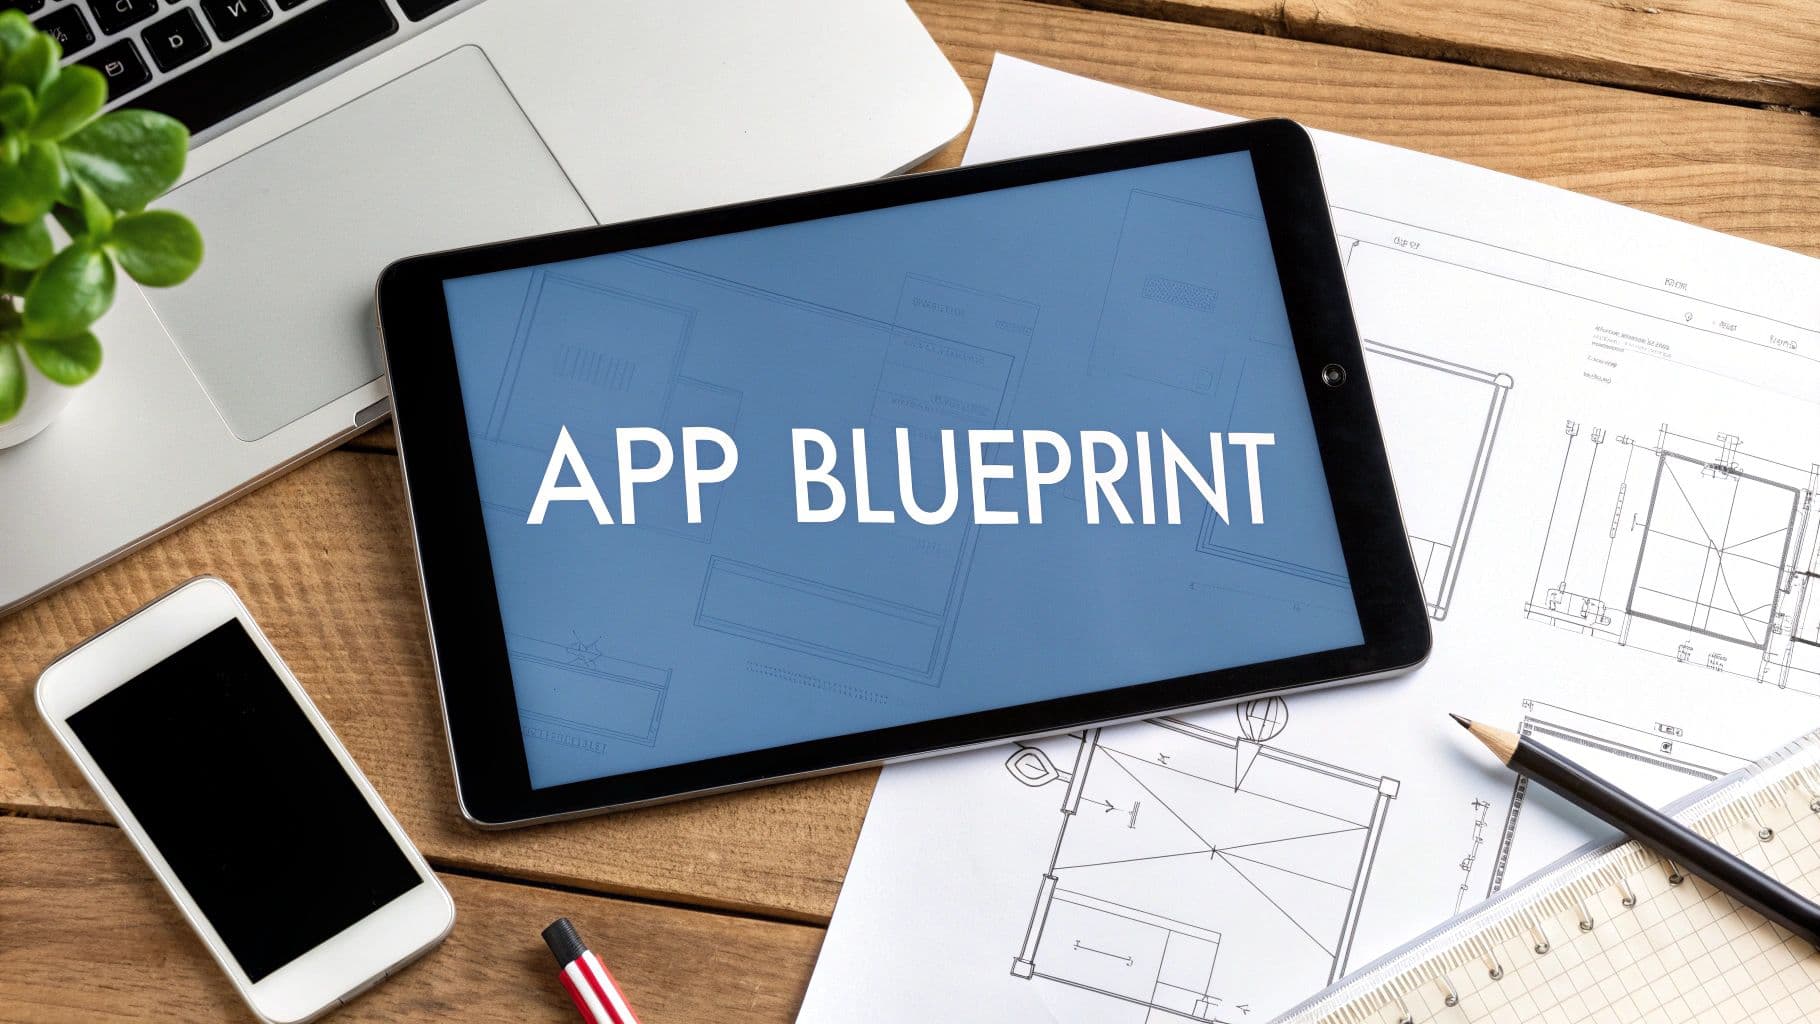
As you can see in the diagram below, every great app begins not with code, but with solid strategy and deep research.

This image really drives home the point that the initial concept and research phase is a collaborative effort. It’s all about refining and validating ideas before a single pixel is designed or a line of code is written.
Why a Structured Process Matters#
I've seen it happen too many times: a team gets excited and jumps straight into coding. It almost never ends well. Think of a structured process as the foundation of your house—without it, everything else is unstable. It gives you a framework to handle the inevitable complexities and make smart decisions along the way.
Following a defined process gives you a few major wins:
- A Sharper Vision: It forces you to get crystal clear on your goals, who you're building for, and what makes your app special.
- Control Over Your Budget and Timeline: Breaking the project into phases lets you estimate costs and deadlines with far more confidence.
- Fewer Headaches: Early feedback and testing catch potential problems when they're small and cheap to fix, not after they've become major disasters.
- A United Team: When everyone from the designer to the developer knows the end goal, they can work together seamlessly to get there.
To give you a clearer picture, let's break down the development lifecycle into its core stages.
Key Phases of Mobile App Development#
This table outlines the typical journey of an app from concept to reality. Each phase builds on the last, ensuring a logical and efficient workflow.
| Phase | Primary Goal | Key Activities |
|---|---|---|
| Strategy & Research | Validate the app idea and define a clear roadmap. | Market research, competitor analysis, defining user personas, and outlining the MVP. |
| Design (UX/UI) | Create the app's look, feel, and user flow. | Wireframing, prototyping, creating mockups, and defining the visual style guide. |
| Development | Build the functional app based on the design. | Setting up the backend, coding the front end, and implementing features and APIs. |
| Testing & QA | Ensure the app is stable, bug-free, and user-friendly. | Functional testing, performance testing, security audits, and user acceptance testing (UAT). |
| Deployment & Launch | Release the app to the public via app stores. | Submitting to Apple App Store & Google Play, optimizing the app store listing (ASO). |
This progression isn't just a best practice; it's the secret to building something that lasts.
A disciplined mobile app development process isn't about adding red tape; it's about removing guesswork. It turns a creative vision into a project that's predictable, manageable, and far more likely to succeed.
This is especially true when you're working with a platform like NextNative, which is built to speed things up without cutting corners. By following a clear blueprint, you can really make the most of the toolkit. It lets you focus your creative energy on building amazing features instead of getting bogged down by messy workflows and unexpected roadblocks.
Building Your App Strategy and Vision#
Before a single line of code gets written, you've got to tackle the most important part of the entire mobile app development process: the strategy. This is where you take a spark of an idea and forge it into a solid, workable plan. Think of it as your North Star—it's what will guide every single decision you make from this point forward.
I’ve seen so many founders get caught up in the excitement and jump straight into development. The result? They build an app nobody actually wants. A bulletproof strategy stops that from happening by forcing you to answer the hard questions first. It’s not just about what you want to build, but why you're building it and, most importantly, for whom.
Pinpointing Your Target Audience and Their Problems#
First things first, get laser-focused on your ideal user. It's not enough to say, "everyone will love this!" You need to get specific and create detailed user personas. Are you building for a busy working mom in her 30s? Or maybe a college student trying to manage a tight budget? These two people have completely different needs, expectations, and ways of using technology.
Once you know exactly who you're building for, you can really dig into their real-world problems. A great app is, at its core, a problem-solver. A fitness app, for instance, might be solving the problem of "I just don't have time to get to the gym." A budgeting app solves "I have no idea where all my money is going each month." Your job is to find a specific, nagging pain point and offer a clear, compelling solution.
Conducting Smart Competitor Analysis#
You’re almost certainly not the first person to have an idea in your niche. And honestly? That's a good thing! It proves there's a market for what you want to do. Now, you just need to size up the competition to find your unique angle. Don't just make a list of what they do; look for what they don't do well.
Whip up a simple comparison table. I do this for every project.
| Competitor | Key Features | Strengths | Weaknesses / Opportunities |
|---|---|---|---|
| App A | Social tracking, meal plans | Strong community, great design | Expensive, complicated setup |
| App B | Quick workouts, free version | Very accessible, easy to start | Limited features, buggy on Android |
| App C | Live classes, premium content | High-quality content, expert-led | No free option, iOS-only |
Looking at this, you might spot a golden opportunity: an affordable, user-friendly fitness app with quick workouts that works flawlessly on both iOS and Android. That gap in the market? That's where your app can shine.
A common mistake is trying to be a carbon copy of the market leader. Real innovation comes from seeing what competitors are neglecting and making that your core strength.
Choosing the Right Platform for Your App#
This is a huge strategic decision. You've basically got three paths to choose from:
- iOS Native: Building just for Apple devices. This is a solid choice if you know your target audience is heavily skewed towards iPhone users and you want that premium, high-performance feel.
- Android Native: Building specifically for the Android ecosystem. This gives you access to a massive global market but means you'll have to account for a huge variety of devices and screen sizes.
- Cross-Platform: Building one app that runs beautifully on both iOS and Android. For most startups and MVPs, this is the most efficient and cost-effective approach by far.
For many developers I talk to, going cross-platform just makes sense. If you want to launch on both app stores without doubling your budget and timeline, you'll want to check out our guide on how to build cross-platform mobile apps. It’s a great starting point for using tools like NextNative to build with web technologies you probably already know.
Setting Clear KPIs and Monetization Goals#
Finally, you need to define what success actually looks like and figure out how your app is going to make money. Vague goals like "get lots of users" are basically useless. You need to set specific Key Performance Indicators (KPIs).
Here are some examples of strong KPIs:
- Achieve 10,000 downloads in the first three months.
- Reach 1,000 Daily Active Users (DAUs) by the end of Q2.
- Maintain a user retention rate of 40% after the first week.
Your monetization strategy needs to line up with the value your app provides. Common models include:
- Freemium: A free version with core features and a paid upgrade for the good stuff.
- Subscription: Users pay a recurring fee (monthly or yearly) for continuous access.
- In-App Purchases: Selling digital items or one-off features inside the app.
- Advertising: A free app that’s supported by showing ads to users.
Choosing the right model really depends on your users' expectations and what you're offering. A content-heavy app might do well with a subscription, while a simple utility app could succeed with a one-time purchase. This strategic foundation is what separates the apps that succeed from the ones that vanish without a trace.
Designing an Experience Users Will Love#

Alright, with your strategy locked in, it's time to shift from abstract ideas to something you can actually see and touch. This is the design phase, and it’s where we start breathing life into your app concept. Our goal isn't just to build something that works, but to create an experience that feels genuinely enjoyable and effortless from the very first tap.
This is so much more than just picking a few nice colors and fonts. In my experience, exceptional design is what separates an app that gets used daily from one that gets deleted. Think about it: mobile apps gobble up a staggering 70% of all digital media time in the U.S., and the average person juggles around 10 apps every single day. With that much competition, a clunky or confusing interface is a death sentence.
From Blueprint to Interactive Model#
The whole design journey really kicks off with wireframes. I like to think of these as the architectural blueprints for your app. They're simple, black-and-white layouts that focus purely on structure, where content will live, and how users will move around.
For a fitness app, for instance, a wireframe wouldn't have any fancy branding. It would just map out where the "Start Workout" button goes, how the exercise list is displayed, and the path a user takes to view their progress. It's all about answering the big structural questions first:
- How will someone get from screen A to screen B?
- Is the most important information front and center?
- Does the layout just feel logical and uncluttered?
Once everyone agrees on the basic structure, we level up to high-fidelity mockups. These are the full-color, static visuals that look like the real deal. They bring in your brand’s color palette, typography, and icons, giving you and your team the first real glimpse of the app's personality.
From there, we create interactive prototypes. These are clickable, tappable versions of your app that simulate the actual user experience. Using tools like Figma or Adobe XD, we can link screens together. You can tap a button on a mockup and watch the next screen appear, just as it would in the finished product.
A prototype isn't a "nice-to-have"—it's an essential risk-reduction tool. It lets you test your core assumptions with real users and gather invaluable feedback before a single dollar is spent on development.
Putting the User at the Heart of Design#
Throughout this entire process, two principles guide every decision we make: User Experience (UX) and User Interface (UI). People often use them interchangeably, but they play very different roles.
- User Experience (UX) Design: This is all about the feeling a user has. Is the app easy to use? Does it solve their problem without making them jump through hoops? UX is the invisible hand guiding a smooth and satisfying journey.
- User Interface (UI) Design: This is what you see. It’s the visual design of the screens, buttons, sliders, and text. UI focuses on making the app look great and feel visually consistent.
A truly great app marries these two concepts perfectly. It’s not enough for an app to be beautiful if users can't figure out how to use it. Intuitive navigation is everything. That's why we often stick to familiar patterns, like a standard tab bar at the bottom for main sections—users instantly know what to do.
And we can't forget accessibility. It's a non-negotiable. This means designing your app so that people with disabilities can use it, too. We’re talking about things like high-contrast text for readability, descriptive labels for screen readers, and making sure buttons are big enough for anyone to tap easily. Building an accessible app isn't just the right thing to do; it opens up your app to a much wider audience.
Ultimately, the goal is to create an experience so seamless that users don't even have to think about it. By using powerful frameworks, we can spend less time on the technical plumbing and more time on these crucial design details. To get a better handle on your options, check out our list of the best cross-platform app development tools that help make this a reality.
Turning Your Vision into Functional Code#
Alright, this is where the magic really happens. All the planning, wireframing, and beautiful designs we've created are about to be transformed into a living, breathing application. The development phase is where we build the engine room of your app—the backend—and the polished exterior your users will interact with—the frontend.
It’s a complex process, no doubt. But think of it less as a giant, intimidating task and more as a series of well-defined steps. We're not just writing lines of code; we're building a robust foundation that can grow and scale right alongside your business.
Laying the Architectural Foundation#
Before a developer writes a single line of feature code, we have to map out the technical architecture. This is the structural blueprint for your app, and getting it right is non-negotiable. A shaky architecture can lead to a slow, buggy app that's a nightmare to update down the road.
We split our focus between two critical components:
- The Backend: This is your app's powerful, unseen engine. It’s where you’ll find the servers processing data, the databases storing information, and the APIs (Application Programming Interfaces) that act as messengers between the server and the app. Think of it like the kitchen in a restaurant—you don't see the work, but it’s essential for everything you experience.
- The Frontend: This is everything your user sees, touches, and interacts with. It's the user interface (UI) you so carefully designed, the buttons they tap, and the smooth animations that make the experience feel intuitive. The goal here is a fast, responsive, and seamless experience that feels completely at home on their device.
Choosing the Right Tools for the Job: Your Tech Stack#
The "tech stack" is simply the set of technologies we use to build your app—the programming languages, frameworks, and other tools. Making the right choice here has a huge impact on your development speed, budget, and long-term maintenance.
For most projects we work on, a cross-platform approach makes the most sense.
Frameworks like those we specialize in at NextNative let us write a single codebase that works beautifully on both iOS and Android. This is a massive win for efficiency, often cutting development time and costs by nearly 50% compared to building two separate, native applications from scratch. If you want to go deeper, we've broken down the best cross-platform frameworks available today in a separate guide.
I’ve learned over the years that the best tech stack isn't always the newest or trendiest one. It's the one that perfectly aligns with your project goals, your team's skills, and your timeline. A pragmatic, well-reasoned choice here pays off in a big way later on.
This decision is all about balancing performance, cost, and how quickly you can get to market. For most startups and new products, getting a fantastic app into users' hands on both platforms is the number one priority.
Building in Agile Sprints#
The days of vanishing for a year to build an app in a silo are long gone. Thank goodness. We now use an agile development methodology, which means we break the enormous task of building an app into small, manageable cycles called "sprints."
A typical sprint lasts about two weeks. During that time, our team is laser-focused on building a small, specific group of features. At the end of every sprint, we have a tangible, working piece of the application to show you, review, and test.
This iterative process is a game-changer for a few reasons:
- Flexibility is Baked In: If we discover a feature is confusing during testing, we can pivot and fix it in the very next sprint, not months down the line.
- Keeps the Momentum Going: Seeing real, tangible progress every two weeks is a huge motivator and keeps everyone aligned and excited.
- Catches Problems Early: We can identify and squash bugs or design flaws when they're small and easy to fix, preventing them from becoming major headaches later.
Writing Clean Code and Integrating Key Services#
As we move through our sprints, the focus is always on writing high-quality, maintainable code. "Clean code" is simply code that’s easy for another developer to read, understand, and build upon. This isn't just about being tidy—it's absolutely essential for the long-term health of your app. It makes future updates and bug fixes dramatically simpler and faster.
This is also the stage where we integrate critical third-party services to add powerful features without reinventing the wheel. Common examples include:
- Payment gateways like Stripe for secure transactions.
- Push notification services to keep your users engaged.
- Analytics tools like Google Analytics to understand user behavior.
- Authentication providers like Firebase Auth for easy and secure logins.
By combining smart integrations with a solid, agile development process, we methodically turn your detailed designs into a functional, secure, and scalable mobile app that’s ready for the next critical phase: testing.
Testing Your App for a Flawless Launch#

You’ve poured weeks, maybe even months, into designing and coding your app. It looks fantastic, the code is clean, but a single hidden bug or a confusing user flow can completely sink your launch. This is exactly why the quality assurance (QA) phase isn't just a final checkbox to tick off; it's your best insurance policy for success.
Rigorous testing is what separates a polished, professional app from a buggy, frustrating one that gets slapped with a one-star review on day one. It's all about methodically hunting down those problems before your users do, making sure the final product is stable, secure, and genuinely a joy to use.
The Core Layers of Mobile App Testing#
Think of app testing as a series of filters, with each one designed to catch a different kind of problem. We don’t just tap around hoping to find something wrong. Instead, we use a structured approach that examines the app from every conceivable angle. Each layer gives us more confidence that the app is truly ready for the real world.
Here are the essential testing types we run on every single project:
- Functional Testing: This is the most basic, yet critical, layer. We go through every single feature to confirm it works exactly as planned. Does the login button actually log you in? Can a user save their progress without a hitch? We follow detailed test cases to make sure all the core mechanics are bug-free.
- Usability Testing: This is where we answer the big question: "Is this app actually intuitive?" We get real people to use the app and watch for any signs of confusion or frustration. An app can be 100% functional but still fail if the user experience feels clunky or awkward.
- Compatibility Testing: The world of Android and iOS is incredibly fragmented. You've got thousands of different devices, screen sizes, and operating system versions out there. We test your app across a wide range of popular devices to ensure it looks great and works perfectly everywhere, preventing ugly layout breaks or crashes on specific phone models.
- Performance Testing: How fast does the app load? Is it a battery hog? Performance testing measures things like speed, responsiveness, and how the app holds up under pressure. An app that’s slow or crashes a lot won't last long on anyone's phone, no matter how cool its features are.
This multi-layered approach ensures we cover all our bases. For example, the technical choices made early on, like the development framework, can have a big impact on compatibility. For a deeper look at how different frameworks measure up, check out our comparison article on Capacitor vs React Native.
Running a Successful Beta Test#
Automated tests and our internal QA team are absolutely crucial, but nothing—and I mean nothing—beats feedback from real, unbiased users. This is where a beta test becomes your secret weapon. It's your chance to put the app into the hands of your actual target audience before the big launch and gather priceless, real-world insights.
I’ve always found that a well-managed beta test is the single best way to find obscure bugs and usability issues you'd never spot internally. Your team is just too close to the project; fresh eyes are essential.
To get the most value out of your beta test, you need a plan. Don’t just send out a link and hope for the best.
Your Beta Test Checklist#
- Define Clear Goals: First, figure out what you want to learn. Are you worried about the onboarding flow? Or maybe you want to see how people use a new, complex feature? Focus your efforts.
- Recruit the Right Testers: Go find people who actually fit your target user profile. A handful of ideal users will give you far more valuable feedback than hundreds of random people.
- Provide Simple Instructions: Tell your testers exactly what you’d like them to look at and, just as importantly, how to report bugs or give feedback. A simple form or a dedicated feedback tool makes everyone's life easier.
- Listen and Act: The feedback you get back is pure gold. Acknowledge every piece of it, prioritize the issues that come up, and use those insights to make your app even better before it goes live.
Navigating App Store Launch and Beyond#
Hitting that 'publish' button on the app stores is a huge moment, a real cause for celebration. But it’s not the finish line—it’s the starting gun for the next leg of the race. This is where your focus shifts from building the app to building an audience and making sure your creation has a long, healthy life.
Your first major hurdle is getting your app approved by both the Apple App Store and Google Play. Trust me, each has its own quirks and specific rules. This isn't just a simple file upload; you're essentially building your app's digital storefront, so getting the details right from the start is non-negotiable.
Optimizing Your App Store Listing#
Think of your app store page as your most important piece of marketing real estate. A weak, uninspired listing can stop potential users in their tracks. To really pull people in, you need to nail a few key things.
- A Killer Description: Get straight to the point. What does your app do? Who is it for? What pain point does it solve? Put your strongest benefit right at the top.
- Top-Notch Screenshots & Videos: People want to see your app, not just read about it. Show off its best features and the user flow with slick, professional-looking images and a quick preview video.
- Smart Keyword Choices: Think like your user. What words would they type into the search bar? Weave those keywords naturally into your app's title and description to boost its visibility.
This whole process is called App Store Optimization (ASO), and it's basically SEO for the mobile world. A solid ASO strategy is the difference between being discovered and being buried.
The apps that truly succeed are the ones that treat their launch as the beginning of a continuous campaign, not a one-and-done event. They are always watching the data, listening to users, and tweaking things to stay ahead.
Life After Launch: Monitoring and Maintenance#
Once your app is out in the wild, the real work begins. This is when analytics become your closest ally. By keeping an eye on key metrics, you can see what people love, which features are duds, and where they’re getting stuck or dropping off. That data is pure gold for planning your next move.
And you'll need to stay sharp. The global mobile app market is forecasted to hit a staggering $585.7 billion by 2025, with the on-demand space alone approaching $330 billion. This explosive growth demands a development process that’s nimble enough to adapt. You can dig into more of these mobile market projections on shyamfuture.com.
A huge part of this ongoing effort is your feature roadmap. What are you going to build next? Let your users tell you. Read every review, send out surveys, and talk to your community. Regular updates do more than just squash bugs—they show your users that you're committed to making their experience better, which is crucial for keeping them around.
For many teams, a smart way to manage this is to convert their existing web app into a mobile app. This approach can seriously streamline the update cycle, since you’re often working from a single, unified codebase.
Frequently Asked Questions About Building an App#
When you're diving into the world of app development, a few questions always seem to pop up. Getting these sorted out early on can save you a lot of headaches down the road. Let's walk through some of the most common ones I hear from people just starting out.
How Long Is This Really Going to Take?#
Honestly, there’s no magic number here. The timeline for building an app is tied directly to how complex your idea is. For a straightforward app with a handful of features—think a simple habit tracker or a basic calculator—you could be looking at a 3 to 6-month timeframe from start to finish.
But if you're dreaming bigger with custom animations, a powerful backend, and several third-party services linked in, that timeline can easily stretch to 9 to 12 months, sometimes even longer. My best advice? Break your grand vision into smaller, manageable chunks and set realistic goals for each piece.
What's the Single Biggest Mistake I Can Make?#
The most common pitfall I've seen, and it can be a costly one, is rushing into development without first proving your idea has legs. It’s easy to get caught up in the excitement of building, but skipping the research and validation stage often leads to creating a beautiful app that no one actually wants or needs.
The most successful projects I've seen all have one thing in common: they started small. Building a Minimum Viable Product (MVP) first is the single best way to test your assumptions, gather real user feedback, and save immense time and money.
Should I Start with iOS or Android?#
This decision should be all about your users. Where are they? If your research shows your target audience is almost exclusively using iPhones, then starting with iOS is a no-brainer. On the other hand, if your market is broader or skews toward Android, that’s your starting point.
The great news is, you don't always have to pick a side. Using a cross-platform solution is a fantastic way to build for both at the same time, saving you the effort of managing two separate codebases.
Ready to build for both platforms without the complexity? NextNative provides the production-ready templates and tools you need to launch on iOS and Android using the web skills you already have. Start building your app today.