Build a Next.js Capacitor Mobile App
Updated: September 25, 2025
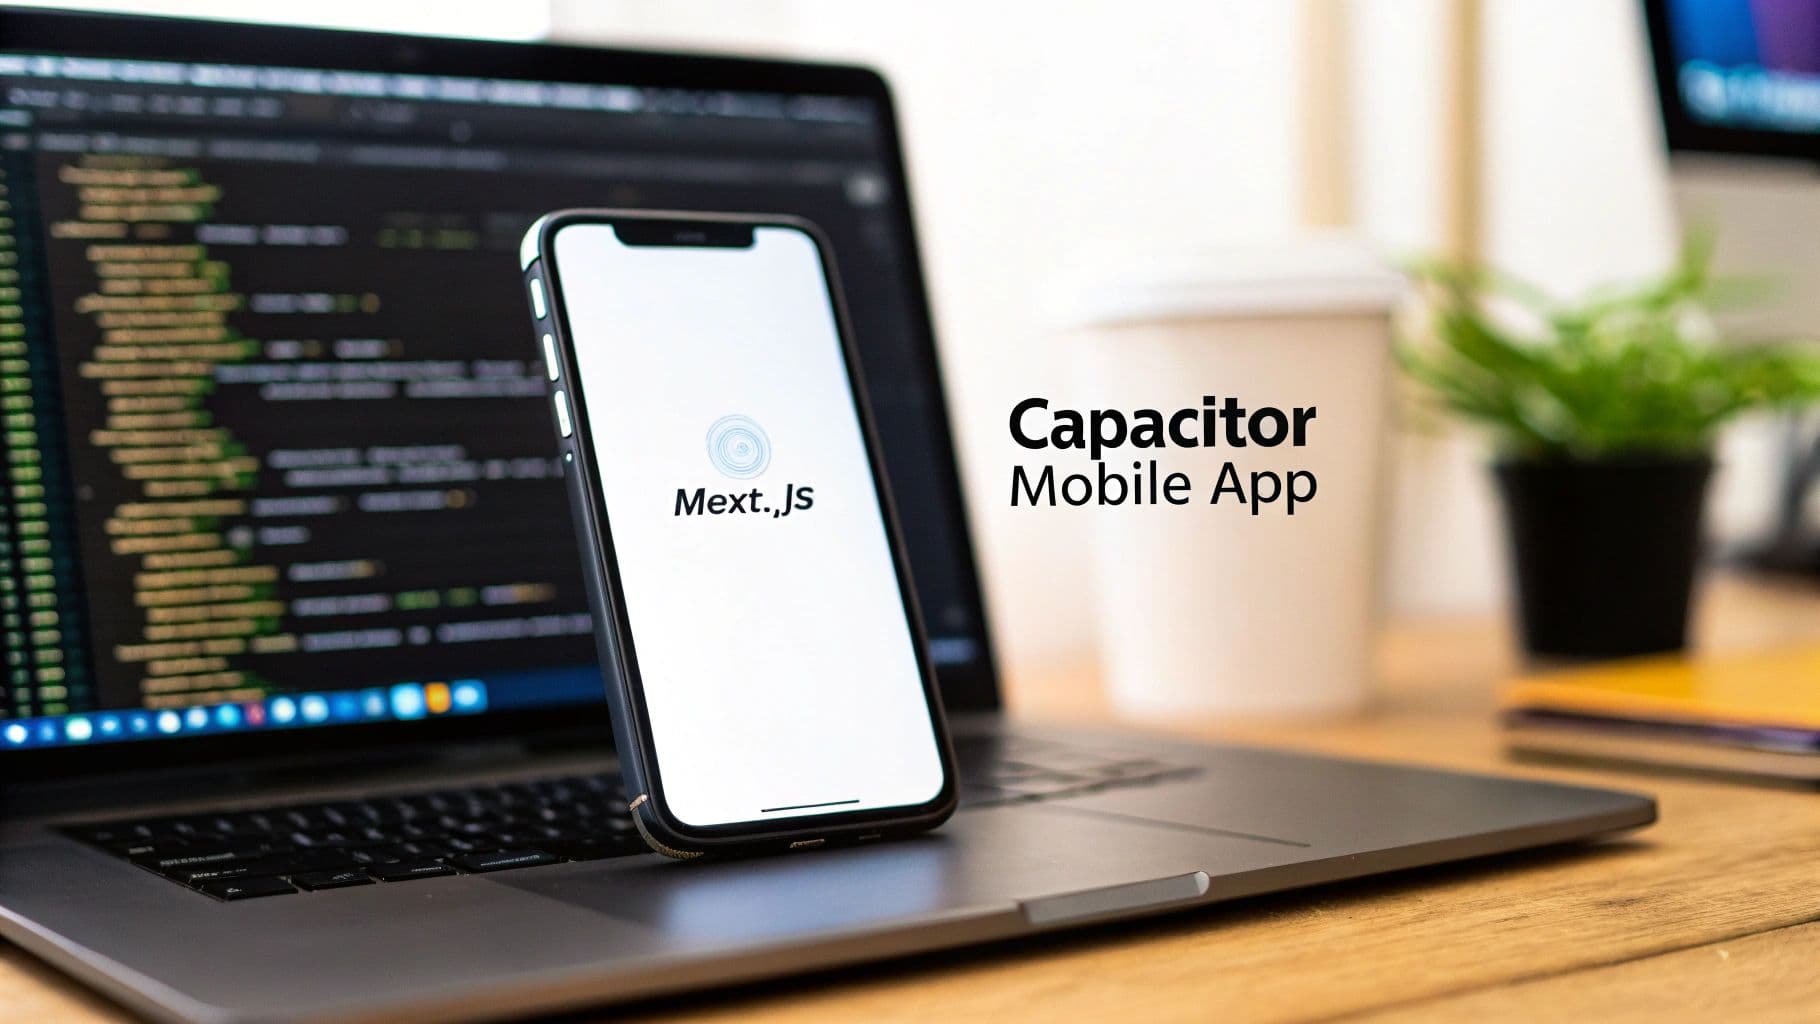
Ever looked at your polished Next.js web app and thought, "This would make a great mobile app"? You're not wrong, and it's a whole lot easier than you might think. This guide is your hands-on manual for turning that web project into a real, native Capacitor mobile app for both iOS and Android.
Bridging The Gap Between Web And Native#
The thought of building a mobile app often brings up images of learning entirely new languages like Swift or Kotlin. But what if you could just use the web development skills you already have? That’s exactly what building a Capacitor mobile app is all about.
Instead of starting over, you can wrap your existing Next.js application in a native container. Just like that, you have a path to both the Apple App Store and Google Play Store. This strategy gives you a powerful middle ground, blending the speed of web development with the device access of a native app. It's a game-changer for cutting down on development time and cost.
Why Capacitor With Next.js?#
Using Capacitor is like giving your web app a passport to the mobile world. It works by running your Next.js project inside a native Web View—basically a tiny, invisible browser built into the iOS or Android app. This lets your app look and feel exactly like it does on the web, but with one massive difference: it can now talk directly to the phone's hardware.
There are some huge wins with this approach:
- Unified Codebase: You get to manage a single codebase for your web app, iOS app, and Android app. When you update your Next.js code, you're updating all three platforms at once.
- Full Native Access: With Capacitor plugins and the NextNative toolkit, you can easily add features like push notifications, camera access, and geolocation—just like you would in a "traditional" native app.
- Faster Time-to-Market: You get to skip the steep learning curve of native development frameworks. This means you can get your app into your users' hands way faster.
- Leverage Existing Ecosystems: Keep using the tools you love. Your favorite web libraries and frameworks like Next.js, React, and Tailwind CSS all come along for the ride.
By wrapping your web project, you're not just taking a shortcut; you're building a genuine native application that shares its core DNA with your website. This is a massive win for small teams and solo developers who need to make a big impact without a big budget.
This guide will walk you through a practical, step-by-step process using NextNative, which handles a lot of the tricky configuration for you. If you want a higher-level look at this method, you can also check out our guide on using a web to app converter, which covers the core ideas behind this technique.
Alright, let's skip the jargon and get straight to building.
Getting Your Development Environment Ready#
Before we get into the fun part of building your Capacitor mobile app, we need to get our hands dirty with the setup. Trust me, getting your development environment right from the start saves a ton of headaches later.
Think of it as laying a solid foundation. A smooth setup lets you focus on building features, not fighting with your tools. The whole point is to bridge your web app to a native mobile app, and that journey begins with having the right software installed and configured. This is non-negotiable for both iOS and Android.
Your Core Capacitor Development Toolkit#
Here’s a quick rundown of the essential software and tools you’ll need to get started with your Capacitor mobile app.
| Tool | Purpose | Where to Get It |
|---|---|---|
| Node.js | The JavaScript runtime needed to run your Next.js app and the Capacitor CLI. | Official Node.js Website |
| Android Studio | The official IDE for Android development. It provides the Android SDK, emulators, and build tools. | Android Developer Portal |
| Xcode | The official IDE for Apple platforms. It's required for building, testing, and deploying iOS apps. | Mac App Store |
For most Next.js developers, you’ll already have Node.js and a code editor like VS Code handled. The real mobile-specific pieces are the native SDKs.
Just remember, Xcode only runs on macOS, so you'll need a Mac if you plan on shipping an iOS app. If you're only targeting Android for now, a Windows or Linux machine with Android Studio will work perfectly fine.
Installing and Verifying Your Setup#
Once you have everything installed, the next step is to make sure it all works together. A common snag I see is the command line not being able to find the necessary SDK paths, but Capacitor has a neat little tool to help us out.
In your project's terminal, just run npx cap doctor. This command scans your environment for common configuration issues and gives you clear, actionable advice on how to fix them.
If you're just starting and don't have a project yet, our guide on how to create a new Next.js app will get you set up in no time.
A clean bill of health from
cap doctoris your green light. It confirms that Capacitor can communicate properly with both Android Studio and Xcode, which is absolutely essential for building your app and running it on simulators and real devices.
Building high-quality, native-feeling applications is more important than ever. The global capacitor market, which includes the tiny components vital for smartphones, was valued at USD 38.91 billion in 2024 and is expected to keep climbing. You can check out more insights on this capacitor market growth at Precedence Research.
This trend just reinforces why we're here. With your environment now ready to go, you're in a great position to build something amazing.
Alright, with the development environment ready to go, it's time to dive into the code. We're going to take a standard Next.js application and prep it for its new life as a native Capacitor mobile app. This isn't about rewriting your app from scratch; think of it more as a strategic renovation to get it mobile-ready.
The biggest shift we need to make is in how Next.js builds your project. Capacitor is designed to wrap a folder of static HTML, CSS, and JavaScript files. That means we need our Next.js app to produce a static export, which pre-renders every page into a simple, self-contained format that Capacitor can work with.
Configuring for Static Export#
To get this static build working, you'll need to make a couple of small but critical tweaks. First up, open your next.config.js file. We have to tell Next.js two things: to output a static site and to switch off its default image optimization in favor of a simpler method that’s more compatible with the mobile WebView.
Here's the configuration that does the trick:
/** @type {import('next').NextConfig} */
const nextConfig = {
output: 'export',
images: {
unoptimized: true,
},
}
module.exports = nextConfig
That output: 'export' line is the magic ingredient. It flips Next.js from its default server-based mode into a static site generator.
Next, let's head over to the package.json file to make our build process a bit cleaner. We'll adjust the build script to handle both building and exporting in a single, convenient command.
"scripts": {
"build": "next build"
},
Now, whenever you run npm run build, Next.js will generate a fully static version of your site and place it in an out directory. This is exactly what Capacitor needs.
Initializing Capacitor in Your Project#
With our Next.js project configured to produce the right kind of output, we can officially bring Capacitor into the mix. We’ll start by installing the Capacitor Command Line Interface (CLI) as a development dependency.
Fire up your terminal in the project's root directory and run these commands:
- Install the CLI:
npm install -D @capacitor/cli - Initialize Capacitor:
npx cap init - Install Core Libraries:
npm install @capacitor/core @capacitor/ios @capacitor/android
When you run the init command, the CLI will ask for your app’s name and a unique App ID, which usually follows a reverse-domain format like com.company.appname. Just follow the prompts—it’s very straightforward.
Once that's done, you need to tell Capacitor where to find your static web files. A new capacitor.config.ts file has been created for you. Open it up and change the webDir property to point to the out folder we just configured.
import { CapacitorConfig } from '@capacitor/cli';
const config: CapacitorConfig = {
appId: 'com.yourcompany.yourapp',
appName: 'Your App Name',
webDir: 'out' // This is the crucial line to change
};
export default config;
Pro Tip: This configuration file is the central nervous system for your Capacitor mobile app. Getting the
webDirright is non-negotiable. It ensures that every time you build, Capacitor knows exactly which web assets to copy into your native iOS and Android projects.
Finally, let's add the native platforms themselves.
npx cap add iosnpx cap add android
These commands create the ios and android folders right in your project root. These aren't just any folders; they are complete, standalone native projects that you can open and build directly with Xcode and Android Studio.
Your web code and native code are now living together, ready for action. For a deeper look, our guide on how to build a Next.js app for production offers more detail on this stage.
Accessing Native Device Features with NextNative#

This is where the magic really happens. It’s the step that turns your project from a website wrapped in a mobile shell into something that feels truly native. Just getting your Next.js site running on a device is a huge win, but tapping into the phone's hardware is what delivers the integrated, polished experience users expect from a capacitor mobile app.
Think of NextNative (which is built right on top of Capacitor) as the translator between your web code and the device itself. It creates a bridge that lets your React components make direct calls to hardware like the camera, check the GPS for coordinates, or access the local file system.
Calling Native Functions from React#
The best part about this whole setup is how clean and simple it feels. You don't have to touch Swift or Kotlin. You just import a plugin from a package and call an async function, right from inside your Next.js components. Honestly, it feels no different than calling any other JavaScript API.
Let's say you're building a social app and need to let users upload a profile picture. Instead of a clunky web file input, you can give them direct access to the phone's camera.
Here’s what that looks like in a real React component:
import { Camera, CameraResultType } from '@capacitor/camera';
const ProfileUploader = () => {
const takePicture = async () => {
try {
const image = await Camera.getPhoto({
quality: 90,
allowEditing: true,
resultType: CameraResultType.Uri
});
// The 'image.webPath' can now be used in an tag
// You can also get the file to upload to a server
} catch (error) {
console.error("Error taking picture", error);
}
};
return (
);
};
See how straightforward that is? The Camera.getPhoto() call seamlessly opens the native camera UI, handles all the permission prompts, and hands the image data right back to your web view. This exact pattern works for tons of other device features.
This direct hardware interaction is made possible by tiny, crucial components inside the phone. For example, telecommunications capacitors are essential for managing signals in mobile networks. That specific market was valued at $2.5 billion in 2025 and is projected to keep growing, thanks to 5G and data-hungry applications just like the ones you're building. You can discover more insights about this growing telecommunications capacitor market on Market Report Analytics.
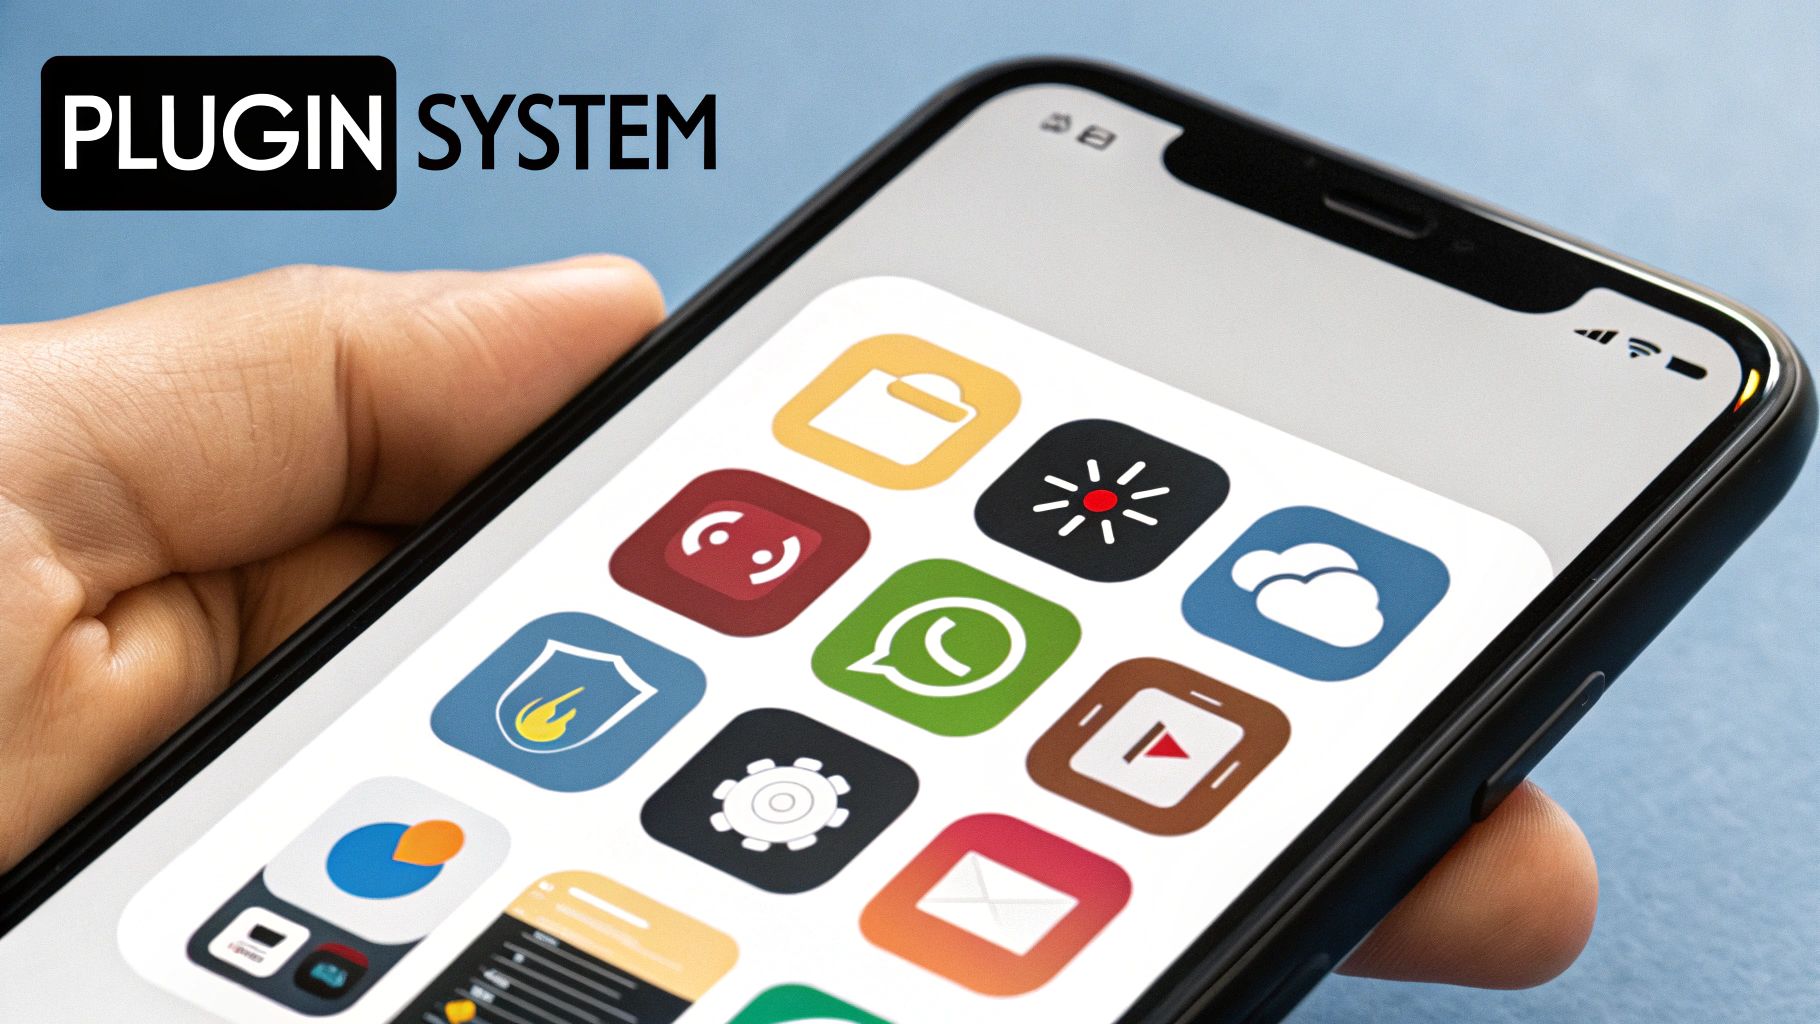
Exploring the Capacitor Plugin Ecosystem#
The camera is just the starting point. The official Capacitor plugin library—plus a massive community ecosystem—gives you pre-built bridges for almost any native feature you can dream up.
Here are a few common features you can add with just a few lines of code:
- Geolocation: Pinpoint a user's location for map features or local recommendations.
- Push Notifications: Send timely alerts to pull users back into the app, even when it's closed.
- Haptics: Add physical feedback for button presses or to confirm an action was successful.
- Share Dialog: Open the native OS share sheet so users can easily send content to other apps.
Finding and using these plugins is dead simple. You install them via npm, run npx cap sync to connect the native parts, and then import the functions into your components. For a more detailed walkthrough, check out our official docs on implementing native device features. This powerful plugin system is what gives your capacitor mobile app so much versatility.
Navigating the App Store Submission Process#
You've built something incredible—now it's time to get your Capacitor mobile app into people's hands. This is the final pre-launch flight check, where we button up all the crucial details required by the app stores. It’s less about code at this point and more about packaging, presentation, and process.
The journey from a finished app to a live store listing involves a handful of key preparations. These steps make sure your app not only works perfectly but also sails through the strict guidelines set by both Apple and Google. Getting these details wrong is one of the quickest ways to face a rejection, so let's get them right from the start.
Preparing Your App's Visuals and Permissions#
First impressions count, and in the app world, your icon and splash screen are the very first things a user sees. These aren't just decorative fluff; they are core to your app's brand identity. You'll need to generate a full set of these assets in various sizes to fit the massive range of device screens out there.
- App Icons: Start with a high-resolution source image (at least 1024x1024 pixels). From there, you can use a tool or Capacitor's own asset generation utility to create all the required sizes for both iOS and Android.
- Splash Screens: This screen pops up for a moment while your app loads. Design a simple, branded image that reinforces your app's identity without feeling like an ad.
Beyond the visuals, you have to be upfront about the native device features your app uses. This is handled a bit differently on each platform. For Android, you’ll add <uses-permission> tags to your AndroidManifest.xml file for things like camera or location access. For iOS, you need to provide clear, descriptive strings in the Info.plist file, explaining why your app needs each permission.
This flow chart shows the core interaction between your web code and the native device features that these permissions unlock.
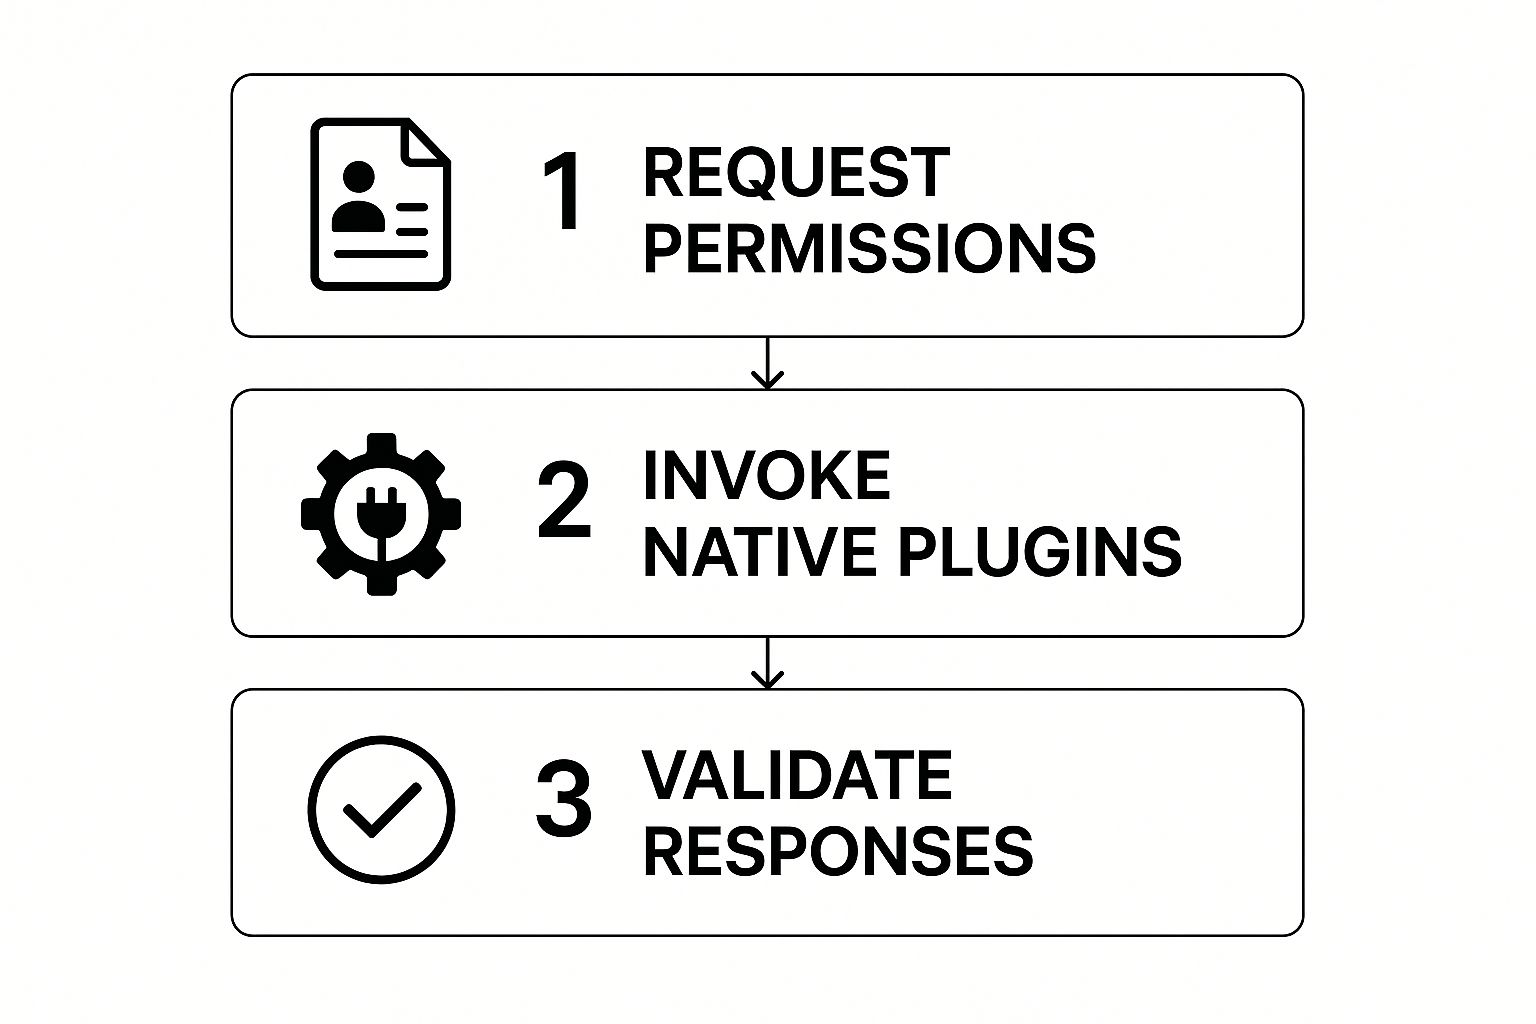
Essentially, your app must first ask for permission, then call the native plugin, and finally handle whatever comes back—a sequence that the app stores look at very closely.
Building for Release and Facing the Review#
With your assets and permissions squared away, it’s time to generate a signed release build. This is a different beast from the development builds you've been running on simulators. A release build is an optimized, secure package that's ready for distribution—an APK (or the more modern AAB) for Android and an IPA for iOS.
Creating these involves generating signing keys to verify you’re the developer. This is a critical security step that stops others from distributing malicious updates to your app. Once you have a signed build, you're ready to upload it through the Google Play Console and Apple's App Store Connect.
The review process can feel like a black box, but it's mostly about transparency and user experience. Be honest in your store listing, clearly explain why you need permissions, and make sure your app provides real value. Over 30% of rejections on the App Store are for simple, avoidable issues like incomplete metadata or broken links.
Before you hit "submit," it pays to have all your ducks in a row. This checklist breaks down the key items you'll need for each store.
App Store Submission Checklist#
This table is a quick reference to make sure you have everything ready before you upload your build. Running through this can save you from a frustrating rejection and resubmission cycle.
| Checklist Item | Android (Google Play) | iOS (App Store) |
|---|---|---|
| App Icon | 512x512 pixels (32-bit PNG) | 1024x1024 pixels (PNG) |
| Screenshots | 2-8 JPEG or 24-bit PNGs | 1-10 screenshots per device size |
| Feature Graphic | 1024x500 pixels (JPEG or PNG) | Optional App Preview videos |
| App Title | Up to 30 characters | Up to 30 characters |
| Short Description | Up to 80 characters | Subtitle (up to 30 characters) |
| Full Description | Up to 4000 characters | Up to 4000 characters |
| Privacy Policy URL | Required | Required |
| Contact Info | Email, Website (optional) | Support URL, Marketing URL |
| Release Build | Signed AAB (recommended) or APK | Signed IPA file |
Having these assets and text prepared ahead of time makes the final submission process much smoother.
Finally, craft a compelling store listing with clear screenshots and a description that highlights what makes your app unique. For a deeper dive into the nitty-gritty of each platform, our guide on how to submit an app to the app stores is a great next step. Navigating this final stage with care ensures all your hard work pays off with a successful launch.
Common Questions About Next.js and Capacitor#
When you start mixing the web-first world of Next.js with the native power of Capacitor, you're bound to run into a few head-scratchers. It’s a unique setup, and some common questions pop up for almost everyone. Let's walk through the big ones I see all the time.
How Should I Handle State Management?#
One of the first puzzles is keeping your app's state consistent. A mobile OS can pause, resume, or just kill your app in the background. So, how do you make sure your user doesn't lose their place?
The answer is to lean on Capacitor’s own App API. It gives you a direct line into the app's lifecycle events.
By listening for the appStateChange event, you know the exact moment your app is sent to the background or pulled back into the foreground. That’s your cue. When the app is backgrounded, save any critical state to local storage. When it becomes active again, restore it. This simple pattern is the key to creating that seamless, "never-missed-a-beat" user experience.
Can I Use Native UI Elements?#
Another big question is about native UI. Your Next.js app lives in a WebView, but sometimes you want to trigger something that feels truly native, like the device’s share sheet or a system alert.
This is exactly what Capacitor plugins were made for. Instead of spending time building a custom share modal in React, you can use the @capacitor/share plugin to pop open the native iOS or Android share UI with a single function call. Same goes for dialogs—the @capacitor/dialog plugin is way better than a web-based alert. It feels more integrated and saves you from reinventing common mobile UI patterns.
Remember, the goal isn't to replace your entire Next.js UI. It's about being strategic. Use native elements for interactions where they feel most natural, like permission prompts, system dialogs, or sharing. This hybrid approach gives you the best of both worlds.
What's the Best Way to Debug My App?#
Debugging can feel a bit weird since your code is running in two places at once: the WebView and the native shell. The most effective way to tackle this is by connecting your device or emulator directly to your desktop browser's developer tools. It gives you a direct window into what's happening.
For Android: Fire up Chrome and head to
chrome://inspect. Your connected device should show up as a remote target, giving you full access to the console, network requests, and the element inspector, just like you're used to.For iOS: On your Mac, connect your device and open Safari. Go to the Develop menu, and you’ll see your app listed. From there, you can attach the Web Inspector.
This direct debugging access is a lifesaver for figuring out those tricky issues that only show up on a real device. It makes fine-tuning your Capacitor mobile app so much easier.
Ready to stop wrestling with configuration and start building? NextNative provides production-ready boilerplates and a complete toolkit to launch your Next.js mobile app in days, not months. Get started with NextNative today!