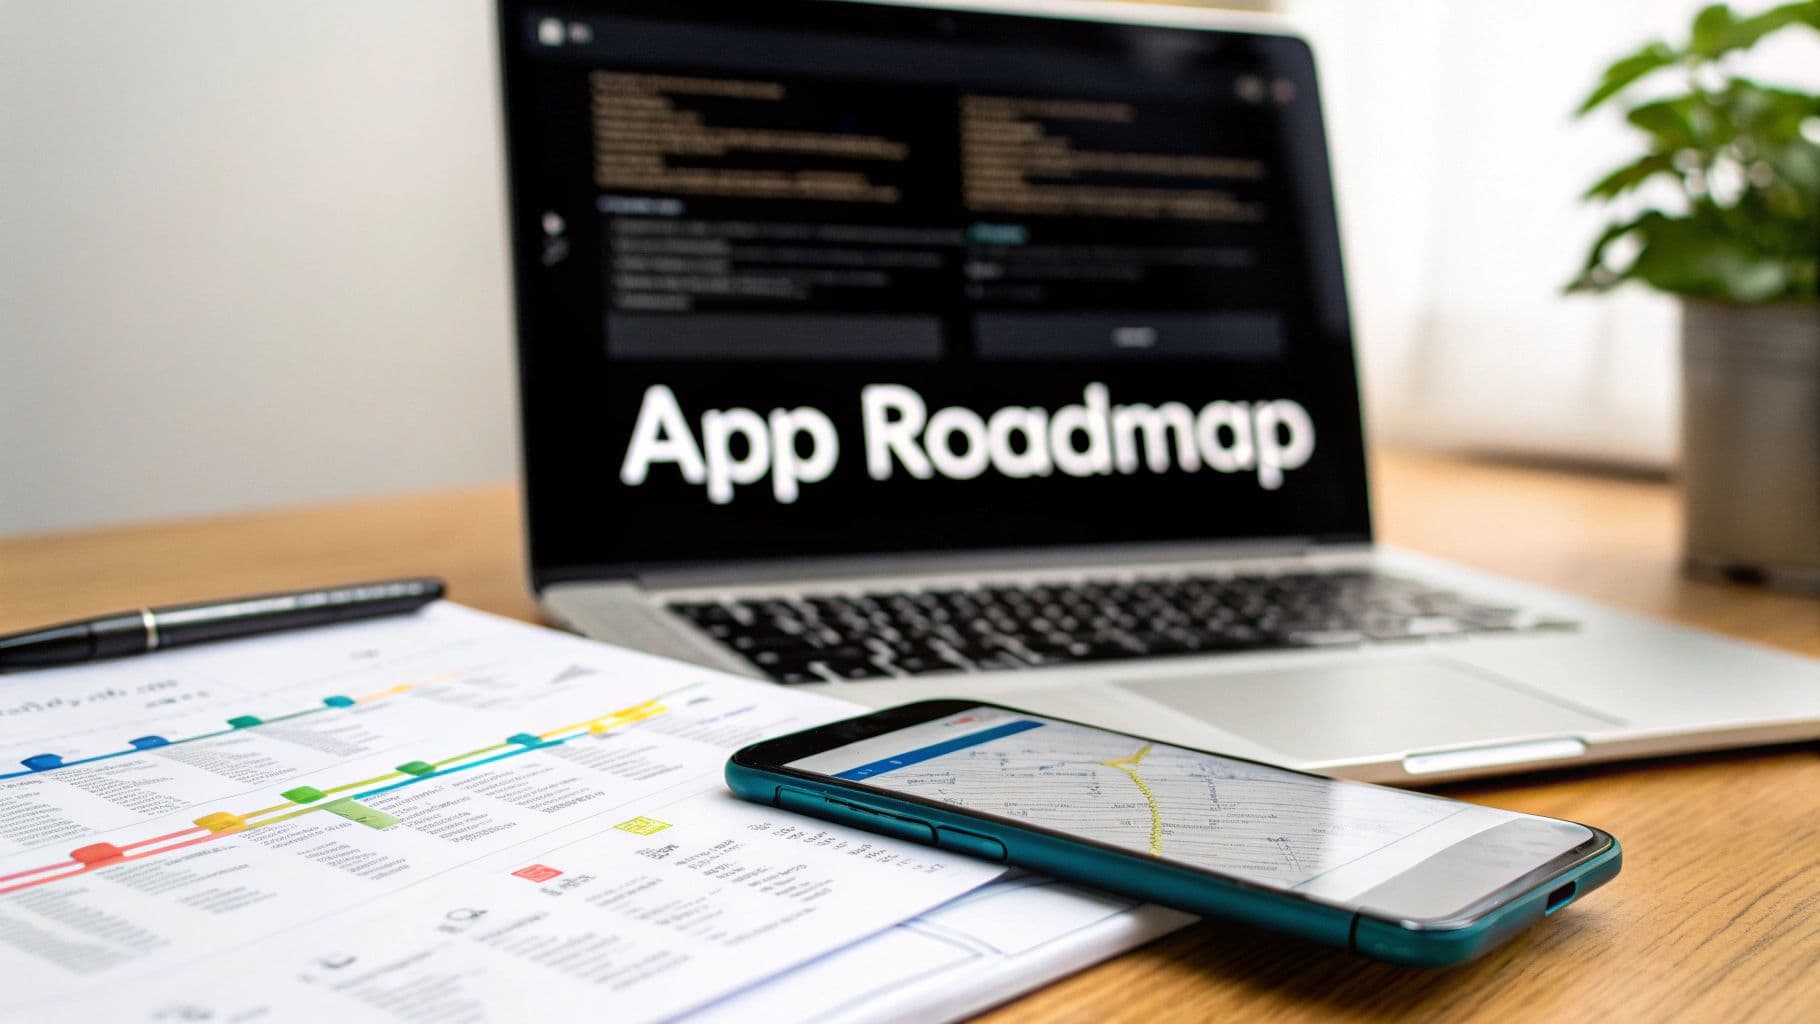
Your Mobile App Development Roadmap for Success
Updated: August 2, 2025
Think of a mobile app development roadmap as your North Star. It's more than just a project plan; it's a strategic guide that keeps everyone—from stakeholders to developers—aligned on the same journey. It takes you from that first "what if?" idea all the way through market research, design, coding, testing, and what comes after launch.
Building Your Strategic Discovery Phase#
Before you even think about writing a single line of code, you need a rock-solid strategic plan. This initial discovery phase is all about business intelligence, not tech. It’s where you take a raw idea and see if it can actually survive in the real world. Think of it as drawing up the architectural blueprints before you pour the foundation.
Honestly, skipping this step is one of the biggest and most common reasons apps fail. You could build the most technically impressive app imaginable, but if it doesn't solve a real problem for a real audience, it's just not going to get any traction. This is your chance to be brutally honest about your idea's viability.
Defining Your Core Concept and Audience#
First things first: what, specifically, does your app do, and who is it for? To get this right, you have to do some deep-diving into market research and get really specific by creating user personas.
A user persona isn't just a basic demographic profile. It’s a story. For example, if you're building a budgeting app, you might create "Frugal Finn." He's a 28-year-old freelance designer who's having a tough time tracking his fluctuating income and is trying to save for a down payment on a house. That simple story immediately brings the problems your app needs to solve into sharp focus.
To really get inside your audience's head, you need to:
- Talk to them! Run surveys and interviews with potential users.
- Hang out where they hang out online. See what they're complaining about on forums and social media.
- Map out their journey. How would someone like Finn actually use your app from start to finish to reach his goals?
Competitor Analysis and Unique Value Proposition#
Let's face it, your app won't exist in a bubble. A huge part of this phase is sizing up the competition. You need to identify rival apps and pick them apart—what are their strengths, weaknesses, and what are their user reviews saying? The complaints are pure gold. That’s where you’ll find your openings.
Your main goal here is to define your Unique Value Proposition (UVP). It's the one thing that makes your app the obvious choice. Are you simpler? Faster? Cheaper? Or do you have a killer feature that nobody else offers?
A strong UVP isn't just a feature; it's a promise to the user. It clearly answers the question: "Why should I download and use your app instead of the others?"
This kind of strategic thinking is absolutely critical in today's crowded market. The mobile app economy is exploding, with projections showing the global market will hit a staggering $585.7 billion by 2025. With ad revenues alone expected to reach $381.3 billion, you have to find a way to stand out.
Setting Goals and Defining Scope#
Once you know your audience and your unique angle, you can set some real, measurable business goals. I'm not talking about vague wishes like "get a ton of downloads." I mean specific Key Performance Indicators (KPIs) that you can actually track.
Good KPIs look something like this:
- Hit 10,000 active users within the first six months.
- Achieve a 40% user retention rate after 30 days.
- Generate $5,000 in monthly recurring revenue by the end of year one.
These goals will directly shape your project's scope. A huge win from this discovery phase is defining your Minimum Viable Product (MVP). An MVP isn't a stripped-down, cheap version of your app; it's the version with just the essential features needed to solve that core problem for your first users. This lets you launch faster, get priceless real-world feedback, and improve based on data, not guesses. Checking out successful Minimum Viable Product (MVP) examples can be a massive source of inspiration.
This phase is also where you start thinking about the clock. Getting the timeline right is crucial, and you can learn more about creating a realistic mobile app development timeline in our guide.
Designing Your App's Visual Blueprint#

Alright, you've nailed down your app's core concept. Now for the fun part: bringing it to life visually. This is where we move from abstract ideas to a concrete visual plan, diving deep into user interface (UI) and user experience (UX) design. It’s about more than just a pretty face; a truly great design feels effortless. In fact, an incredible 74% of users are more likely to come back to your app if the UX is top-notch.
Think of this stage as creating the architectural drawings before you start pouring concrete. We'll translate your strategy into something people can see, touch, and interact with, building up from a basic skeleton to a fully realized model of your app.
Getting the Bones Right with Low-Fidelity Wireframes#
First things first, let's sketch out the blueprint. We begin with low-fidelity wireframes, which are essentially the bare-bones, black-and-white structure of your app. Forget about colors, fonts, or fancy graphics for now. The only goal here is to figure out the layout, the flow, and where everything goes.
Imagine that budgeting app we talked about. A wireframe would map out the essential screens:
- A simple login page.
- The main dashboard showing the current balance.
- A big, obvious button to add a new expense.
- The screen flow for how a user actually categorizes that expense.
This minimalist approach forces you to focus purely on function and usability. It’s the fastest, most cost-effective way to get the core structure right before you get bogged down in visual details.
Adding Personality with High-Fidelity Mockups#
With the basic structure approved, it’s time to give your app its personality. This is where we create high-fidelity mockups—static, full-color designs that show exactly how the finished app will look and feel.
This is where your brand's visual language comes into play. We'll define all the key elements:
- Color Palette: Picking shades that create the right mood and ensure everything is easy to read.
- Typography: Choosing fonts that are clear, legible, and reflect your brand’s character.
- Iconography: Designing custom icons that users can understand at a glance.
- Spacing and Layout: Giving every element breathing room to create a clean, uncluttered interface.
These mockups are pixel-perfect previews that give the development team a crystal-clear visual guide, eliminating any guesswork down the line. To see how this fits into the bigger picture, you can explore our breakdown of the complete mobile app development process.
The design process is a deliberate journey from a rough sketch to a polished, testable model. Here's a quick look at the key stages:
Key Stages of the App Design Process#
| Stage | Objective | Key Deliverables |
|---|---|---|
| Low-Fidelity Wireframing | Establish the core structure and user flow. | Basic, black-and-white screen layouts. |
| High-Fidelity Mockups | Define the visual identity and aesthetic. | Full-color, static designs with final typography and iconography. |
| Interactive Prototyping | Create a testable, clickable version of the app. | A realistic, non-functional app simulation for user testing. |
Each stage builds on the last, ensuring that we move from a solid foundation to a beautiful and intuitive final product.
My two cents: Never underestimate the power of this process. Great design isn’t a happy accident; it’s a series of intentional choices that make an app so easy to use, people don't even have to think about it.
Testing the Waters with Interactive Prototypes#
The final step before development is creating an interactive prototype. Using tools like Figma or Adobe XD, we link those beautiful mockups together into a clickable, tappable simulation. It won’t have any working code, but it will look and feel just like the real app.
This prototype is your secret weapon. It lets you conduct usability testing with real people before writing a single line of code. You can hand it over, watch them try to complete tasks, and see exactly where they get confused or frustrated.
Fixing a usability flaw at this stage might take a few hours in a design tool. Finding that same issue after the app has been built could mean days or even weeks of expensive developer time to fix. This early feedback loop is what separates good apps from great ones, ensuring you build something people will actually love to use.
Choosing Your Tech Stack and Getting Down to Code#
Alright, your design blueprint is signed off, and it looks fantastic. Now, the real fun begins. It's time to move from planning to building, turning those static designs into a living, breathing application. This is where your mobile app development roadmap gets technical.
The choices you make right now, especially about your technology stack, will have a ripple effect on your app's performance, how easily you can scale, and how much it costs to maintain down the road. This is where we build the engine of your app, so let's get it right.
We'll walk through picking the right tools, setting up a solid technical foundation, and adopting a development workflow that keeps you on track without boxing you in.

This is the moment of truth—the handoff from design to development, where we translate beautiful mockups into the actual components users will tap and swipe.
Selecting Your Core Technology#
First up is a big decision: your tech stack. This isn't just a nerdy detail for your engineers to worry about; it's a fundamental business choice. Do you build two completely separate apps—one for iOS using Swift and another for Android using Kotlin? Or do you go the cross-platform route to get to market faster and more efficiently?
For most businesses I work with, especially startups, cross-platform is a no-brainer. Frameworks like NextNative are a game-changer here. They let you build your app for both iOS and Android from a single codebase, using the web technologies your team probably already knows. This approach massively speeds up development and makes pushing out updates a whole lot simpler.
When you're weighing your options, think about:
- Team Skills: What does your team already excel at? Playing to your existing strengths will save you a ton of ramp-up time.
- Performance Needs: Is your app a graphically intense game or does it rely heavily on very specific device hardware?
- Budget and Timeline: Cross-platform is almost always the faster and more budget-friendly path.
- Future Scalability: You need a stack that can grow with your app and your user base without a complete rewrite.
Architecting the Frontend and Backend#
With your tech stack sorted, development typically splits into two streams that happen at the same time: the frontend and the backend.
The frontend is everything your user sees and interacts with. It’s the buttons, the screens, the smooth animations from your mockups. When using a toolkit like NextNative, your developers can grab pre-built UI components to piece together the interface quickly, which helps maintain a consistent, high-quality experience across both platforms.
Meanwhile, your team will be building the backend, which is the invisible powerhouse running the show. This includes:
- The Server: The central brain of the operation that handles all the logic.
- The Database: The secure vault where all your user data, app content, and other information lives.
- The API (Application Programming Interface): The critical messenger that lets the frontend and backend talk to each other securely and instantly.
A well-designed backend is non-negotiable for success. It has to manage everything from signing users in to fetching data, and it needs to do it all without breaking a sweat as you get more and more users.
A classic mistake I see is teams building a backend that works great for their first 1,000 users but crumbles under the weight of 100,000. Your roadmap needs to plan for success from day one.
Embracing Agile Development with Sprints#
Forget trying to build the entire app in one massive, months-long effort. The best modern teams use an agile methodology like Scrum. The whole idea is to break the huge project down into small, focused cycles called "sprints," which usually last one or two weeks.
At the beginning of each sprint, the team pulls a small handful of features from the to-do list (the product backlog) and gets to work. By the end of the sprint, they have a new, tested, and working piece of the app to show for it. This cycle allows you to get constant feedback and adapt on the fly. If an idea isn't working out, you'll know in two weeks, not six months.
This flexible approach is absolutely essential today. Mobile apps are projected to generate over $522 billion in revenue in 2025, and with 3.55 million apps already on Google Play, the competition is fierce. The data shows that mobile apps account for 70% of all US digital media time, and 21% of millennials open an app more than 50 times a day. You can dive deeper into these numbers in this detailed mobile app trends report.
In a market this crowded, agility isn't just a buzzword—it's your key to survival. This build-test-refine loop ensures your final product is not only technically solid but also genuinely connects with what your users want, giving you the best shot at standing out.
5. Ensuring Quality With a Rigorous Testing Plan#

Let's be honest. A slick design and clever features mean absolutely nothing if your app is a buggy, crashing mess. This is where a dedicated Quality Assurance (QA) phase comes in, transforming your app from a cool idea into a reliable, trustworthy product. An app that constantly fails is a one-way ticket to a flood of one-star reviews and swift uninstalls.
Your mobile app development roadmap can't treat testing as an afterthought. It has to be a core activity from the get-go. This isn't just about squashing bugs; it's about safeguarding the entire user experience. This crucial stage answers the tough questions: Does it actually work? Is it easy to use? Is it fast? And most importantly, is my user's data safe?
The Four Pillars of App Testing#
A solid testing strategy isn’t a one-trick pony. You need to look at your app from several different angles to make sure it’s truly ready for the real world. Think of it as a quality checklist for every part of the experience.
Here are the non-negotiables you need to incorporate:
- Functional Testing: This is the bread and butter. Does every button, link, and feature do what it's supposed to? If a user taps "Add to Cart," does the item actually land in the cart? It’s a methodical, step-by-step check of your app's core mechanics.
- Usability Testing: This is where you step beyond pure function and into the human experience. Is the app intuitive? Can a first-time user figure things out without a manual? This usually means getting real people to play with your app while you watch for those "aha!" moments—or moments of total confusion.
- Performance Testing: How does your app hold up under pressure? Performance testing checks for speed, responsiveness, and stability. You’ll measure everything from load times and battery drain to how the app behaves on a spotty 4G connection versus stable Wi-Fi.
- Security Testing: In an age where data breaches are front-page news, this is completely non-negotiable. Security testing actively hunts for vulnerabilities that could expose user data. It’s about checking for weak spots in how you store data, handle network requests, and authenticate users.
Balancing Automation with a Human Touch#
Building an effective QA plan means finding the sweet spot between automated and manual testing. They aren’t competing approaches; they’re partners. I like to think of it as having robots for the repetitive grunt work and humans for the nuanced, gut-check feedback.
Automated testing is brilliant for running the same tests over and over. It's perfect for regression testing—making sure a new feature didn't accidentally break an old one. It’s fast, incredibly efficient, and can catch predictable bugs across hundreds of different scenarios without getting bored.
But you can't automate everything. Manual testing is irreplaceable when it comes to the human side of the app. A script can't tell you if a color scheme is jarring or if the checkout flow just feels awkward. You need a real person to provide that qualitative, experience-driven feedback.
Remember, your QA team isn't just there to break things. Their primary goal is to advocate for the end-user, ensuring the final product is not just functional but genuinely enjoyable and trustworthy to use.
A robust testing strategy is built on understanding the right tool for the right job. This table breaks down the core testing types to help you decide where to focus your efforts.
Essential App Testing Types Compared#
| Testing Type | Primary Goal | When to Perform |
|---|---|---|
| Functional | Verify that each feature works correctly. | Continuously, throughout the development cycle. |
| Usability | Ensure the app is intuitive and easy to use. | During prototyping and before major releases. |
| Performance | Check for speed, stability, and resource usage. | Before launch and after major updates. |
| Security | Identify and fix data vulnerabilities. | Throughout development, with a final audit before launch. |
By combining these methods, you create a safety net that catches everything from minor glitches to major security flaws, ensuring a much smoother launch.
As you build out this phase, it helps to understand who does what. This helpful guide to QA team roles and responsibilities can give you a clearer picture of how to structure your team for success.
For an even deeper dive, be sure to check out our complete guide on mobile app quality assurance. Putting in this groundwork ensures your app is celebrated for its quality, not criticized for its flaws.
Go-Live and What Comes Next#
Getting your app onto the app stores isn't the finish line—it’s the starting pistol. This is the moment your mobile app development roadmap shifts from building a product to growing a business. The deployment and post-launch phases are all about gaining momentum, measuring what matters, and maintaining your creation.
Prepping your app for submission to the Apple App Store and Google Play is a detailed process in its own right. It’s far more than just uploading a file. You need to create compelling store listings with optimized titles, engaging descriptions, and high-quality screenshots that tell a story and convince people to tap "Download."
Mastering Your App Store Debut#
Think of your app store page as your digital storefront. That first impression is everything. Your app’s title, icon, and the first couple of screenshots are the first things people see, so they have to be absolutely polished.
To build a listing that converts, you really need to focus on a few key things:
- Nail the Title: Don't just name it; describe it. Weave in a primary keyword naturally. Instead of just "BudgetApp," something like "BudgetApp - Your Expense Tracker" works much better.
- Design a Memorable Icon: Your icon has to be recognizable and look sharp at any size. It's a tiny piece of real estate that does a lot of heavy lifting for your brand.
- Show, Don't Just Tell: Use your screenshots to walk users through a key workflow or highlight a major benefit. Static screens are boring. A short, punchy video preview? Even better.
Navigating the review guidelines for both Apple and Google can feel like a maze. It's so important to follow their rules to the letter to avoid a rejection, which can throw your whole timeline off. To help you get everything in order, we put together a comprehensive mobile app release checklist that covers all the critical steps.
Turning Data into Smarter Decisions#
Once your app is live, your most important job is to listen. You need to get a solid analytics strategy in place to see how real people are actually using your app. Guesswork is your enemy here; data is your best friend.
Start by tracking a handful of Key Performance Indicators (KPIs) that tie directly back to your business goals.
- Daily and Monthly Active Users (DAU/MAU): This is your pulse. It tells you how many people are using your app on a regular basis.
- User Retention Rate: What percentage of users come back after day 1, day 7, or day 30? This is the ultimate sign of a "sticky" app that provides real value.
- Session Length: Are users popping in for a few seconds or spending meaningful time in the app?
- Crash Reports: How often is your app crashing, and on which devices? Stability is non-negotiable.
My advice? In the early days, focus on retention above all else. A ton of downloads means very little if nobody sticks around. High retention is proof that you've built something people genuinely need.
This data, paired with direct user feedback from reviews and support tickets, becomes the fuel for all your future updates. It shows you which features are a hit, which ones are being ignored, and exactly where users are getting stuck or frustrated.
Planning for Version 2.0 and Beyond#
Your mobile app development roadmap should be a living, breathing document. The post-launch phase is all about iterating based on what you’ve learned. The feedback and data you collect should flow directly into the backlog for your next development sprints.
This is where you start mapping out version 2.0. But it’s not about just tacking on a random list of new features. It’s about making strategic improvements. Did your data show a huge drop-off during onboarding? Your next update should focus on simplifying that flow. Is "dark mode" the number one user request? That goes on the list.
This constant cycle of launching, measuring, and learning is what separates successful apps from the ones that launch and quietly fade away. You also need a solid maintenance plan to squash bugs, patch security vulnerabilities, and ensure your app stays compatible with the latest OS updates from Apple and Android.
The mobile world moves incredibly fast. Mobile app downloads are projected to hit a staggering 299 billion in 2025. With the average person using about 10 apps daily, the competition for their attention is fierce. Key trends show gaming and social media apps dominate screen time, while subscription models are a huge revenue driver. Digging into these market dynamics is vital for shaping your long-term growth strategy.
Common Questions About App Development Roadmaps#
Even with the best-laid plans, questions are going to come up. Building an app is a big undertaking, and it’s totally normal to feel a bit uncertain at times. Let's walk through some of the most common questions we get asked, giving you straight-up answers to help you move forward with confidence.
Think of this as your go-to FAQ for turning a brilliant idea into a real, successful app. Nailing these fundamentals can save you a world of headaches (and money) later on.
How Long Does App Development Really Take?#
This is the million-dollar question, isn't it? The truth is, the timeline for building an app can swing wildly depending on what you're trying to build. There’s no magic number, but we can definitely talk about realistic ranges.
A fairly simple app—think a basic task manager or a straightforward content app with a handful of core features—will likely land in the 3 to 6-month range from the first sketch to launch day.
For something more ambitious, you're looking at a longer road. A complex app with custom UI, its own backend server, multiple third-party integrations, or features like in-app payments could easily take 9 to 12 months, or even more. Your roadmap is your best friend for forecasting this, but always, always build in a buffer. Unexpected hiccups are just part of the game.
Should I Build for iOS or Android First?#
The answer isn't about which platform is "better"—it's about where your users are. Go back to the research you did in your discovery phase. That data holds the key.
If your ideal customer is glued to their iPhone, starting with iOS is a no-brainer. On the flip side, if your audience is all-in on Android, then that’s where you should focus your energy first.
But what if it's a solid mix? This is where a cross-platform approach with a tool like NextNative becomes a game-changer. You can build for both iOS and Android at the same time, from one single codebase. It’s not just about getting to market faster on both platforms; it can also be a huge win for your budget.
What Is the Biggest Mistake to Avoid?#
If I had to pick just one, it's this: rushing or completely skipping the initial discovery and validation work. So many teams fall in love with their idea and dive headfirst into design and code without ever stopping to ask if people actually want what they're building.
It's a classic, painful mistake. You can build a technically flawless app that solves a problem nobody has. A solid roadmap forces you to prove your concept, get inside your users' heads, and define what success looks like before you spend a dime on development.
Taking the time to research the market, see what competitors are doing, and map out detailed user personas isn't just busywork. It's the cheapest insurance policy you can buy against building something that nobody uses.
How Much Should I Budget for App Maintenance?#
Getting your app launched is a huge milestone, but it's not the finish line—especially for your budget. A lot of people forget to plan for what comes after the launch.
A good rule of thumb is to budget about 15-20% of your initial development cost, per year, for ongoing maintenance. This isn't just for emergencies; it covers a lot of essential work:
- Bug Fixes: No app launches perfectly. You’ll find things to fix once real users get their hands on it.
- OS Updates: Apple and Google roll out major updates every year. Your app will need tweaks to stay compatible and secure.
- Server Costs: If your app connects to a backend, you'll have recurring hosting fees.
- Small Updates: You'll want to add small features and improvements based on user feedback to keep the app fresh.
Factoring these costs into your roadmap from day one is crucial. It keeps your app from becoming slow, buggy, or insecure. The total investment is a major factor, of course, and you can see a complete breakdown of what goes into the price tag in our guide on how much app development costs.
Ready to stop wrestling with complicated setups and just start building? With NextNative, you can use the web development skills you already have to create beautiful, production-ready iOS and Android apps. Skip the steep learning curve and launch faster. Check out our templates and get started today at nextnative.dev.