Build Your First Ionic App with Firebase
Updated: September 13, 2025
Building an ionic app with firebase is a killer strategy for launching high-performance, cross-platform apps without the usual headaches. It’s a powerful combo: you get Ionic's single codebase for the UI and Firebase's suite of serverless backend services. What that really means is you can build for iOS, Android, and the web all at once, without needing separate teams or wrestling with complex server infrastructure.
Why Ionic and Firebase Are a Powerful Duo#
So, you want to build a modern app without juggling different codebases for every platform? Pairing Ionic's "write-once-run-anywhere" frontend with Firebase's backend is a genuine game-changer. Think of it like this: Ionic handles the beautiful, responsive user interface, while Firebase takes care of all the heavy lifting in the cloud.
This duo doesn't just work well together; it dramatically speeds up the entire development process. You end up launching features faster and creating the kind of seamless, real-time experiences that users have come to expect.
The Strategic Advantages#
The biggest win here is efficiency. With Ionic, you're using web technologies you already know—HTML, CSS, and TypeScript—to build your entire frontend. That single codebase is then adapted for each platform by Capacitor, which gives you a clean bridge to native device features. It's just so much faster than building and maintaining separate native apps for iOS and Android.
Firebase slots in perfectly by providing a whole suite of ready-to-use backend services:
- Authentication: Securely manage your users with pre-built UI flows for email, password, and social logins.
- Firestore Database: A real-time NoSQL database that automatically syncs data across every connected client. It just works.
- Hosting: Deploy the web version of your Ionic app to a global CDN with a single command.
The synergy here removes some massive technical hurdles. You no longer have to spin up a custom REST API, manage database servers, or figure out a complicated deployment pipeline. If you want to go deeper on this, our guide on choosing a serverless backend for mobile apps provides a lot more context.
From my experience, the ability to prototype and launch a feature-rich app in weeks, not months, is the most compelling reason to choose this stack. It allows small teams and solo developers to compete with much larger organizations.
Optimizing Development Time and Costs#
The economics of using an ionic app with firebase are hard to ignore. Traditional app development often requires separate teams for the frontend and backend, which basically doubles the workload. This combination streamlines the whole process into one unified workflow.
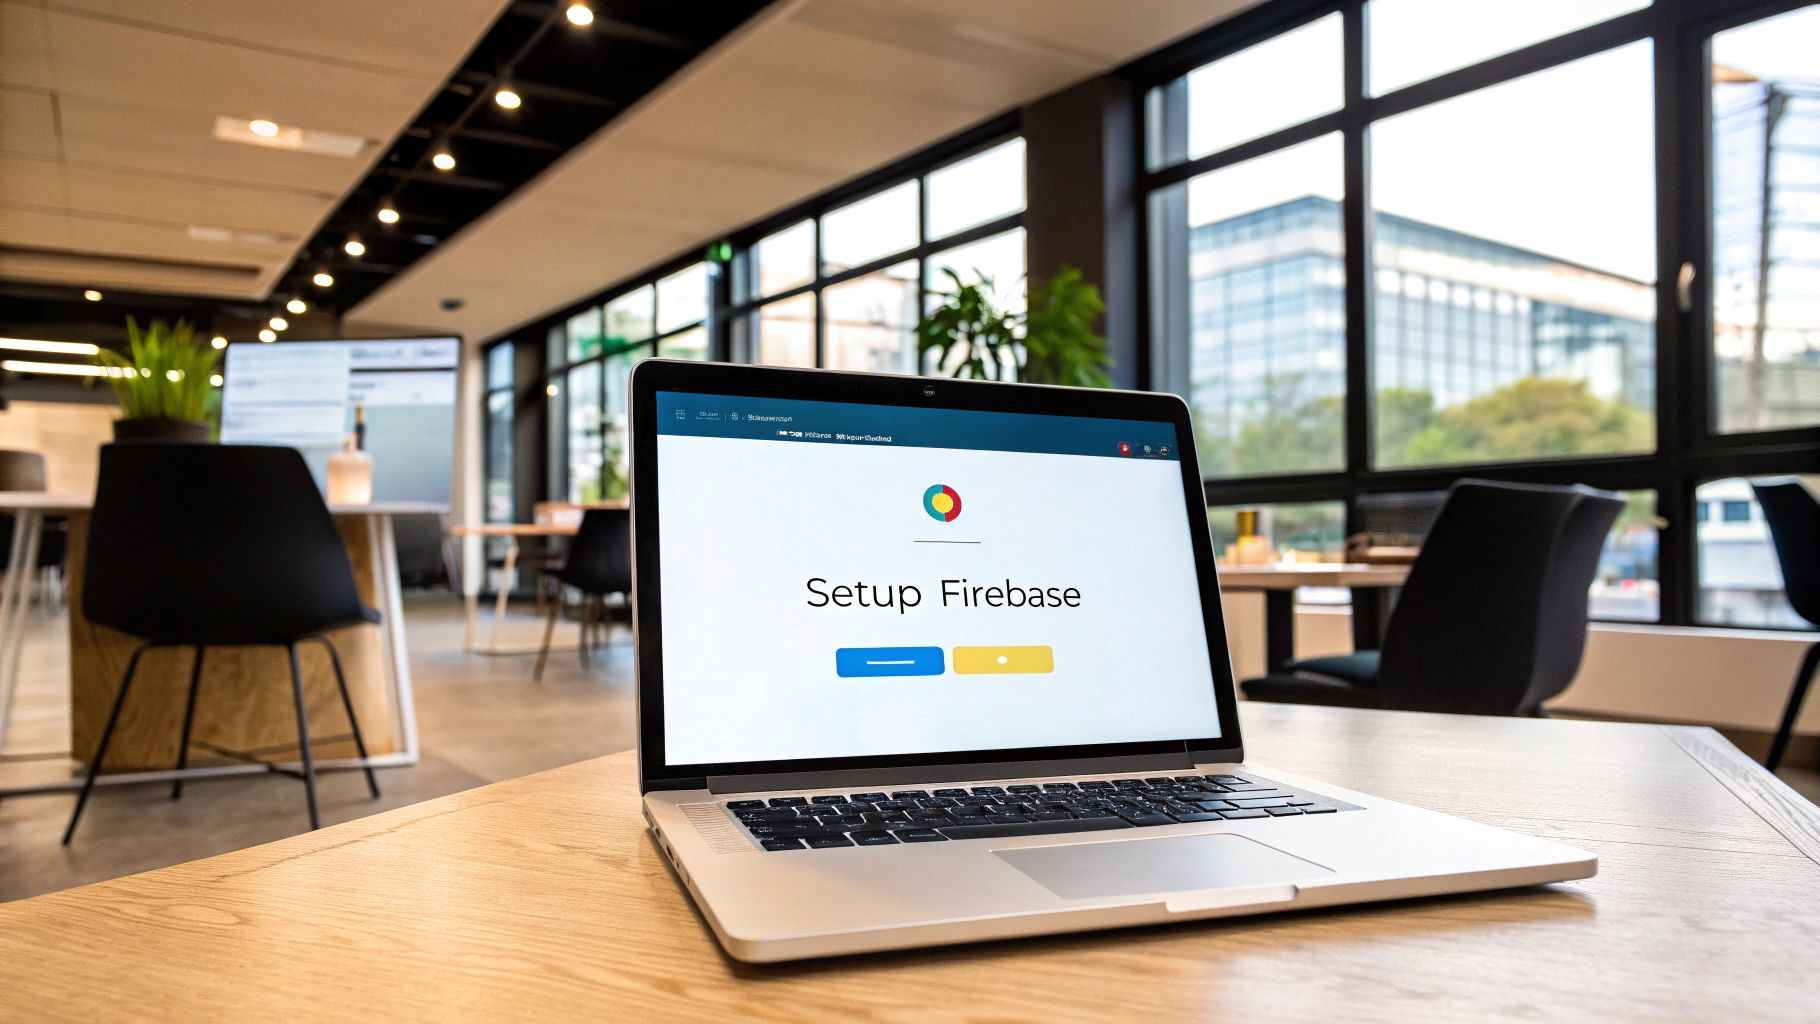
Everything you need on the backend is managed through the Firebase console, a centralized dashboard for all your services.
This screenshot shows just how clean and intuitive the Firebase dashboard is. You can jump between Authentication, Firestore, Hosting, and more, all from one place. Its user-friendly design makes backend management accessible, even if you're a frontend-focused developer.
This efficient model can slash development time by up to 40% and seriously lower your maintenance costs down the road. You can find a great analysis of optimizing development with Firebase and Ionic that breaks down the numbers even further.
Laying the Foundation for Your Project#
Alright, let's roll up our sleeves and build the foundation. Getting this first part right is crucial because it sets up a clean, scalable structure for everything that comes next. We'll start by spinning up a fresh Ionic project, making sure Capacitor is included from the get-go so native features are baked in.
First things first, you'll need the command-line tools for both Ionic and Firebase. If you don't already have them installed globally, just pop open your terminal and run this single command:
npm install -g @ionic/cli firebase-tools
With those tools ready to go, you can now generate the Ionic app itself. Navigate to wherever you keep your projects in the terminal and kick things off with the ionic start command. Let's call our app task-tracker and stick with the blank template using Angular.
ionic start task-tracker blank --type=angular
The CLI will ask a couple of quick questions. When it prompts you, be sure to choose Standalone components—it's the modern, recommended way to build with Angular these days. Once that process wraps up, jump into your new project's folder: cd task-tracker. This is your new home base. For a more detailed walkthrough of this process, our complete Ionic app tutorial has you covered.
Setting Up Your Firebase Project#
Your Ionic app now exists locally, but it needs a backend to talk to. That’s where Firebase comes in.
Head over to the Firebase Console and create a brand-new project. Give it a straightforward name like "Task Tracker App" and click through the setup prompts. To keep things simple for now, you can skip enabling Google Analytics.
Once your project dashboard loads, you'll see options to add an app for different platforms like iOS, Android, and Web. Because Ionic is fundamentally a web-based framework, you'll want to click the web icon (</>).
This brings up the app registration screen. Just give your web app a nickname and hit "Register app." Firebase will then generate your configuration keys.
Key Takeaway: Treat these configuration keys like you would a password. They are the credentials that authorize your Ionic app to connect to your Firebase project. Copy this entire configuration object—we're about to plug it into our Ionic app to make the connection.
Connecting Ionic with Firebase#
Getting the two to shake hands is surprisingly simple, all thanks to the @angular/fire library. This package is the magic that handles all the heavy lifting for initializing Firebase services and interacting with them from your Angular code.
Back in your terminal, from the root of your task-tracker project, run this command:
ng add @angular/fire
This one command kicks off a slick, interactive setup process. It will prompt you to log in to your Firebase account, then it will list the Firebase projects you have available so you can select the one we just created.
From there, it automatically figures out which services you might want (we'll be using Authentication and Firestore), and it injects the configuration keys directly into your Ionic app's environment files.
This automated approach is a huge time-saver and helps you sidestep the common copy-paste errors that can happen with manual setup. Once this process finishes, your Ionic app with Firebase is officially connected. You now have a working Ionic application on your local machine and a powerful Firebase project in the cloud, ready to be wired up with real features.
Implementing Secure User Authentication#
Just about every modern app needs to know who its users are. But let's be honest, building a login system from the ground up is a headache. It's complex, time-consuming, and packed with security landmines. This is exactly why Firebase Authentication is such a game-changer for your ionic app with firebase. It’s a rock-solid, fully managed service that takes care of the entire user lifecycle for you.
We're going to build out a complete authentication flow using the classic email and password method. The plan is to create a dedicated AuthService to keep our logic tidy, build the UI for registration and login, and then use route guards to protect sensitive parts of our app.

Structuring Your Authentication Logic#
Before you even think about the UI, the best practice is to pull all your authentication logic into a dedicated Angular service. This makes your code cleaner, reusable, and way easier to debug when something goes wrong.
Let's fire up the Ionic CLI and generate that service.
ionic generate service services/auth
This command pops a new file into src/app/services/auth.service.ts. Inside, we'll inject the Auth module from @angular/fire and wrap the core Firebase functions in our own methods.
// src/app/services/auth.service.ts
import { Injectable, inject } from '@angular/core';
import { Auth, createUserWithEmailAndPassword, signInWithEmailAndPassword, signOut } from '@angular/fire/auth';
@Injectable({
providedIn: 'root'
})
export class AuthService {
private auth: Auth = inject(Auth);
registerUser(credentials: {email: string, pass: string}) {
return createUserWithEmailAndPassword(this.auth, credentials.email, credentials.pass);
}
loginUser(credentials: {email: string, pass: string}) {
return signInWithEmailAndPassword(this.auth, credentials.email, credentials.pass);
}
logoutUser() {
return signOut(this.auth);
}
}
By abstracting the Firebase functions this way, the rest of our app has no idea how authentication is actually working. If we decided to switch to a different provider down the road, we'd only have to update this one service. It's a huge win for maintainability.
Building the Login and Registration Forms#
With our service in place, it’s time to build the user-facing forms. Go ahead and generate new pages for both login and registration.
ionic generate page pages/loginionic generate page pages/register
On each page, you’ll use Ionic’s UI components to create a simple form with fields for an email and a password, plus a submit button. Angular's FormsModule makes it super easy to bind the input values to variables in your component's TypeScript file.
Pro Tip: Always, always use
type="password"for password input fields. This simple attribute masks the characters as the user types, a fundamental security practice to prevent "shoulder surfing" in public places.
When the user hits the submit button on the login page, you'll simply call the loginUser method from your AuthService. The same logic applies to the registration page, where you'll call the registerUser method. Easy.
Managing User State and Protecting Routes#
Knowing if a user is logged in is just as important as the login process itself. We need a way to protect certain routes—like a user dashboard or a profile page—so only authenticated users can get in. This is where Angular’s Route Guards are brilliant.
A route guard is just a function that runs before a route is activated. It checks for a condition (like a logged-in user) and returns true to allow navigation or false to block it.
Here’s the game plan for creating a guard that uses Firebase's real-time auth state:
- Generate the Guard: Use the Angular CLI to create a new guard file.
ng generate guard guards/auth - Implement the Logic: The guard will tap into the
onAuthStateChangedobservable from Firebase to check the user's status in real-time. If a user object exists, it allows access. If not, it kicks them over to the login page. - Apply the Guard: In your
app.routes.tsfile, you just add the guard to any route you want to protect.
This setup ensures that even if someone tries to manually type in a URL for a protected page, they’ll be automatically redirected to the login screen if they aren't signed in.
While email and password auth is a great starting point, many apps improve their user experience by adding social logins. If you're looking to take that next step, our guide on the OAuth Google API is a fantastic resource to check out.
By following this structure—a dedicated service, clean UI forms, and robust guards—you create a secure and maintainable authentication system for your ionic app with firebase. It saves you a ton of development time and gives you the peace of mind that your user data is being handled correctly.
Managing Data in Real-Time with Firestore#
Okay, so your users can sign in. That's a huge step, but a login screen isn't an app. It's time to give them something to actually do. This is where we bring your ionic app with firebase to life by integrating Cloud Firestore, Firebase's powerful and flexible NoSQL database, to handle all your application's data.
We’re about to get hands-on with structuring data in collections and documents—the heart of how Firestore works. The best way to learn is by doing, so we'll build out a practical feature, like a shared to-do list or a personal notes tool. But the real magic comes when we implement real-time listeners. These will automatically update your Ionic UI the instant data changes on the backend. No more pull-to-refresh nonsense.
Firestore Data Structure: The Basics#
Before we touch any code, you need to get your head around how Firestore organizes information. It’s not like a traditional SQL database with rigid tables and rows. Firestore uses a much more fluid model built on two key concepts:
- Documents: Think of these as the basic unit of storage. They're essentially JSON objects that hold all your data fields. A single document could represent a user, a task, or a product in your inventory.
- Collections: Documents don't just float around in space; they live inside collections. A collection is just a container for documents. For example, you’d have a
userscollection to hold all your user documents, or ataskscollection for all the to-do items.
This model is incredibly flexible. You can even nest data in subcollections to create complex, hierarchical structures that perfectly mirror your app's logic. Thinking through your data structure from the start is absolutely crucial. For a deeper dive, check out our guide on database design best practices for some valuable principles.
Firebase Realtime Database vs Cloud Firestore#
Firebase actually offers two NoSQL databases. Here’s a quick comparison to help you choose the right one for your Ionic app's needs.
| Feature | Realtime Database | Cloud Firestore |
|---|---|---|
| Data Model | One large JSON tree | Collections and documents |
| Querying | Simple, deep queries are difficult | Advanced, indexed queries are fast and easy |
| Scalability | Scales to ~100k concurrent users | Scales globally to millions of concurrent users |
| Offline Support | Basic (Android/iOS only) | Advanced (Web, Android, iOS) |
| Best For | Simple apps needing high speed and low latency | Complex, large-scale apps needing robust querying |
For most new projects, Cloud Firestore is the recommended choice due to its superior querying, scalability, and data modeling capabilities.
Building a Data Service#
Just like we did for authentication, we’re going to centralize all our database logic into a dedicated Angular service. This is a best practice that keeps our components clean and focused purely on the UI. The service will handle all the dirty work of talking to Firestore.
Let's start by generating a DataService with the Ionic CLI:
ionic generate service services/data
Now, inside the new src/app/services/data.service.ts file, we'll use the @angular/fire library to perform the four core database operations: Create, Read, Update, and Delete (often called CRUD). We'll wrap the Firestore functions in our own methods, making them dead simple to call from anywhere in our app.
// src/app/services/data.service.ts
import { Injectable, inject } from '@angular/core';
import { Firestore, collection, collectionData, doc, addDoc, deleteDoc, updateDoc } from '@angular/fire/firestore';
import { Observable } from 'rxjs';
// Define a simple interface for our data
export interface Note {
id?: string;
title: string;
content: string;
}
@Injectable({
providedIn: 'root'
})
export class DataService {
private firestore: Firestore = inject(Firestore);
// Get all notes in real-time
getNotes(): Observable<Note[]> {
const notesCollection = collection(this.firestore, 'notes');
return collectionData(notesCollection, { idField: 'id' }) as Observable<Note[]>;
}
// Add a new note
addNote(note: Note) {
const notesCollection = collection(this.firestore, 'notes');
return addDoc(notesCollection, note);
}
}
The getNotes() method is the star of the show here. The collectionData function from @angular/fire gives us an Observable that emits the entire collection of notes whenever a single piece of data changes. This is the bedrock of our real-time functionality.
Implementing Real-Time UI Updates#
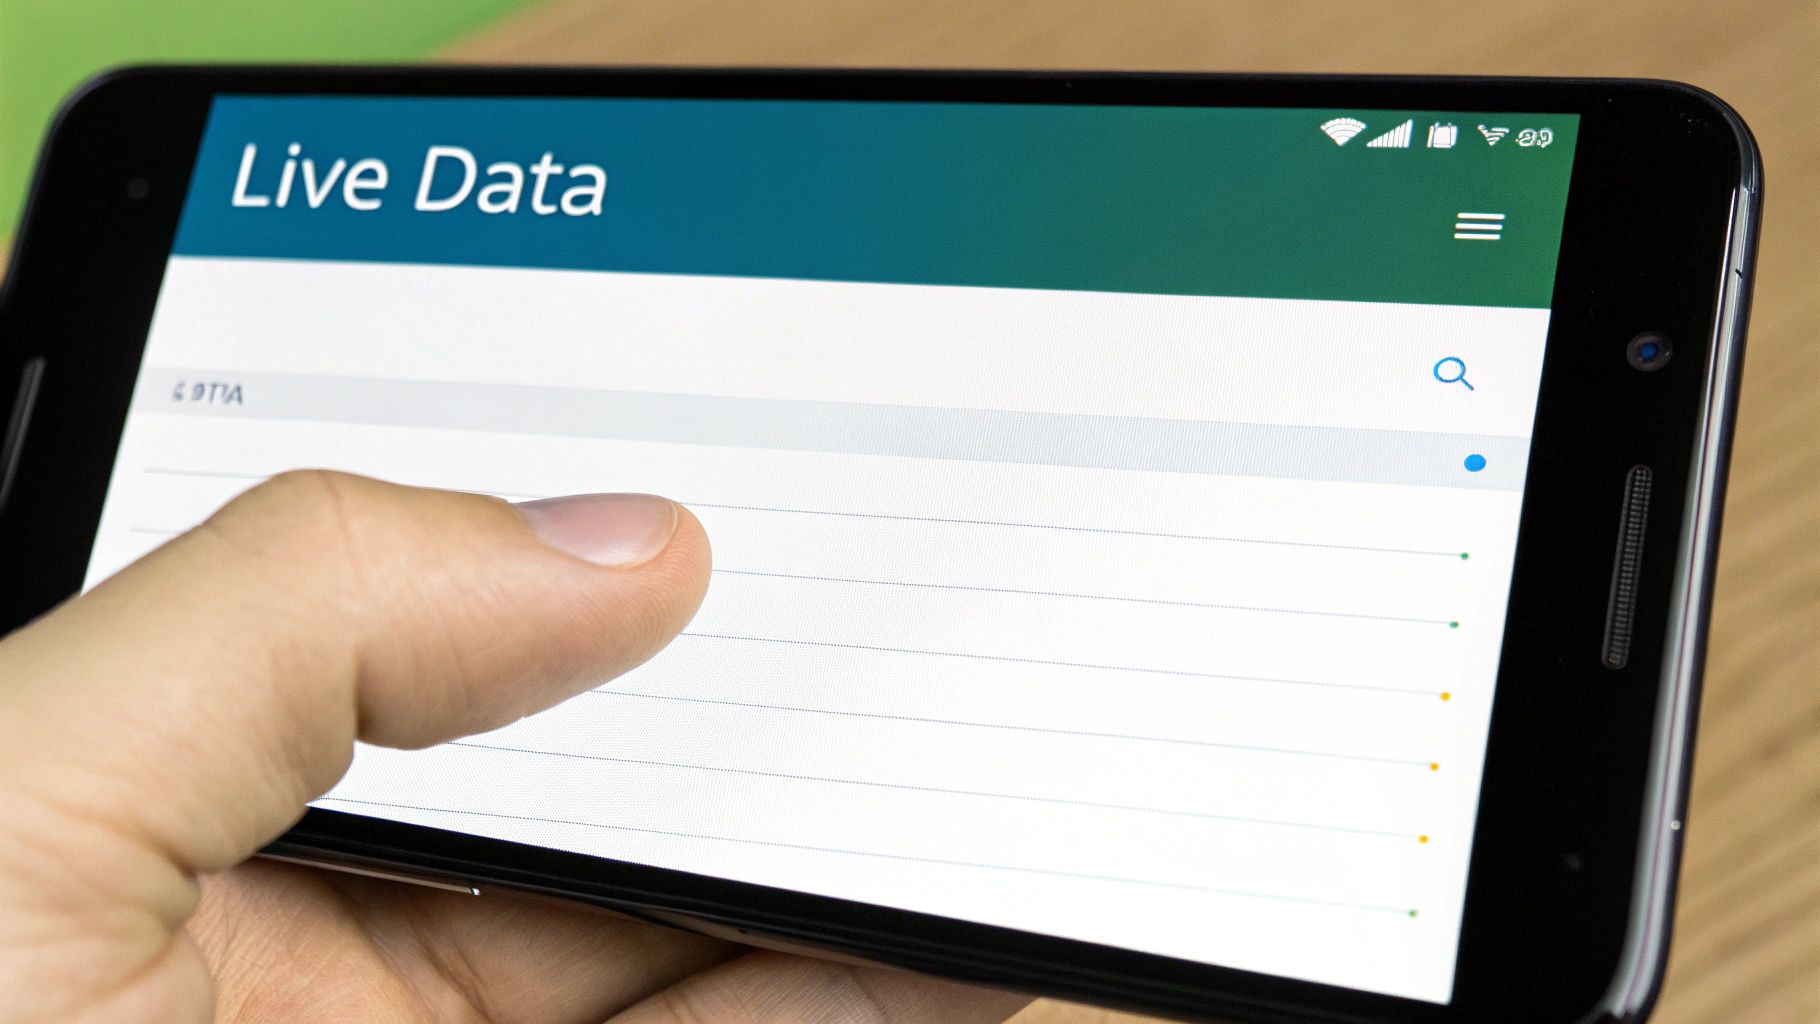
With our data service ready to go, hooking it up to the UI is surprisingly simple. In your component's TypeScript file, you just subscribe to the getNotes() Observable. The data will automatically flow into your component, and Angular’s change detection takes care of the rest, re-rendering the UI whenever a new note is added or an existing one changes.
Imagine a simple list of notes on the screen. When another user adds a new note from their device, your screen updates instantly. No refresh button, no user action required. This is what creates an incredibly engaging and collaborative experience.
This infographic shows a typical breakdown of sign-in methods for an ionic app with firebase.
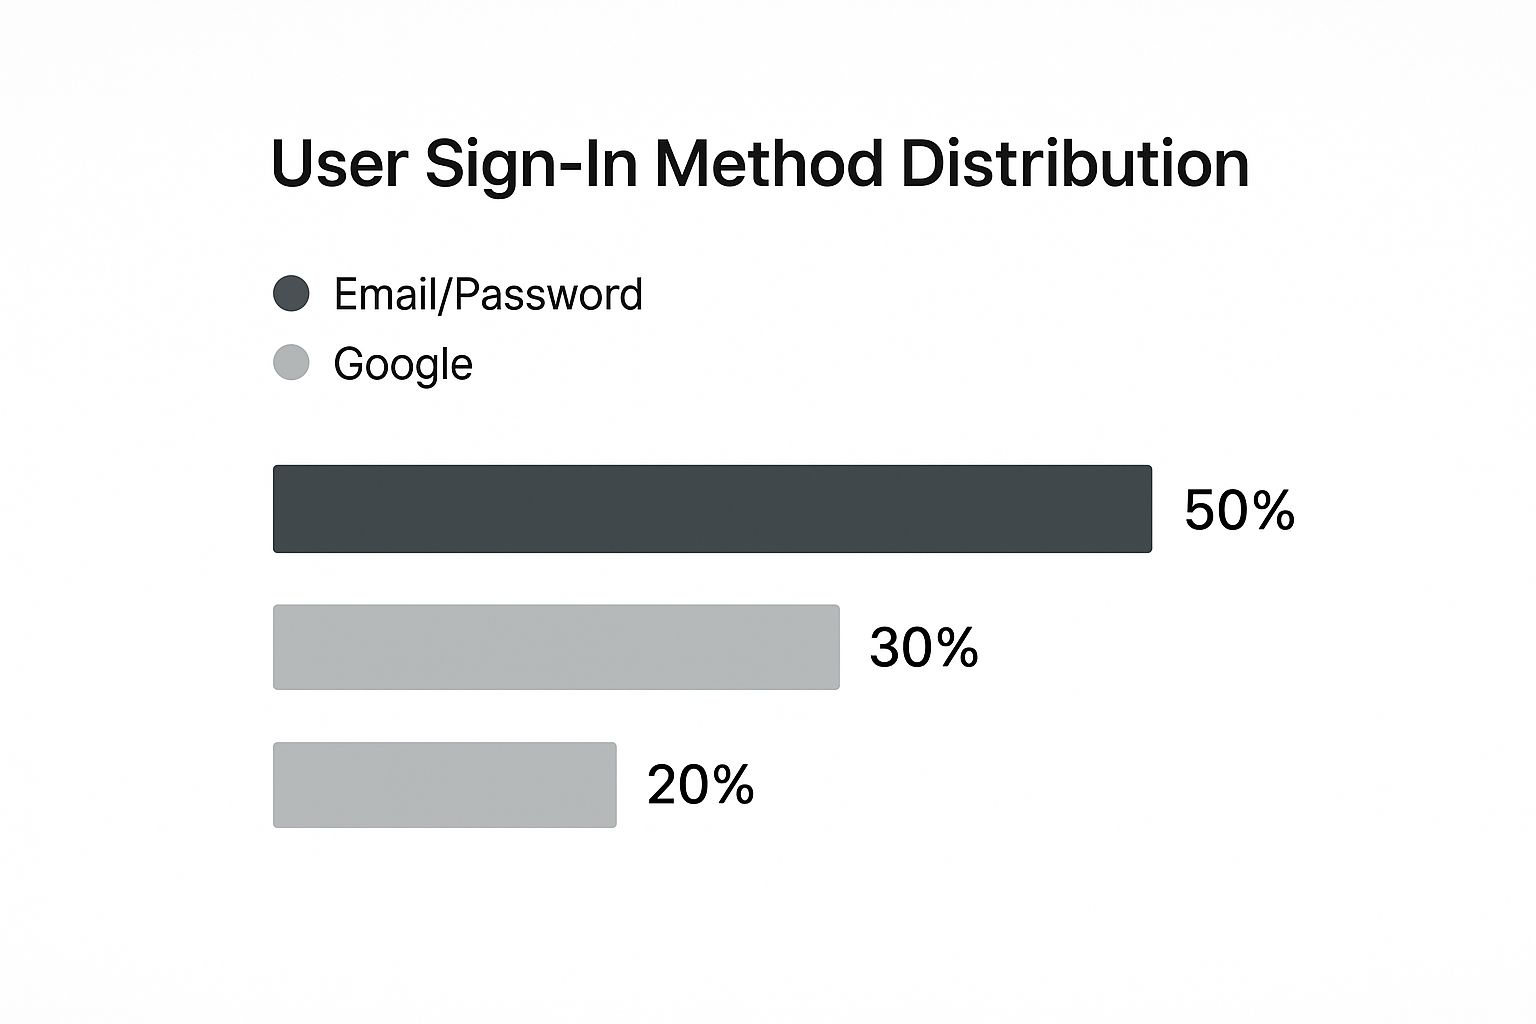
As you can see, while social logins like Google and Facebook are popular, the classic email and password combo still makes up half of all user authentications.
Securing Your Data with Rules#
A powerful database deserves powerful security. Firestore Security Rules are the gatekeepers that define who can read, write, update, or delete data. These rules live on Firebase's servers, not in your app's code, which means a clever user can't bypass them.
Key Insight: Never, ever deploy an app with the default, open security rules in production. The initial test mode setup allows anyone to read and write to your database, which is great for development but a massive security hole for a live application.
For our note-taking app, a common security rule would be to ensure users can only access their own notes. You can do this by adding a userId field to each note document and then writing a rule like this:
rules_version = '2';
service cloud.firestore {
match /databases/{database}/documents {
match /notes/{noteId} {
allow read, write: if request.auth != null && request.auth.uid == resource.data.userId;
}
}
}
This simple rule does two crucial things: it checks that a user is actually logged in (request.auth != null) and that their unique user ID (uid) matches the userId stored on the note they're trying to access. This is a fundamental pattern for building secure, multi-user apps with Firebase. Once you master these core concepts, you can build some incredibly responsive and dynamic features.
Deploying Your App with Firebase Hosting#
You've built a fantastic Ionic app with Firebase on the backend; now it's time to share it with the world. Firebase Hosting is a surprisingly powerful and simple way to deploy the web version of your Ionic app, pushing it to a global CDN for lightning-fast delivery to your users.
Getting started is as simple as running a single command in your project's root folder. This kicks off an interactive process that links your local code directly to your Firebase project, letting the command-line tool do all the heavy lifting.
firebase init hosting
This command will walk you through a few quick configuration questions.
Configuring Your Deployment#
During the setup, you'll be asked a couple of critical questions that tell Firebase exactly how to handle your Ionic app. It's really important to get these right for a smooth deployment.
- What do you want to use as your public directory? For a standard Ionic project, the answer is always
www. This is the folder where Ionic compiles all of your production-ready web assets. - Configure as a single-page app (rewrite all urls to /index.html)? You'll definitely want to say Yes (y) here. Ionic apps rely on client-side routing, and this setting is crucial. It ensures users can refresh the app on any page or click on deep links without running into a dreaded 404 error.
Once you've answered these, the Firebase CLI creates two new files for you: firebase.json and .firebaserc. These files hold your hosting configuration, so you only have to do this setup once.
Here's a pro tip from my own experience: always commit
firebase.jsonto your version control, but add.firebasercto your.gitignorefile. The.firebasercfile contains project-specific identifiers, whilefirebase.jsonholds the deployment rules that your entire team will want to use.
The Two-Command Launch#
With that initial setup out of the way, deploying your app becomes a beautifully simple, two-step process every time you have an update.
First, you need to create a production-ready build of your app. This step optimizes your code, minifies assets, and gets everything bundled up for the web. For a deeper dive into this process, check out our documentation on how to build your app for production.
ionic build --prod
This command packages everything neatly into that www folder we pointed Firebase to earlier.
Finally, with your build ready to go, one last command sends it all off to Firebase’s global network.
firebase deploy --only hosting
After just a few moments, the CLI will spit out your live URL. And just like that, your app is live on the internet for anyone, anywhere to use.
One of the best parts about Firebase Hosting is its version control. Each time you deploy, Firebase creates a new, timestamped version. The Hosting dashboard in the Firebase console keeps a complete history of all your deployments. If you ever accidentally push a buggy update, you can roll back to a previous, stable version with a single click—a crucial safety net for any production application.
Of course. Here is the rewritten section, crafted to sound like it was written by an experienced human expert, following all the provided guidelines.
Questions You'll Probably Ask About Ionic and Firebase#
As you start weaving Firebase into your Ionic app, you’re bound to hit a few common roadblocks or "what if" moments. I've seen them come up time and time again.
Let's walk through some of the most frequent questions I get. Think of this as a quick reference guide to keep your project moving forward without getting stuck on the small stuff.
So, Can I Actually Use Native Firebase Features with Capacitor?#
Yes, absolutely. While this guide sticks to the web SDKs—because they work beautifully right out of the box in an Ionic app—you aren't locked out of native device features. This is where the magic of Capacitor really shines.
Plugins are the key. For things like native social logins or push notifications, you can pull in a Capacitor plugin that acts as a bridge between your web code and the native Firebase SDKs. It’s a hybrid approach that gives you the best of both worlds.
For instance, if you want that native "Sign in with Google" prompt that users trust, you'd use a plugin like @capacitor-firebase/authentication. The workflow usually looks something like this:
- Install the Plugin: First, you’ll add the plugin to your project using npm.
- Configure the Native Side: This is the part that feels a bit different. You'll need to drop configuration files into your actual iOS and Android projects.
- Call It from Your Code: From there, you just import and call the plugin’s methods in your TypeScript services, almost like it was any other web function.
This lets you create a polished, native-feeling user experience without ever having to leave your comfortable web-based codebase for your app's core logic.
How Should I Handle Different Firebase Environments (Like Dev vs. Prod)?#
This is a big one. You should always have at least two separate Firebase projects: one for your local development and another for your live production app. You might name them something obvious like my-app-dev and my-app-prod.
Each project gets its own set of API keys, its own database, and its own user list. This separation is non-negotiable for building a real, professional app. It prevents you from accidentally wiping out live user data during a test run.
Ionic’s environment files are tailor-made for managing this. You’ll find these two files in your project:
src/environments/environment.ts(for development)src/environments/environment.prod.ts(for production)
Just drop your dev keys into the first file and your production keys into the second. The Ionic CLI is smart enough to handle the rest. When you run ionic serve, it automatically pulls from environment.ts. When you build your app for release with the --prod flag (ionic build --prod), it swaps in your production keys.
This simple strategy is your safety net. It guarantees your test data and live user data never, ever mix. It’s a small step that prevents some of the most common and costly mistakes I see developers make.
It's a clean workflow that ensures you can experiment freely in development without ever touching your real users or their data.
What’s This Going to Cost Me? Is Firebase Expensive?#
One of the best things about building an ionic app with firebase is how incredibly affordable it is, especially when you're starting out.
Firebase’s “Spark Plan” is their generous free tier, and for most new apps, it’s more than enough. You get a substantial amount of usage every month for the core services without paying a dime. It's perfect for development, testing, and even for launching a smaller-scale app.
Here’s a quick idea of what the free tier typically includes each month:
- Cloud Firestore: Thousands of reads, writes, and deletes every single day.
- Authentication: A whopping 10,000 authentications per month.
- Hosting: 10 GB of storage and 360 MB of data transfer per day.
Honestly, most projects won't even come close to these limits for a while. As your app grows, you can switch to the “Blaze Plan,” which is a pay-as-you-go model. You only pay for what you use beyond the free tier, which means no scary fixed server costs. You can even set up budget alerts to get a notification before your bill gets too high.
This makes Firebase a super cost-effective backend, whether you're building a quick MVP or scaling up to thousands of users.
Ready to build a production-ready mobile app without the headache of native development? NextNative provides a complete toolkit that combines the power of Next.js and Capacitor, letting you leverage your existing web skills to build for iOS and Android. Our boilerplates save you weeks of setup time. Check out NextNative and start building today.