A Modern Guide to Next JS React Native
Updated: August 17, 2025

Imagine building your web and mobile apps from a single, streamlined codebase. That’s the real promise of combining Next.js with React Native–style development. This powerful duo isn't just a theory anymore; it's a practical reality that's changing how developers build cross-platform projects.
Why a Unified Codebase Is Your New Superpower#

The old way of building for multiple platforms usually meant siloed teams—one for web, one for iOS, and another for Android. That separation creates friction, slows down feature releases, and balloons your costs. Each team ends up duplicating business logic and UI components, which is a recipe for inconsistencies and a maintenance nightmare.
A unified codebase built with a Next JS React Native stack cuts right through that mess.
When you share code, you're not just saving time; you're building a more cohesive product. Your business logic, state management, and even a good chunk of your UI components can be written once and deployed everywhere. This means faster development cycles, fewer bugs, and a consistent user experience across every device.
The Strategic Business Advantage#
This isn't just a technical convenience; it's a massive business advantage. The synergy within the React ecosystem is what makes this so efficient. An estimated 40% of developers already use React for both web and mobile, and React Native holds a commanding 42% market share among cross-platform mobile frameworks.
This deep integration allows teams to share anywhere from 60% to 85% of their code, leading to cost savings of up to 40% compared to traditional native development. You can see more details on the React development landscape and its statistics.
This is why major companies like Netflix, Airbnb, and Shopify rely on these frameworks. They can scale features rapidly without tripling their engineering effort.
A unified codebase means a single developer can push a feature to the web, iOS, and Android simultaneously. This dramatically accelerates your time-to-market and lets smaller teams compete with much larger organizations.
Combining Next.js with React Native-style development offers a powerful way to streamline your workflow. Let's break down the core benefits this unified stack brings to the table.
Core Benefits of a Unified Next.js and React Native Stack#
| Benefit | Impact on Development |
|---|---|
| Accelerated Development | Build features once and deploy them everywhere. This drastically cuts down development time and gets your product to market faster. |
| Reduced Costs | A smaller, more efficient team can manage all platforms. You save money on hiring, onboarding, and ongoing maintenance. |
| Consistent User Experience | Shared components and logic ensure your app looks and feels the same, no matter the device, strengthening your brand identity. |
| Simplified Maintenance | A bug fix in the shared codebase is a fix for all platforms. Updates are easier, faster, and less prone to platform-specific errors. |
| Unified Talent Pool | Your React/Next.js developers can contribute to both web and mobile apps, breaking down silos and improving team collaboration. |
This table just scratches the surface. The real magic happens when your team starts thinking of the product as a single entity, not a collection of separate apps.
What You Can Actually Share#
When I talk about a "unified codebase," I mean more than just a few helper functions. The potential for code sharing is huge and has a real impact. You can share:
- Business Logic: Core application logic, data fetching, and state management can be identical across platforms.
- API Services: Your API layer, authentication flows, and data models stay consistent.
- UI Components: With libraries designed to bridge the gap, many visual components like buttons, cards, and layouts can be shared.
- Development Talent: Your Next.js developers can contribute directly to the mobile app, eliminating the need for specialized, mobile-only engineers.
For a deeper dive into how this all comes together, check out our guide on https://nextnative.dev/blog/how-to-build-cross-platform-mobile-apps. It gives you a step-by-step walkthrough of the entire process.
Alright, let's move past the theory and get our hands dirty. This is where the fun really starts—setting up a unified workspace for your Next.js React Native project. This isn't just about running a few commands; it's about carefully wiring up your tools so your web and native code can speak the same language. This initial setup is the bedrock of your entire cross-platform strategy.
We need to do more than a simple create-next-app. For this to work, our Next.js environment has to be smart enough to understand the React Native code we're about to throw at it. That means telling our web bundler how to correctly process, or transpile, the native modules so they don’t break the build.
It all comes down to installing a few key dependencies and then orchestrating them through your configuration files.
Core Dependencies and Configuration#
First things first, we need the right tools for the job. You'll lean heavily on next-transpile-modules (or its modern equivalent in newer Next.js versions) to act as the bridge between your web and native code.
Once that's installed, your attention will turn to two critical files: next.config.js and babel.config.js. Think of these as the control center for your entire project's build process.
- In
next.config.js: This is where you’ll list out which packages fromnode_modules(like your React Native libraries) need to be transpiled. You're essentially telling Next.js, "Hey, don't just ignore this native stuff—run it through Babel so it works on the web." - In
babel.config.js: Here, you'll define the presets that actually do the heavy lifting of code transformation. You’ll typically include presets for Next.js, React Native, and TypeScript to ensure everything plays together nicely.
This infographic breaks down the high-level flow, from installing dependencies all the way to launching your servers.
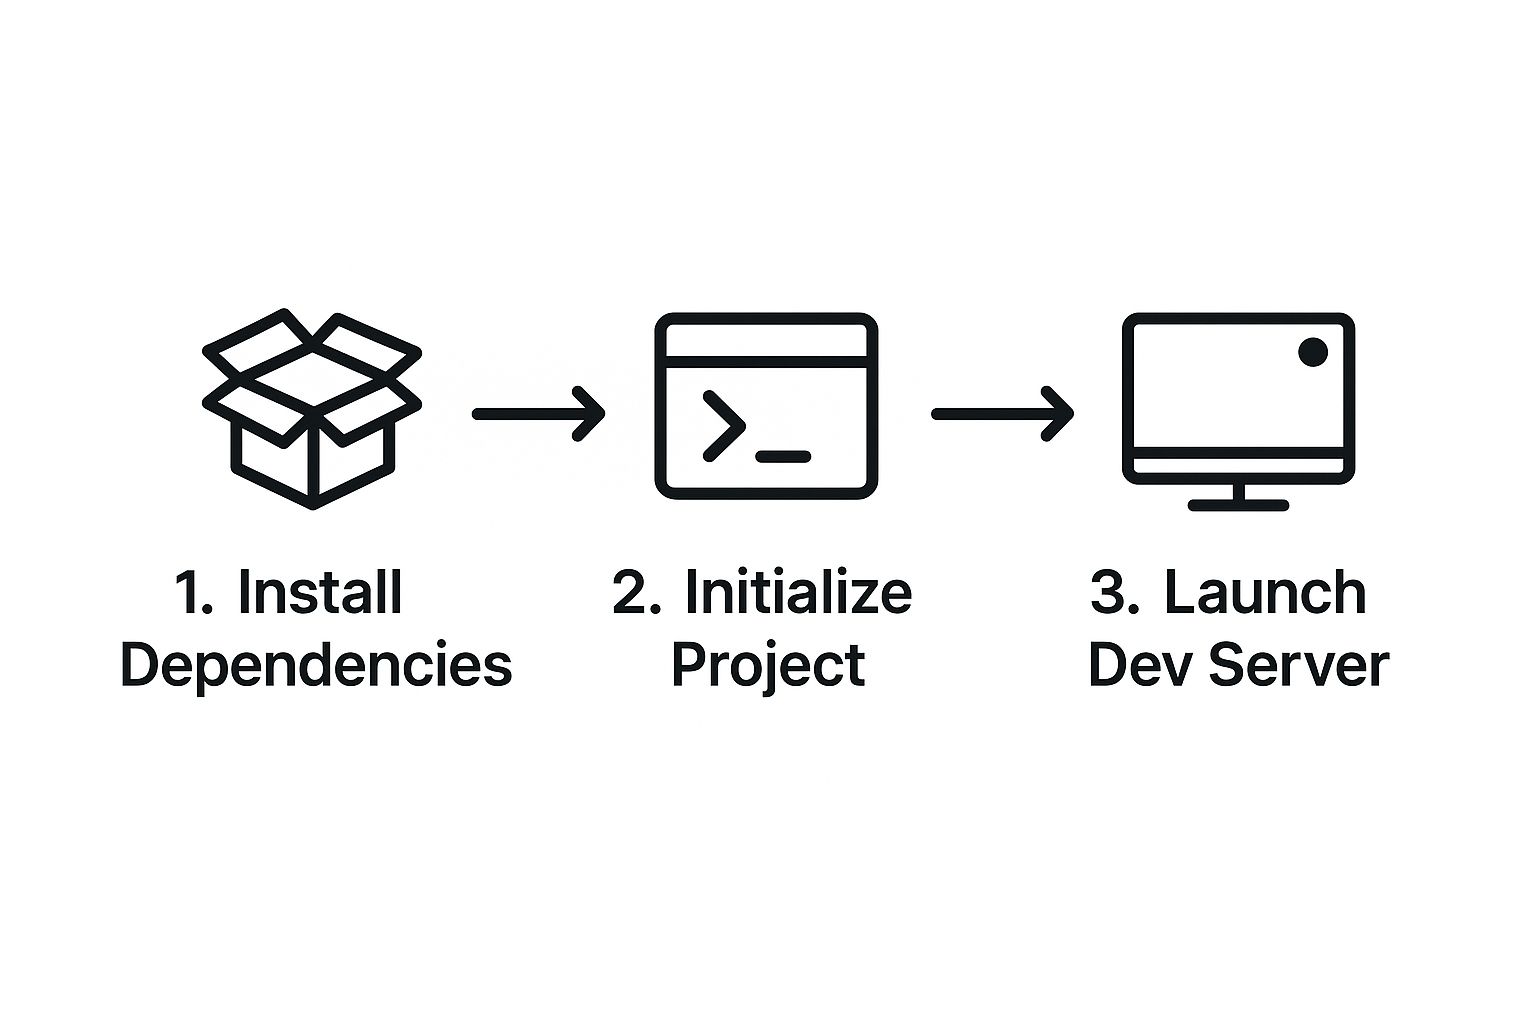
This visual simplifies the initial setup, showing how each step builds on the last to forge a working development environment. It’s a repeatable process that becomes second nature after you've done it a couple of times. For a more detailed look at the entire workflow, our guide on the complete mobile app development process offers some valuable context.
Firing Up Your Simulators#
With your configs dialed in, it's time for the moment of truth: seeing your code come to life on every platform. Firing up your development servers is where you see if all that setup paid off.
You'll probably have a few terminal windows open at this point—one for the Next.js web server, and a couple more for your mobile emulators.
- Start the Web App: A simple
npm run devgets your Next.js site running, usually over atlocalhost:3000. - Launch the iOS Simulator: Using Xcode's command-line tools or an Expo command, you can spin up the iOS simulator. This lets you test your app on various virtual iPhones and iPads right on your Mac.
- Launch the Android Emulator: In the same way, you’ll use Android Studio's AVD (Android Virtual Device) Manager to launch an emulator, giving you access to a huge range of Android devices and OS versions for testing.
The real magic hits you the first time you change a line in a shared component and watch it update instantly—in your web browser, the iOS Simulator, and the Android Emulator. That immediate feedback loop is the whole reason we do this.
Seeing your app render flawlessly across all three environments is an incredibly satisfying milestone. It confirms your initial configuration was a success and paves the way for building out your shared UI and logic, which is exactly where we're headed next.
Crafting Your First Universal UI Component#

This screenshot shows the modern, web-centric nature of Next.js, which we’re about to bend to our will to build truly native mobile experiences.
Alright, with your development environment humming along, it's time to get our hands dirty. This is where the theory behind a Next JS React Native setup meets the real world: building a single, universal UI component that renders perfectly on the web, iOS, and Android.
We're not going to build anything too complicated right off the bat. Instead, let's start with a foundational piece of any app: a custom, reusable button. The real magic here is using React Native’s core building blocks—like <View>, <Text>, and <TouchableOpacity>—directly within your Next.js project.
Understanding the Core Primitives#
First thing's first: you need to forget about <div> and <p>. In our unified world, we think in terms of native components that just happen to have web equivalents. You'll find yourself reaching for these three constantly:
<View>: This is your primary layout tool. Think of it as a flexible container, a lot like a<div>, but it's universally understood by all three platforms.<Text>: Any and all text you want to display must be wrapped in a<Text>component. Unlike the web, you can't just drop a string inside a<View>and expect it to show up.<TouchableOpacity>: This is a simple wrapper for making views respond properly to touches. It’s what gives you that subtle dimming effect on press, providing crucial feedback to users on mobile.
These primitives form the vocabulary of our shared component language. By sticking to them, we guarantee our button component will speak fluently to web browsers and native devices alike.
Building a Universal Button#
Let's spin up a new file at components/UniversalButton.js. The goal is to create a simple button that accepts a title and a press handler. The main challenge is cleanly handling the different event props: onClick for web and onPress for mobile. But with our setup, onPress works everywhere.
Here’s a basic implementation to get us started:
import React from 'react';
import { TouchableOpacity, Text, StyleSheet, Platform } from 'react-native';
const UniversalButton = ({ onPress, title }) => {
return (
<TouchableOpacity
onPress={onPress}
style={styles.button}
// A common pattern for web accessibility
accessibilityRole="button"
>
);
};
const styles = StyleSheet.create({
button: {
backgroundColor: '#007AFF',
paddingVertical: 12,
paddingHorizontal: 32,
borderRadius: 8,
alignItems: 'center',
justifyContent: 'center',
// Adding a subtle shadow for a more "native" feel
...Platform.select({
ios: {
shadowColor: '#000',
shadowOffset: { width: 0, height: 2 },
shadowOpacity: 0.2,
shadowRadius: 2,
},
android: {
elevation: 4,
},
web: {
boxShadow: '0 2px 4px rgba(0,0,0,0.1)',
}
}),
},
text: {
color: 'white',
fontSize: 16,
fontWeight: 'bold',
},
});
export default UniversalButton;
The
Platform.selectAPI is your best friend for handling those subtle visual differences between platforms. It keeps your styling logic clean and co-located, preventing a mess of conditional rendering in your JSX.
This single file now defines a button that will render as a pressable, styled element across the board. The StyleSheet.create API from React Native also gives us some nice performance optimizations under the hood and helps keep styles neatly organized.
With this component built, you're well on your way. For those just starting out, getting a solid grasp on these foundational concepts is absolutely crucial. Our guide on mobile app development for beginners provides more context on these core ideas.
Next up, we'll look at how to connect these components into a coherent navigation flow.
Mastering Cross-Platform Navigation and Routing#
Getting a user from point A to point B in your app needs to feel instant and obvious. But making that happen across both web and mobile can be a real mess. A clunky, inconsistent navigation system is one of the fastest ways to frustrate someone enough to just close your app.
This is where a unified routing strategy for your Next JS React Native project isn't just a nice-to-have; it's essential.
The real challenge is bridging two completely different worlds. On one hand, you have the powerful, file-based routing system that Next.js gives you for the web. On the other, mobile apps depend on library-driven, stack-based navigation to feel truly native. If you try to manage both separately, you end up with duplicated logic, a ton of headaches, and a developer experience that feels broken. The goal is to create a single source of truth.
Unifying Web and Mobile Navigation#
So, how do we fix this? The clean way is to build a custom navigation hook that abstracts away all the platform-specific details.
When the app is running on the web, this hook will talk directly to the Next.js router. When it's on a mobile device, it’ll hook into a library like React Navigation, which is pretty much the standard for creating those native-feeling navigation flows on iOS and Android.
This approach means your components can just call a simple function like navigate('/profile') without ever needing to know how that navigation is happening under the hood. It’s all handled by our custom hook, which intelligently picks the right tool for the job depending on the platform it's running on.
By abstracting your navigation logic into a shared hook, you make your components truly universal. A component doesn't need to care if it's running in a browser or on a native device; it just needs to know where to go next.
This separation of concerns is huge. It keeps your component code clean and focused on its primary job, instead of getting cluttered with a bunch of platform-specific routing logic.
Practical Implementation Scenarios#
Let's walk through a common scenario. Imagine you have a product list, and tapping an item should take the user to a detailed product page, passing along the product's ID.
- On the Web: The hook would use Next.js's
useRouterto push a new route like/products/[id]. The file-based routing system handles this perfectly out of the box. - On Mobile: The hook would instead call the right function from React Navigation to push a new screen onto the stack, passing the product ID as a route parameter.
To make this happen, you'd create a hook that conditionally imports and uses either the Next.js router or the useNavigation hook from React Navigation. If you want to see this pattern in action and get a head start, our tutorial on the NextNative Ionic Router provides a fantastic, practical example.
This method also scales up beautifully for more complex navigation patterns. You could, for instance, implement a native-style tab navigator at the bottom of the screen for mobile while keeping a classic header navigation bar on the web—all controlled by the same underlying routing logic. This ensures a user experience that feels perfectly tailored to each device, without you having to write everything twice.
Handling Platform-Specific APIs and Logic#
Let's be honest, even with a shared codebase in a Next JS React Native project, you’re eventually going to hit a wall where you need to do something different on mobile versus the web. Your first instinct might be to litter your components with if/else checks for the platform.
Don't do it. That path leads to messy, unreadable code that's a nightmare to come back to six months later.
A much saner way to handle this is to isolate platform-specific code at the file level. The build system is smart enough to see what you're doing and will automatically pick the right file for the platform it’s targeting. This lets you create a clean, shared interface while the implementation details are neatly tucked away.
Using Platform-Specific File Extensions#
This is where platform-specific file extensions become your best friend. Instead of one file full of conditional logic, you create multiple versions of the same file. It's a simple but powerful pattern.
Here’s the breakdown:
my-module.native.ts: This file is only bundled for iOS and Android.my-module.web.ts: This one is just for your Next.js web build.my-module.ts: This acts as the default or fallback if a platform-specific version isn't found.
When you go to import my-module in one of your components, the bundler just grabs the right one for the job. Your component code stays clean and has no idea about the platform-specific magic happening behind the scenes.
The real power here is decoupling your core logic and UI from the nitty-gritty implementation details of each platform. Your components just call a function, and the right thing happens, every time.
A Real-World Example: Sharing Content#
Let's walk through a classic example: adding a "share" button. On a phone, you want to pop open the native OS share dialog. On the web, you’ll want to use the Web Share API.
First up, you'd create a share.web.ts file to handle the web side of things.
// services/share.web.ts
export const shareContent = async (title: string, text: string) => {
if (navigator.share) {
await navigator.share({ title, text });
} else {
// A simple fallback for browsers that don't support the API.
alert('Sharing is not supported on this browser.');
}
};
Next, you'll build the native version in share.native.ts using React Native's built-in Share module.
// services/share.native.ts
import { Share } from 'react-native';
export const shareContent = async (title: string, text: string) => {
await Share.share({
message: ${title}: ${text},
});
};
Now, from any component in your app, you can use it with a single, clean import:
import { shareContent } from './services/share';
The bundler takes care of the rest. This isn’t just a clever trick; it’s a foundational pattern for building maintainable cross-platform apps that don't fall apart as they grow. To see more examples, our documentation offers a detailed guide on accessing native device features.
This strategy is particularly vital as React Native continues to grow. Its market share on the Apple App Store jumped from 4.73% to 6.75% between 2022 and 2024, making it the top non-native framework on the platform. You can find more insights about cross-platform mobile development trends on makeitnew.io.
Common Questions on Next JS React Native Builds#

As you start to weave these two powerful ecosystems together, you're bound to run into a few questions. This isn't just about writing code; it's about getting your head around how the architecture of a Next JS React Native project actually holds together.
Let's break down some of the most common curiosities and challenges I see developers hit.
One of the first hurdles is performance. Will a unified app feel as snappy as a purely native one? The short answer is yes, but only if you're smart about it. Modern React Native has made massive leaps, and when you pair it with Next.js for the web, the performance can be excellent.
The key is to always remember where your code is running. Server-side rendering (SSR) and Server Components in Next.js handle the heavy lifting for your web app, delivering those lightning-fast initial page loads. On mobile, React Native’s architecture communicates directly with native threads, which is how you get a UI that stays responsive and fluid.
How Do I Manage SEO in a Shared App#
This is a big one. You can't afford to tank your web app's search engine visibility just for the sake of sharing some code. Fortunately, this is where Next.js truly shines and makes this whole hybrid approach so compelling.
Since your web routes are handled entirely by Next.js, you get all its world-class SEO features straight out of the box. You can use Server Components to fetch data and generate metadata on the server, making sure search engine crawlers see a perfectly rendered HTML page.
Your mobile app, on the other hand, doesn't need to worry about traditional SEO. Its visibility comes from the app stores. This clean separation of concerns is a huge advantage of this stack.
Your shared business logic and UI components have no negative impact on SEO. You get the best of both worlds: a highly discoverable web presence and a performant, native mobile experience.
Can I Still Use My Favorite Next JS API Routes#
Absolutely. Your API routes, built with Next.js Route Handlers, can serve as the single backend for both your web and mobile applications. This is easily one of the most powerful aspects of building a unified codebase.
Your React Native app can make standard fetch requests to your Next.js API endpoints just like any other client. It means you can centralize all your data fetching, authentication, and server-side logic in one spot.
This approach simplifies your architecture immensely. In fact, React Native is a major player in the cross-platform world, holding about 42% market share. Developers often share 70–85% of their codebase between iOS and Android, and sharing the API layer with your web app pushes that efficiency even higher. You can check out more stats from the cross-platform showdown between React Native and its competitors.
Ready to build your own production-ready iOS and Android apps without the steep learning curve? NextNative gives you the templates and tools to put your existing Next.js skills to work for mobile development. Skip the setup headaches and start building your cross-platform app today.