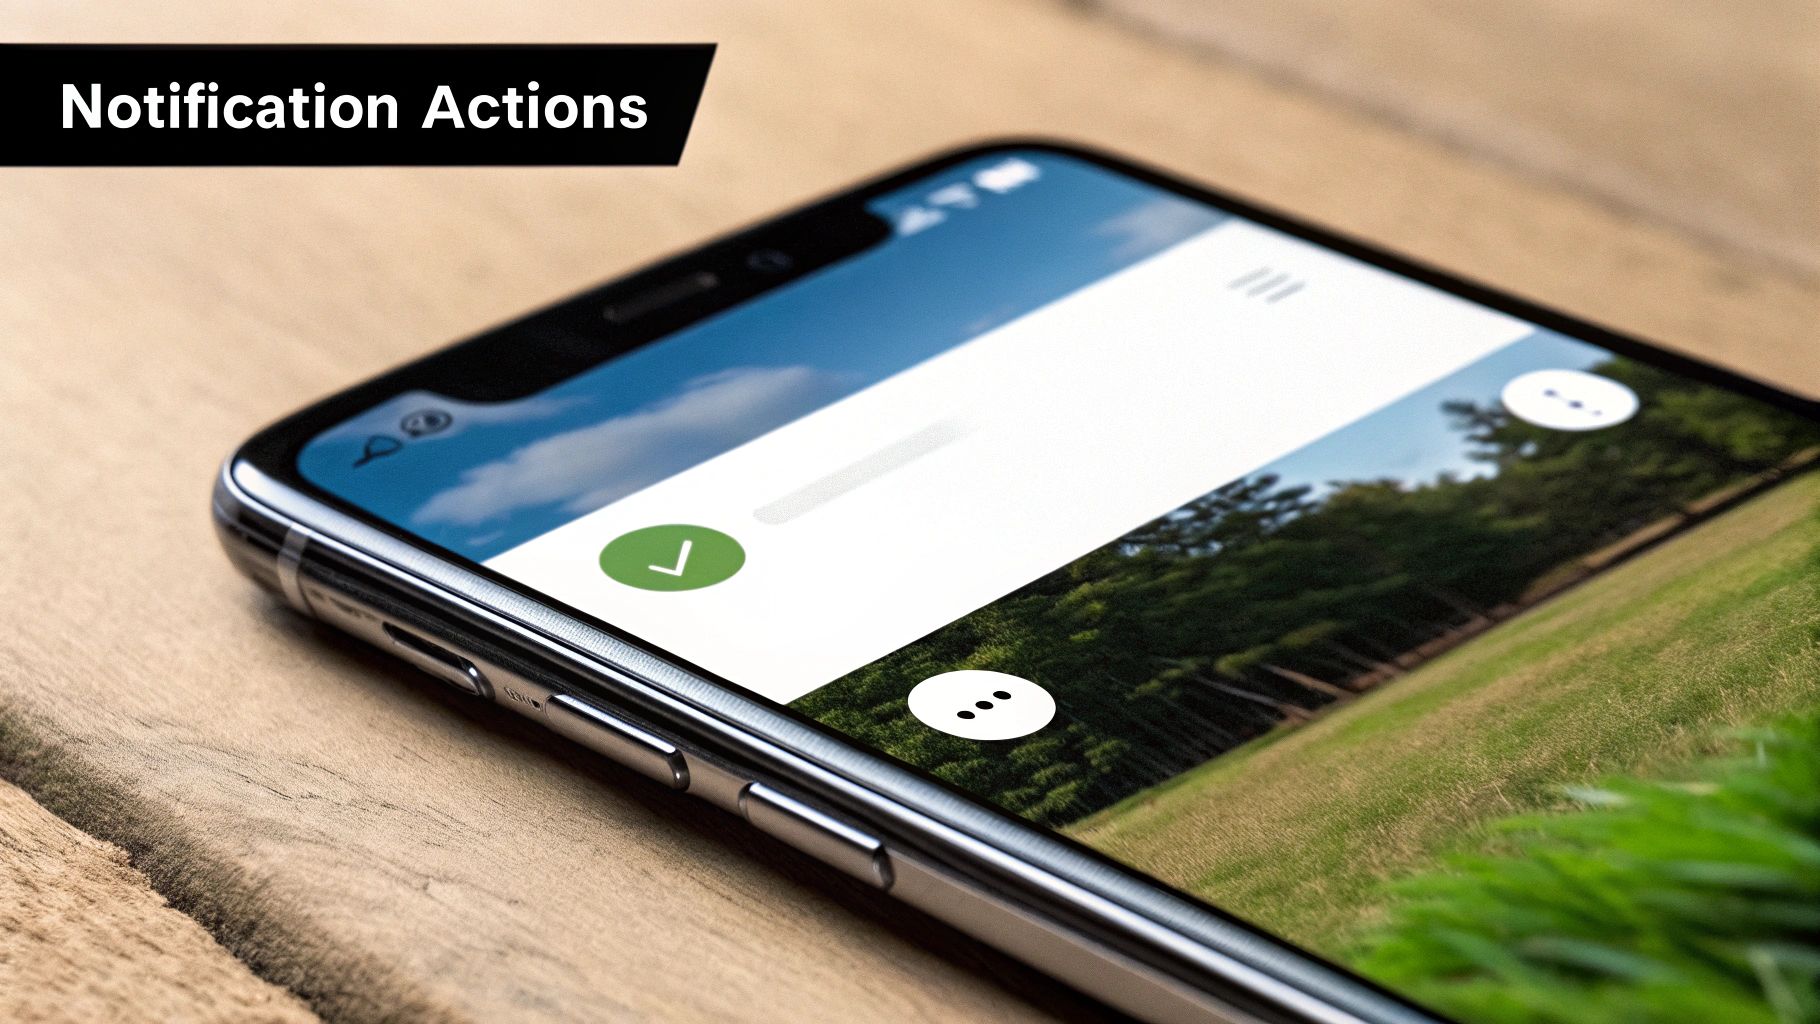
A Guide to Ionic Push Notifications with Capacitor
Updated: September 26, 2025
Implementing ionic push notifications is one of the most direct ways to connect with your users, delivering timely updates that can genuinely boost how often they open and interact with your app. Think of it as a dedicated communication channel between you and your audience.
Why Push Notifications Matter for Your Ionic App#
Before we jump into the code, it's worth taking a moment to appreciate the strategic value here. Push notifications are so much more than just little alerts; they're a powerful tool for bringing users back who might have otherwise drifted away. A single, well-crafted notification can remind someone about an abandoned shopping cart or let them know about exciting new content, directly lifting your daily active user numbers.
This direct line of communication is absolutely essential for building a loyal user base. Unlike emails that get buried in a crowded inbox, push notifications land right on a user's home screen, making them hard to ignore.
The Strategic Advantage of Ionic for Notifications#
Choosing Ionic for your app development gives you a huge head start when it comes to features like push notifications. Because the framework is cross-platform, you can write your notification logic once and have it work seamlessly across both Android and iOS. This approach saves a massive amount of development time and ongoing maintenance costs.
The hybrid app market, which includes apps built with frameworks like Ionic, was valued at $50 billion in 2025, showing just how much the industry leans toward cross-platform solutions. In fact, research shows over 70% of businesses now prefer frameworks that let them deploy to multiple platforms from a single codebase—a core strength of Ionic.
By using a unified codebase, you guarantee a consistent user experience on every single device. That consistency is key to building a reliable and professional brand image through your notification strategy.
Transforming User Experience with Smart Alerts#
The real power of ionic push notifications comes alive when they're personalized and timely. A generic, broadcast-style message can feel like spam, but a notification tailored to a user's specific actions feels helpful and relevant. For instance:
- E-commerce Apps: Let users know about price drops on items they've recently viewed.
- Social Apps: Alert users to new messages or interactions from their friends.
- Productivity Apps: Send timely reminders for upcoming deadlines or important events.
Given the critical role they play, it’s worth taking the time to understand the best practices in notification system design to get the most out of them. Ultimately, a thoughtful strategy transforms notifications from a simple feature into a core part of your user engagement and retention engine.
Preparing Your Development Environment#
Before we get to the fun part of coding your ionic push notifications, we need to get the groundwork right. A solid setup is everything. Getting this part wrong can lead to some seriously frustrating bugs down the road, so let's walk through it carefully. We’re going to get the right dependencies installed, configure the native projects, and link your app to the cloud services that make push notifications possible.
First up, let's install the core Capacitor plugin. Pop open your terminal at the root of your Ionic project and run this command to add the push notifications package:
npm install @capacitor/push-notifications
Once that’s done, you need to sync the new plugin with your native Android and iOS projects. This is a crucial step—it’s what injects the native code into your app.
npx cap sync
With the plugin ready to go, we can turn our attention to the services that will actually send the notifications: Firebase Cloud Messaging (FCM) for Android and the Apple Push Notification service (APNs) for iOS.
Setting Up Firebase For Android#
For Android, Firebase is the backbone of the whole operation. You’ll need a free Firebase project to get started.
- Create a Project: First, head over to the Firebase Console, start a new project, and give it a name that makes sense for your app.
- Register Your Android App: Inside the project dashboard, you'll see an Android icon. Click it to add your app. It's going to ask for your app's package name—you can find this in your
capacitor.config.tsfile under theappIdproperty. - Download the Config File: Firebase will then spit out a
google-services.jsonfile. This little file is incredibly important; it holds all the keys your app needs to talk to Firebase securely.
Once you download it, drop the google-services.json file right into the android/app/ directory of your Ionic project. That one move is all it takes to link your native Android build to your FCM backend. If you want a more detailed look at the Capacitor build process, our guide on how to build a Capacitor app from scratch covers it all.
This diagram gives you a quick visual of the setup flow.
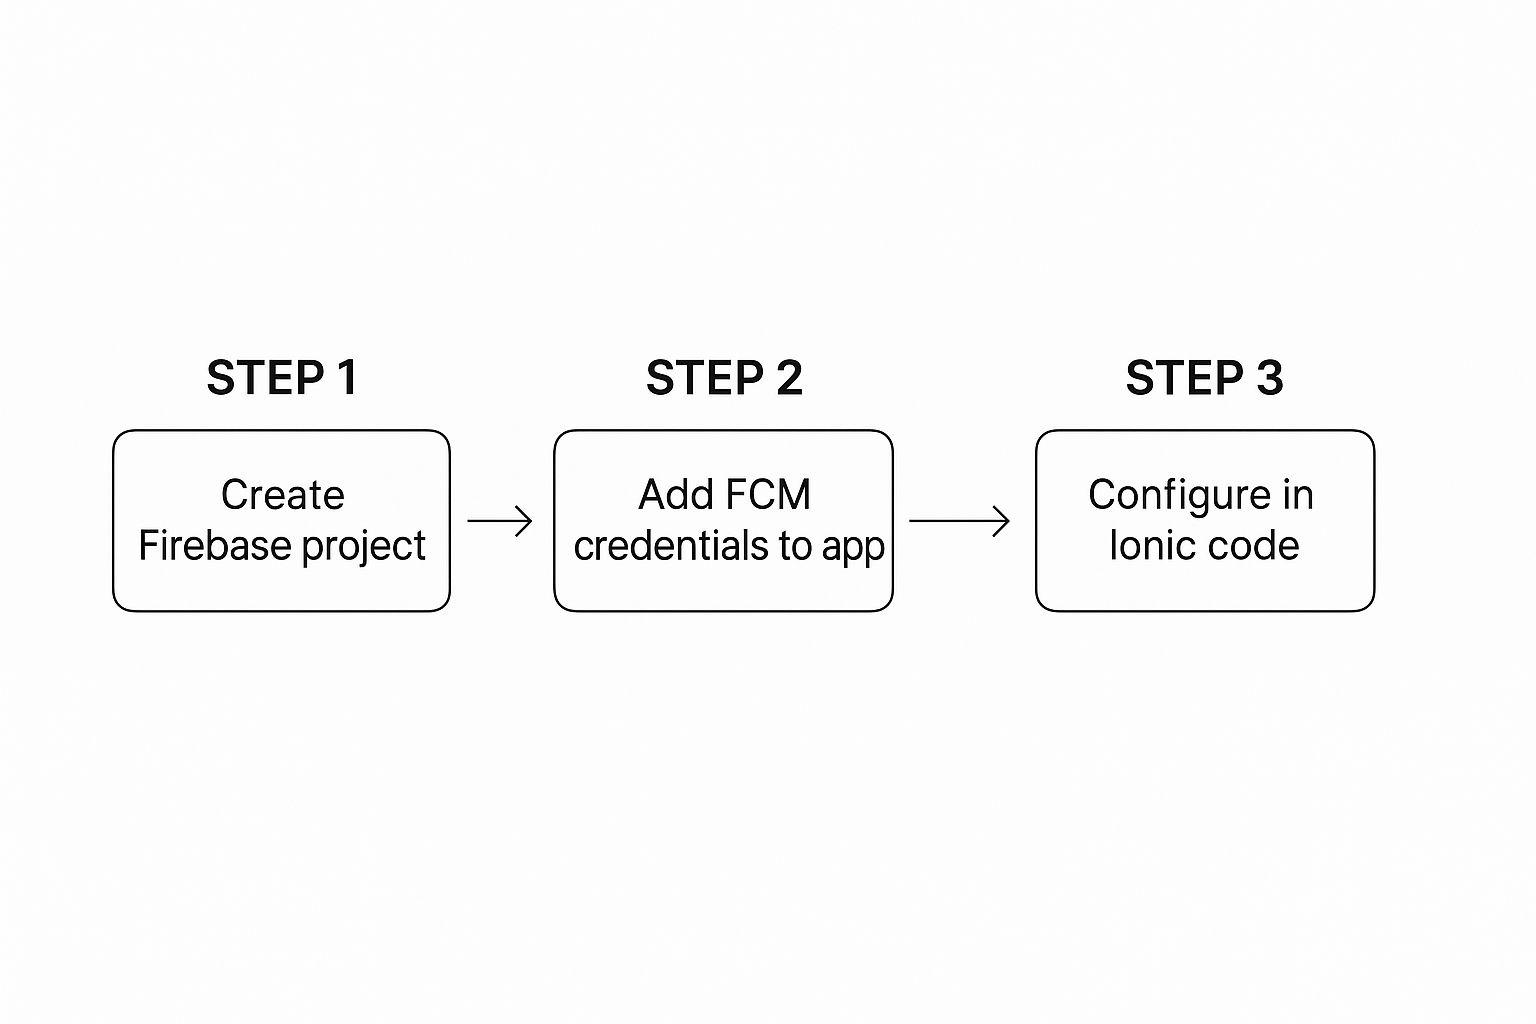
As you can see, it's a pretty straightforward sequence: create the cloud project, connect it to your app with the right credentials, and then you're ready to implement the code.
Configuring APNs For iOS#
Getting iOS configured is a bit more involved, mostly because of Apple’s tight security. You absolutely need an active Apple Developer account for this part. The main goal here is to generate an APNs key, which is what authorizes your server (or a service like NextNative) to send push notifications to your iOS users.
Pro Tip: When you generate an APNs Auth Key (.p8 file) from the Apple Developer portal, download it immediately and store it somewhere safe. Apple only lets you download it once, and losing it means you'll have to revoke the old key and create a new one.
Once you have your key, you'll upload it to Firebase. This connects the two services, allowing Firebase to act as the middleman for your iOS notifications.
Uploading your APNs key authorizes Firebase to send notifications to your iOS app on your behalf. With that done, both platforms are configured, and your development environment is officially ready for some code.
Time to Code: Implementing Push Notifications in Your Ionic App#
With all the setup out of the way, it's time to jump into the TypeScript code that actually brings your ionic push notifications to life. This is where we’ll wire everything together, teaching your app how to ask for permission, register itself with the cloud services, and handle incoming messages like a pro.
I find the best place for this logic is right inside a core component that loads when your app starts, like app.component.ts. This makes sure your notification listeners are up and running the moment a user launches the app, ready to catch anything that comes their way.
Requesting Permission and Registering the Device#
The very first thing you need to do is ask the user for permission. It's a critical first step. Without their explicit consent, both Android and iOS will flat-out block you from sending any alerts. We'll use the PushNotifications plugin from Capacitor to handle this whole song and dance.
Once a user taps "Allow," the plugin takes over. It registers the device with the right service—FCM for Android, APNs for iOS—and gets back a unique device token. This token is pure gold; it's the specific, unique address you'll use to send a notification to that exact device.
Let’s get started by adding the listeners inside your ngOnInit() lifecycle hook.
import { Component, OnInit } from '@angular/core';
import { PushNotifications, Token, PushNotificationSchema, ActionPerformed } from '@capacitor/push-notifications';
@Component({
selector: 'app-root',
templateUrl: 'app.component.html',
styleUrls: ['app.component.scss'],
})
export class AppComponent implements OnInit {
ngOnInit() {
this.registerForPushNotifications();
}
registerForPushNotifications() {
// First, we ask the user for permission.
PushNotifications.requestPermissions().then(result => {
if (result.receive === 'granted') {
// If they say yes, we can go ahead and register.
PushNotifications.register();
} else {
// If they say no, we need to respect that.
console.warn('Push notification permission was denied.');
}
});
}
}
This first piece of code handles that crucial permission request. If the user grants permission, the register() method kicks off the next part of the process. For more detailed examples of integrating services like this, you can check out our guide on using Firebase in Ionic applications, which touches on similar setup patterns.
Capturing the Device Token#
After you call PushNotifications.register(), the plugin starts talking to the cloud messaging services. If everything goes smoothly, it fires a registration event that contains the all-important device token. Your job is to listen for this event, grab that token, and immediately send it to your backend server.
Your backend will then store this token, usually linking it to a specific user account. This is how you'll target your notifications later—for instance, sending a promo code only to users who have made a purchase before.
Let’s add the listener for the token right after our permission logic.
// Inside the registerForPushNotifications() method
PushNotifications.addListener('registration', (token: Token) => {
console.log('Push registration success, token:', token.value);
// CRITICAL: Send this token to your backend to be stored.
// For example: this.apiService.saveUserToken(token.value);
});
PushNotifications.addListener('registrationError', (err: any) => {
console.error('Error on registration:', err);
});
Capturing and storing the device token is the most critical step in this entire process. Without it, you have no way to send a notification to the user's device. Always handle the
registrationErrorevent to catch any configuration issues early on.
Handling Incoming Notifications#
Alright, last step. We need to tell our app what to do when a notification actually arrives. The Capacitor plugin gives us two key event listeners for this:
pushNotificationReceived: This fires when a notification comes in while the app is open and in the foreground. It's your chance to show a custom in-app alert or maybe update the UI in real-time.pushNotificationActionPerformed: This fires when a user taps on a notification from their device's notification tray, which either opens your app or brings it to the front. This is where you'll handle navigation, like taking the user to a specific product page mentioned in the alert.
Let’s add these final listeners to wrap up our implementation.
// Inside the registerForPushNotifications() method
PushNotifications.addListener('pushNotificationReceived',
(notification: PushNotificationSchema) => {
console.log('Push received in foreground:', notification);
// Here you could show a custom toast or an alert box.
}
);
PushNotifications.addListener('pushNotificationActionPerformed',
(action: ActionPerformed) => {
console.log('Push action performed:', action);
// Example: Navigate to a specific page based on notification data.
const data = action.notification.data;
if (data.detailsId) {
// this.router.navigateByUrl(/details/${data.detailsId});
}
}
);
With these listeners in place, your Ionic app is now fully armed and ready. It can request permissions, register devices, and react intelligently to incoming ionic push notifications, paving the way for a much more interactive and engaging user experience.
Using NextNative to Simplify Notification Management#
So, you’ve got the basic Capacitor and Firebase setup humming along. Your ionic push notifications are working. Great. But now comes the real challenge: turning those simple alerts into something that actually grows your business.
Let's be honest, sending notifications one by one from the Firebase console is fine for a quick test, but it’s not a real strategy. It's like trying to run a marketing campaign using your personal email. This is where a dedicated service like NextNative completely changes the game.
NextNative is designed to sit right on top of your existing Firebase and APNs infrastructure, giving you a powerful dashboard to manage everything without having to build a custom backend. It handles the heavy lifting of segmentation, scheduling, and analytics so you can focus on the message itself.
Going Beyond Basic Alerts#
With a tool like NextNative, you graduate from broadcasting generic messages to having meaningful conversations with your users. Instead of yelling the same thing at everyone, you can create smart, dynamic segments based on actual user behavior.
Think about what that unlocks:
- Reward Your Best Users: Send an exclusive offer to people who have opened the app more than 10 times in the last month.
- Win Back Churning Users: Automatically trigger a "We miss you!" notification with a special discount for anyone who hasn't logged in for 30 days.
- Get Local: Announce a pop-up event and send it only to users in a specific city.
This is the kind of personalization that makes a notification feel helpful, not annoying. It dramatically boosts relevance and engagement. For a deeper dive into the technical side, you can check out the official push notification documentation.
The Power of Smart Scheduling and Analytics#
The when is just as important as the what. A perfectly crafted message sent at 3 AM is useless. NextNative lets you schedule messages to land at peak engagement hours for different user segments, maximizing the chances your notification actually gets seen.
This is especially critical when you look at the numbers. By 2025, Android opt-in rates can soar as high as 95%, but iOS is a tougher crowd, ranging from a mere 29% to 73%. Every notification has to count. Digging into the data, you find that automated pushes—the kind you can schedule and target—drive a staggering 21% of all push-related orders, even though they only make up 3% of total sends. That's efficiency. You can explore more on the effectiveness of push notification marketing to see just how powerful a well-timed strategy can be.
Integrating a management tool like NextNative is the step that turns a technical feature into a core part of your business growth. It provides the analytics you need to see what's working and what isn't, allowing you to refine your approach based on real user data.
Personalizing and timing your notifications can significantly boost how users interact with your app. Here are some proven tactics to consider.
Push Notification Engagement Tactics#
| Tactic | Potential Engagement Boost | Best Practice |
|---|---|---|
| Personalization | Up to 400% | Use the user's name, reference past behavior, or mention their location. |
| Rich Media | 56% higher open rates | Include images, GIFs, or interactive buttons to make notifications stand out. |
| A/B Testing | 10-15% improvement | Test different headlines, emojis, and send times to find what resonates. |
| Urgency/FOMO | 8% higher click-through | Use time-sensitive offers or limited-time deals to encourage immediate action. |
By implementing these strategies, you're not just sending alerts; you're building a smarter, more effective communication channel.
Ultimately, this moves you far beyond a "fire and forget" mentality. You get real insight into delivery rates, open rates, and conversion metrics. This data empowers you to make smarter decisions, transforming your ionic push notifications from a simple alert system into a powerful engine for keeping users engaged and coming back for more.
Troubleshooting Common Push Notification Issues#
So you've followed every step, but your Ionic push notifications just aren't showing up. Don't worry, we've all been there. Getting notifications to work perfectly across every device can feel like chasing a ghost, but the problem is almost always a small configuration mismatch, not a huge bug in your code.
When notifications fail to appear, the first place I always look is the native project configuration. These are the files that connect your Ionic app to the underlying OS, and they are incredibly sensitive. One wrong entry or a misplaced file can stop everything cold.
A Practical Troubleshooting Checklist#
Instead of randomly changing settings, let's be methodical. I run through this checklist every time something goes wrong, starting with the most common culprits for each platform.
For Android: The classic mistake is putting the
google-services.jsonfile in the wrong place. Make sure it's sitting directly in yourandroid/app/directory. Also, triple-check that theappIdin yourcapacitor.config.tsfile exactly matches the package name you registered in your Firebase project. Even a tiny typo will break it.For iOS: Nine times out of ten, the problem is buried in Apple's provisioning system. Open your project in Xcode and go straight to
Signing & Capabilities. First, is the "Push Notifications" capability actually added? Second, is the provisioning profile you've selected the correct one for an app with push notifications enabled?
A common trap is mixing development and production credentials. You can't use a development provisioning profile with a production APNs certificate, or the other way around. They are entirely separate environments, so your credentials have to match the type of build you're testing.
Diving Deeper Into Logs and Tokens#
If all your config files look perfect, it's time to see if your app is even getting a device token from FCM or APNs. This is a critical step. Add a quick console.log inside your registration and registrationError event listeners. An error message here will tell you exactly where the breakdown is happening. For more on protecting sensitive data like your server keys, check out our guide on securing API keys in your applications.
What if you are getting a token? Great! That means the issue is on the journey from your server to the device. The easiest way to confirm this is to take your own backend out of the equation. Go into the Firebase Console and use the "Send test message" feature. You can send a notification directly to a device using just its token.
If that test message arrives, you can stop debugging your app's configuration. The problem is in your server-side sending logic. This one simple test can save you hours of pulling your hair out on the client side.
Got Questions About Ionic Push Notifications?#
Even with a perfect roadmap, you're bound to hit a few bumps when wiring up something as tricky as Ionic push notifications. This section is my attempt to answer the questions that I see pop up most often, helping you get unstuck and understand the little details that matter.
Let's clear up some of the usual suspects.
Can I Send Push Notifications Without Firebase?#
For Android, not really. Firebase Cloud Messaging (FCM) is the gold standard and the most dependable way to get your notifications delivered. While other services might exist, FCM is baked so deeply into the Android OS that you'd be fighting an uphill battle to avoid it. On the other side, iOS will always use the Apple Push Notification service (APNs).
Most third-party tools, including NextNative, don't replace these core services. They build a friendlier, more powerful layer on top of them. Under the hood, they're still using FCM and APNs to do the heavy lifting, but they give you a much simpler interface to work with.
What Is the Difference Between Push and Local Notifications?#
This is a big one, and getting it wrong can lead to a lot of confusion.
It’s pretty simple when you break it down:
- Push Notifications: These come from a server, over the internet. They're what you use to tell a user about something that just happened, like a new message, a friend request, or a flash sale.
- Local Notifications: These are scheduled and triggered by the app right on the user's device. No server or internet connection needed. Think reminders, alarms, or a to-do list alert for a task that's due soon.
How Do I Handle a Notification When My App Is Closed?#
When your app is fully shut down—not just in the background—the phone's operating system takes full control of showing the notification. If the user taps it, your app launches from a completely cold start.
This means your code needs to check, right at startup, if the app was opened because of a notification tap. This lets you route the user to the right page or load the right data immediately, making the experience feel seamless. Our complete Ionic app tutorial dives deeper into handling these app lifecycle events.
Why Is My Device Token Not Registering Correctly?#
This is easily the most common and frustrating part of the whole process. 99% of the time, it's a simple configuration mistake.
On iOS, start by double-checking your App ID in the Apple Developer portal. Is the "Push Notifications" capability actually enabled? Next, look at your provisioning profiles in Xcode. Make sure they're up-to-date and match your build type (development profiles won't work for a production build, and vice-versa).
On Android, the problem is almost always the google-services.json file. Make sure it's in the correct android/app/ directory. Even a small typo in the package name inside that file, compared to what's in your Firebase project, will break everything.
Ready to build, deploy, and manage your Ionic apps without the headache? NextNative provides production-ready boilerplates and a complete toolkit to get you from idea to app store in record time. Check out NextNative today and start building your next great mobile app with the web skills you already have.